A cluttered closet doesn’t happen overnight, and neither does a well-organized one. If you’ve ever stood in front of an overflowing closet wondering where to even begin, you’re not alone. Building a functional closet and storage system is less about buying the fanciest organizers and more about understanding your space, your habits, and your budget before you spend a single dollar. This guide walks you through every stage of getting started, from assessing what you already own to choosing the right mix of shelving, bins, and accessories that will actually last.
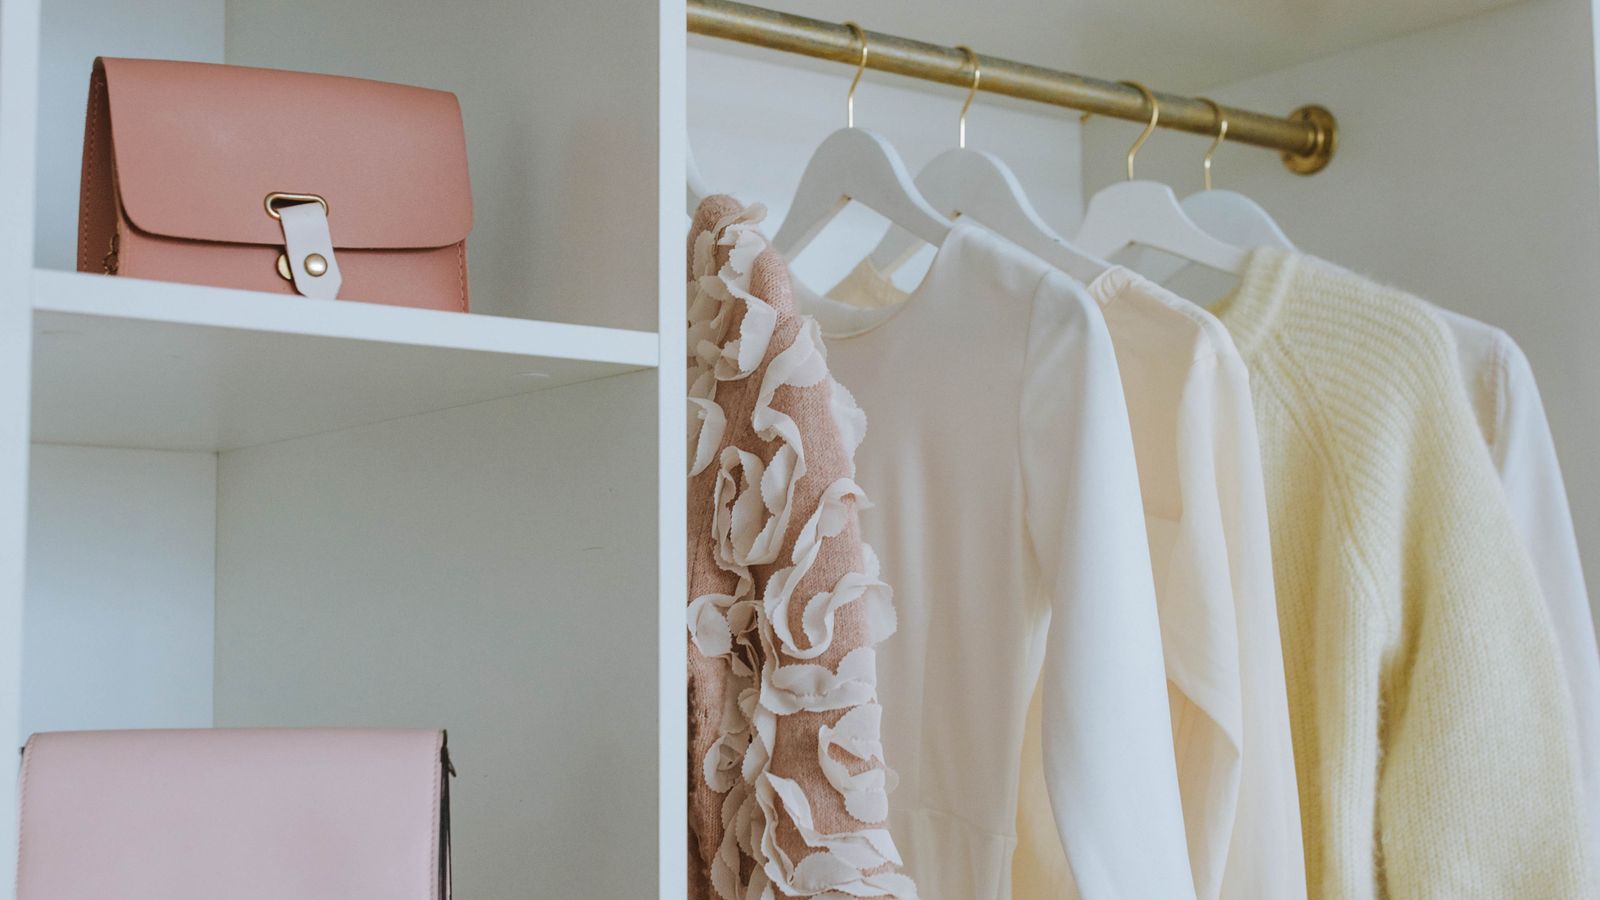
Start With an Honest Assessment
Before you buy anything, take everything out of the closet. This sounds extreme, but it’s the only way to see the actual footprint you’re working with and to confront how much you own. Sort items into three piles: keep, donate, and toss. Most organizing experts agree that a well-planned system fails quickly if it’s built around too much stuff rather than around what you genuinely use.
While you’re at it, measure the closet’s width, depth, and height, and note where the door swings, any awkward corners, and existing hardware like rods or shelves you might reuse. These measurements will guide every purchase decision that follows, so don’t skip this step even if it feels tedious.
Define Your Storage Zones
A functional system separates items by category and frequency of use, not just by shoving everything onto one long rod. Think in terms of zones:
- Daily wear – clothes you reach for constantly should be at eye level and easy to access.
- Seasonal items – bulky coats, swimwear, and holiday outfits can live higher up or in labeled containers.
- Accessories – shoes, bags, belts, and jewelry need dedicated, smaller-scale storage rather than getting piled on the floor.
- Linens and extras – if your closet also holds bedding or towels, keep that separate from clothing zones entirely.
Mapping these zones on paper (or even with painter’s tape on the closet floor) before buying anything prevents the common mistake of purchasing organizers that don’t fit the way you actually live.
Choose the Right Type of System
Closet systems generally fall into a few categories, and picking the right one depends on your space, budget, and whether you rent or own.
Wire and Wood Shelving Kits
These modular kits are the most common starting point. They’re affordable, adjustable, and widely available in standard closet widths. Wire shelving is breathable (good for shoes) while wood shelving looks more finished and holds heavier loads without sagging.
Modular Cube and Freestanding Units
If you rent or want flexibility to reconfigure later, freestanding units are ideal since they don’t require drilling into closet walls. They can also double as room dividers or entryway storage if you move.
Custom Built-In Systems
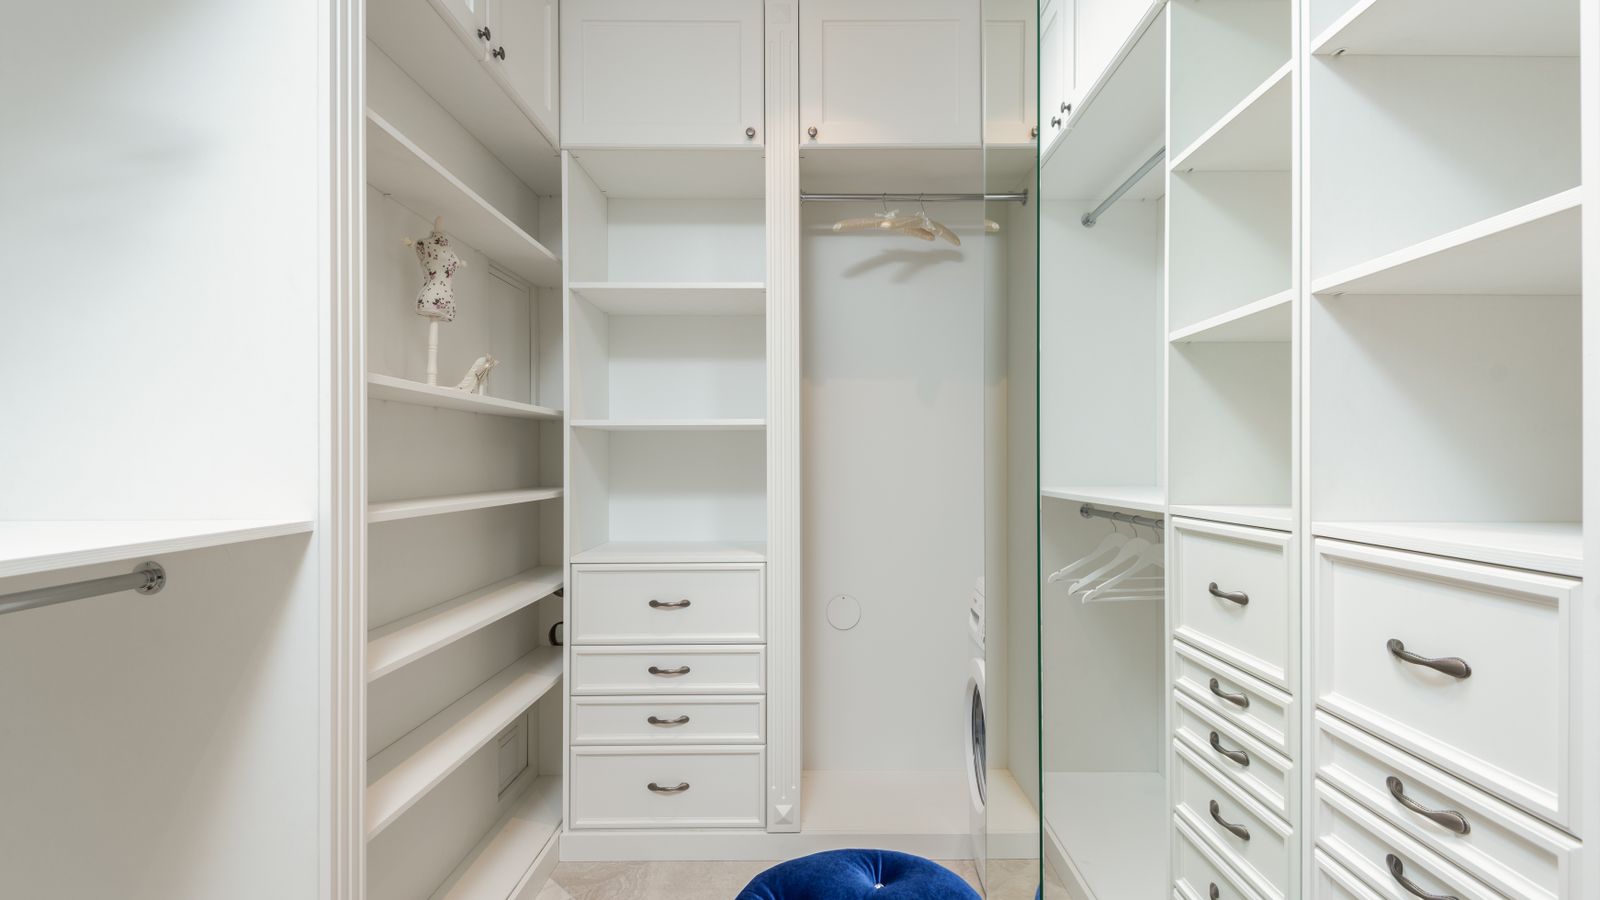
For those investing in a permanent space, custom built-ins maximize every inch with tailored drawers, shoe cubbies, and hanging sections. These cost more upfront but tend to look and function better long-term, especially in awkwardly shaped closets.
Pick the Right Accessories for Your Habits
Once the shelving skeleton is decided, the real organization happens in the details. This is where most people either succeed or quickly slide back into clutter.
Bins and Baskets
Clear or labeled containers keep small, loose items corralled instead of loose on shelves. Look at a range of Storage Bins to match sizes to what you’re storing, whether that’s off-season sweaters, scarves, or spare hardware.
Shoe Storage
Shoes are notoriously hard to organize because they come in so many shapes. A dedicated rack keeps pairs visible and off the closet floor, which also protects flooring and makes cleaning easier. Browsing options among the best shoe racks can help you find a style that fits your closet’s footprint, whether that’s a slanted rack, stackable cubbies, or an over-the-door version.
Garment Protection
For special-occasion clothing, suits, or seasonal coats you’re not wearing right now, breathable garment storage prevents dust buildup and moth damage far better than leaving items exposed on a rod. Check out the best wardrobe garment bags if you have pieces that need extra protection during storage.
Larger Furniture Pieces
If your closet space is limited or nonexistent, freestanding furniture can extend your storage capacity elsewhere in the room. A well-chosen piece from the best armoires lineup gives you a self-contained hanging and shelving unit that works in bedrooms without built-in closets. For smaller loose items scattered around a room, Cube Organizers offer flexible, stackable storage that adapts as your needs change.
Set a Realistic Budget
Closet systems can range from under $50 for a basic wire shelf kit to several thousand dollars for a fully custom build-out. Before shopping, decide which tier fits your situation:
- Starter budget: Wire shelving, over-the-door racks, and stackable bins. Good for renters or first apartments.
- Mid-range budget: Modular wood shelving kits, dedicated shoe storage, and quality garment bags. Best for homeowners planning to stay a few years.
- Investment tier: Custom built-ins or premium Closet Systems designed around your exact space and wardrobe.
Whichever tier you choose, resist the urge to buy everything at once. Start with the shelving foundation, live with it for a week or two, then fill in gaps with accessories once you know exactly what’s missing.
Step-by-Step: Getting Your System Set Up
- Empty and sort. Remove everything and separate into keep, donate, and toss piles.
- Measure the space. Record width, depth, height, and note any obstacles like outlets or vents.
- Choose your shelving type. Decide between wire kits, freestanding units, or a custom build based on budget and whether you rent or own.
- Install or assemble the base structure. Follow manufacturer instructions closely, and use a stud finder for anything wall-mounted to ensure it holds weight safely.
- Group items into zones. Place daily-wear clothing at eye level, seasonal items higher up, and accessories in dedicated bins or racks.
- Add accessories gradually. Bring in Closet Organizers, shoe racks, and garment bags as you identify specific needs.
- Label everything. Especially for bins that aren’t clear, labels save time and keep the system consistent over months of use.
- Do a two-week trial. Live with the setup and note what’s awkward or unused before making further purchases.
- Adjust and refine. Reposition shelves, swap bin sizes, or add a second rod if the trial period reveals gaps.
Common Mistakes to Avoid
A few missteps show up again and again when people build out a new closet system for the first time:
- Buying before measuring. Organizers that don’t match your closet’s actual dimensions get returned or wasted.
- Overbuying bins. It’s tempting to grab a dozen matching containers, but empty bins just become new clutter magnets.
- Ignoring vertical space. Many closets waste the top few feet entirely; adding a shelf there can double your seasonal storage.
- Skipping the maintenance habit. Even the best system falls apart without a regular five-minute tidy-up, ideally weekly.
- Not accounting for growth. Leave a little breathing room rather than filling every inch on day one.
Maintaining the System Long-Term
Once your closet is set up, the real work is keeping it that way. Do a seasonal swap twice a year, rotating out-of-season clothing into bins or garment storage and bringing current-season items forward. Reassess the donate pile every few months, since habits and wardrobes shift over time. A system that was perfect on day one might need small tweaks after a few months of real use, and that’s normal.
Extending Storage Beyond the Closet
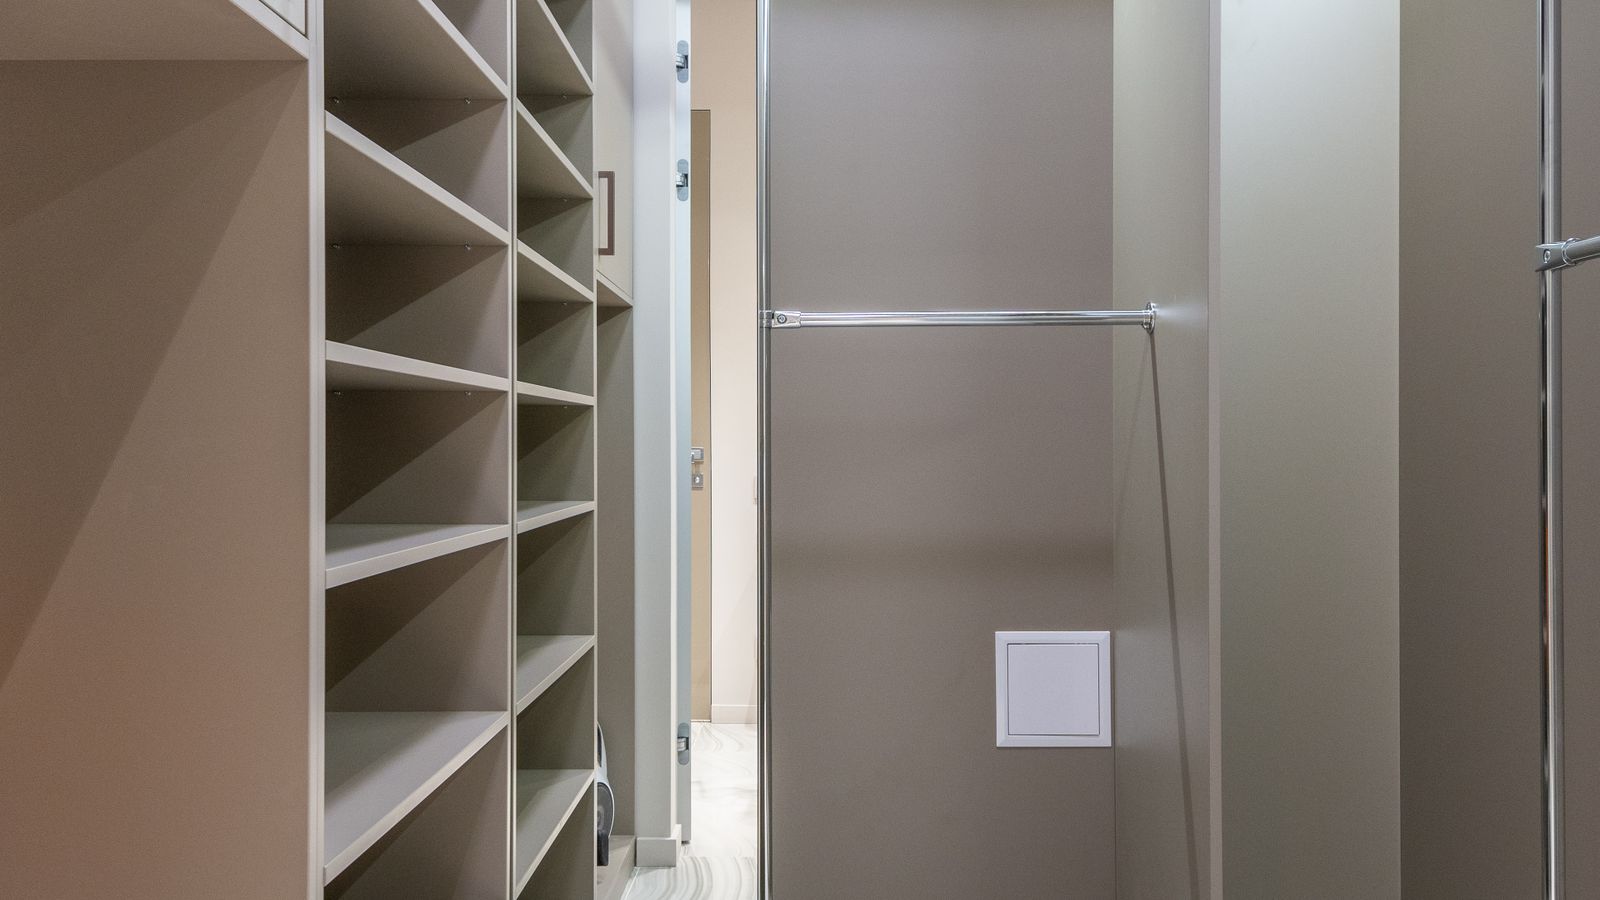
If your closet still runs out of room after optimizing it, consider spreading storage into adjacent areas. An entryway bench with built-in storage can absorb shoes and bags that don’t need to live in the bedroom closet at all; take a look at the entryway benches roundup for options that combine seating with hidden storage. This kind of zone-splitting takes pressure off a single closet and makes the whole home feel more organized.
Frequently Asked Questions
How much should I budget for a basic closet system?
A functional starter setup with wire shelving, a few bins, and a shoe rack can usually be assembled for well under $200, depending on closet size and brand choices.
Do I need to hire a professional installer?
Most wire and wood shelving kits are designed for DIY installation with basic tools. Custom built-ins typically benefit from professional measurement and installation to ensure a precise fit.
How often should I reorganize my closet?
A seasonal refresh, roughly twice a year, keeps the system aligned with your current wardrobe and prevents slow clutter creep.
What’s the biggest factor in a closet system lasting long-term?
Consistency matters more than the products themselves. A modest system that’s maintained weekly will outperform an expensive one that’s never tended to.
Can renters install a real closet system?
Yes. Freestanding units, tension-mounted rods, and adhesive hooks let renters build a solid system without permanent wall damage, and most of it can move with you later.
Final Thoughts
Getting started with a closet and storage system doesn’t require a full renovation or a big budget. It requires an honest look at what you own, a clear plan for how you’ll use the space, and a willingness to adjust as you go. Start with the basics, add accessories as real needs emerge, and give yourself permission to refine the system over the first few months. Done right, the process pays off every single morning you open that door.