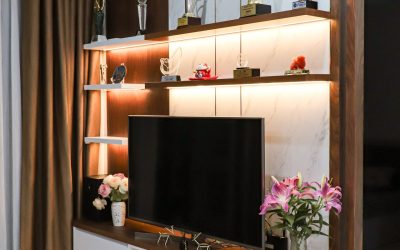
A dining room can quickly turn into a cluttered mix of mismatched frames, random accent pieces, and half-finished decor ideas. If your dining space feels busy or unfinished, the fastest way to bring it back into balance is to simplify. Two elements do most of the heavy lifting here: a textured wall panel that gives one wall structure and depth, and an arched mirror that adds light, softness, and a focal point without adding visual noise. Together they create a calm, cohesive look that feels intentional rather than accumulated. This guide walks you through exactly how to plan, prep, and install both elements so your dining and decor scheme feels pulled-together in a weekend.
Why Wall Panels and Arched Mirrors Work So Well Together
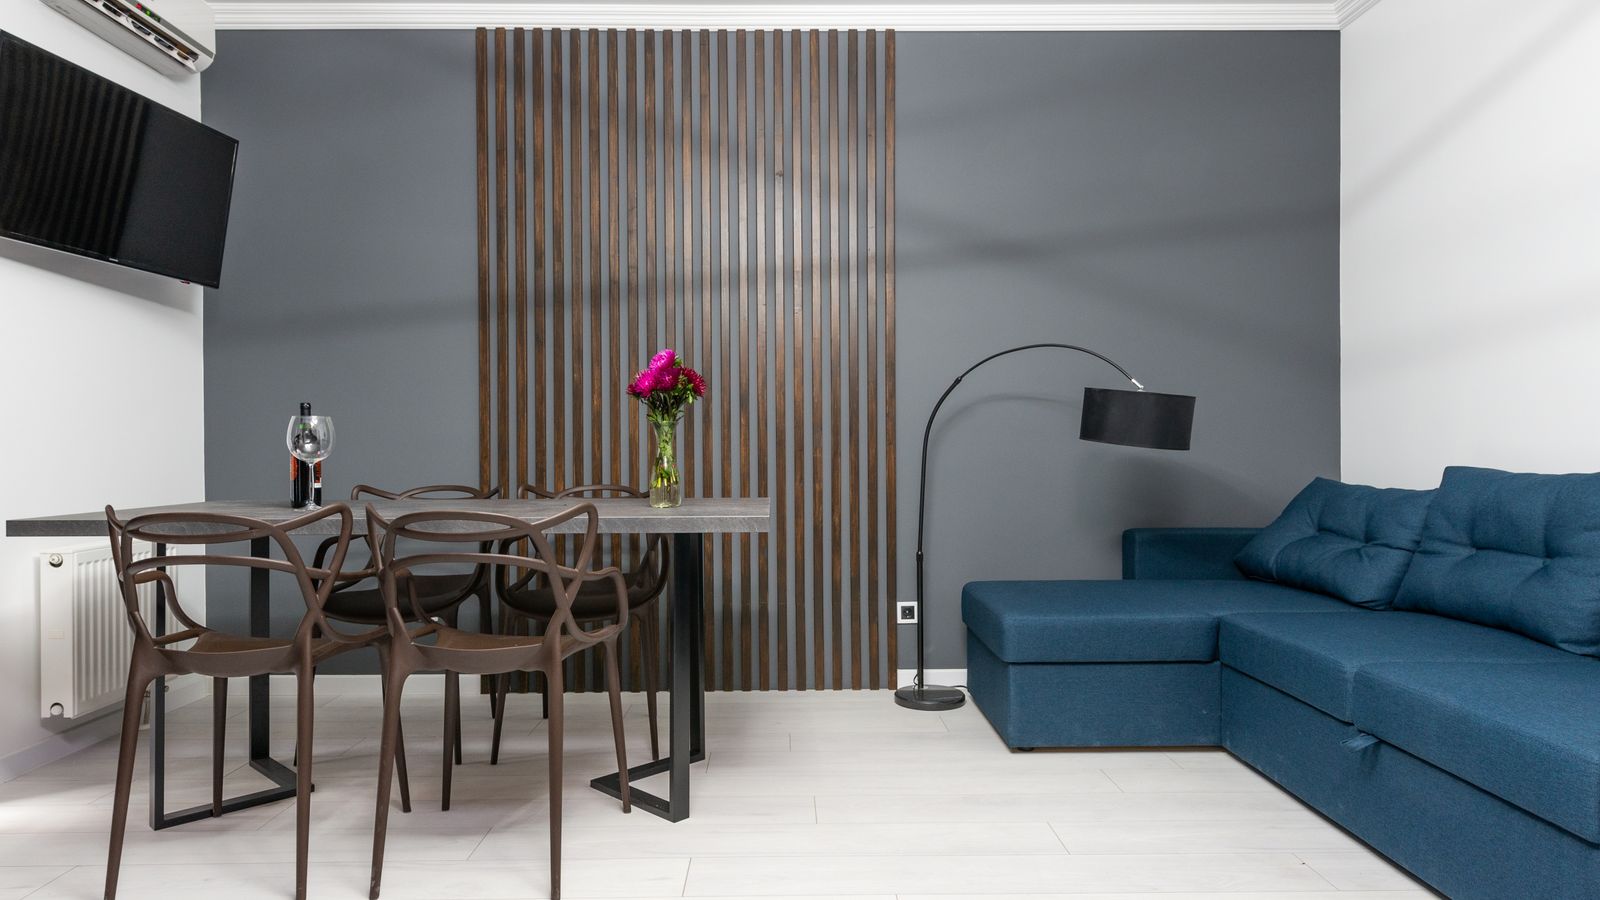
Wall panels give a dining wall architectural interest through shadow lines, grooves, or slatted texture, but on their own a paneled wall can feel flat or heavy, especially in a small dining nook. An arched mirror breaks up that rigidity. The soft, curved top contrasts with the panel’s straight lines, and the reflective surface bounces light back into the room, which matters a lot in dining areas that only get natural light from one direction. When you pair a structured surface with a soft-shaped mirror, you get contrast without clutter – exactly the kind of simplified styling that keeps a small or medium dining room from feeling overstuffed.
This combination also solves a common styling problem: most dining rooms have one “accent wall” that never quite gets finished. Instead of hanging five small frames, a gallery shelf, and a clock, you commit to two statement pieces that do more visual work with less clutter.
Tools and Materials You’ll Need
- Wall panel kit (peel-and-stick, PVC slat, or MDF groove panels sized for your wall)
- Arched mirror in a size proportional to your dining table or console
- Stud finder
- Level (torpedo or laser)
- Tape measure and pencil
- Construction adhesive or panel-specific adhesive strips
- Caulk gun and paintable caulk (for seams, if using MDF panels)
- Heavy-duty wall anchors or mirror mounting hardware (French cleat or D-rings)
- Painter’s tape
- Soft cloth for cleaning the mirror surface
Before you buy, measure the full wall width and height, and measure your dining table’s width so the mirror and panel area can be centered against it rather than the room as a whole – this is the detail that makes the finished wall look intentional.
Step 1: Choose the Right Wall Panel
Start by browsing options for Wall Panels to compare styles like slatted wood, fluted MDF, and peel-and-stick 3D tile. For a dining room, a warm wood-tone slat panel tends to simplify the space best because it adds texture without competing with dinnerware, table linens, or artwork you may already display. Measure your wall and decide whether you want the panel to run floor-to-ceiling, as a half-wall wainscot, or as a single framed section behind the table – the framed-section approach is usually the simplest to execute and the easiest to keep proportional in a smaller dining room.
Step 2: Plan the Mirror Placement
Look through arched mirrors and choose a size that’s roughly two-thirds the width of your dining table or console below it. Hold the mirror (or a paper template cut to its dimensions) against the wall to check proportions before committing. The center of the mirror should generally sit at eye level, around 60 to 65 inches from the floor, unless it’s being centered above a lower piece of furniture, in which case leave 6 to 10 inches of breathing room between the furniture top and the mirror’s bottom edge.
Step 3: Find and Mark Your Studs
Run a stud finder across the section of wall you’re working on and mark stud locations lightly in pencil. Even if your panel uses adhesive, the mirror should be anchored into studs or rated wall anchors – mirrors are heavy and top-hung pieces are one of the most common items to fall off a dining wall when hardware is skipped or undersized.
Step 4: Dry-Fit the Wall Panel
Lay out your panel pieces on the floor first, or hold them against the wall with painter’s tape, to confirm spacing, seams, and alignment before applying adhesive. Use a level to keep horizontal lines true – even a slight tilt becomes obvious once the room’s light hits the panel’s grooves or shadow lines.
Step 5: Install the Wall Panel
- Clean the wall surface so it’s free of dust and grease.
- Apply adhesive per the panel manufacturer’s instructions, working from one edge across the wall.
- Press each panel section firmly, checking level after every piece.
- If using MDF or wood panels with seams, run a thin bead of paintable caulk along joints once adhesive has set, then wipe smooth.
- Let the panel cure for the manufacturer’s recommended time before hanging anything on or near it.
Step 6: Mount the Arched Mirror
- Attach the mirror’s hanging hardware (D-rings or a French cleat) securely to the mirror frame.
- Mark your centered, level position on the wall using your earlier measurements.
- Drive anchors or screws into studs, or use rated heavy-duty anchors if studs don’t line up with your mark.
- Hang the mirror and check it’s level and centered against the panel and table below.
- Give it a gentle push test to confirm it’s firmly secured before stepping away.
Step 7: Simplify the Rest of the Wall
This is the step that actually delivers the “simplified” look: resist the urge to add more. Once the panel and mirror are up, remove any extra frames, shelves, or knickknacks competing for attention on that wall. If you want a soft finishing touch, layer in best curtains in a similar tone to the panel so the window treatment supports the palette instead of introducing a new competing color or pattern.
Safety Notes
- Always confirm stud locations before hanging a mirror – never rely on adhesive strips alone for glass.
- Wear safety glasses when drilling into walls, especially near outlets or existing fixtures.
- Handle glass mirrors with both hands and avoid setting them face-down on hard or gritty surfaces, which can scratch the coating.
- Check local building codes if you’re installing panels near an outlet – you may need outlet extenders to keep the panel flush.
Common Mistakes to Avoid
- Skipping the dry-fit. Committing adhesive to a wall panel before confirming spacing often leads to uneven seams that are hard to fix afterward.
- Undersizing the mirror. A mirror that’s too small relative to the table or console below it can look like an afterthought rather than a focal point.
- Ignoring wall level. Older homes especially can have walls that aren’t perfectly plumb – always level off the panel itself, not the ceiling or floor line.
- Over-decorating after installation. Adding extra art, shelves, or decor around the new panel and mirror undoes the simplified effect you just created.
- Mismatched hardware finishes. Mixing too many metal tones between the mirror frame, light fixtures, and drawer pulls can make the room look unplanned even after decluttering.
Frequently Asked Questions
Do I need a professional to install a wall panel and arched mirror?
Most peel-and-stick or lightweight panel systems are approachable DIY projects. Heavier MDF panels and large mirrors may benefit from a second set of hands, but the installation itself doesn’t typically require a contractor if you follow stud-finding and leveling steps carefully.
What size arched mirror works best above a dining console?
Aim for a mirror that’s about two-thirds the width of the furniture below it, which keeps proportions balanced without overwhelming the wall.
Can I install a wall panel over textured or painted drywall?
Yes, as long as the surface is clean, dry, and structurally sound. Peel-and-stick panels adhere best to smooth or lightly textured walls; heavily textured surfaces may need a thin skim coat first.
How do I keep the arched mirror from fogging or losing shine near a dining area?
Keep it away from direct steam sources and wipe it periodically with a soft, lint-free cloth and a streak-free glass cleaner to maintain clarity.
Final Thoughts
Simplifying a dining and decor scheme isn’t about adding more – it’s about choosing two or three pieces that do the most visual work and letting the rest of the wall breathe. A well-proportioned wall panel paired with an arched mirror gives you texture, light, and a clear focal point in one coordinated move. Follow the measuring, leveling, and anchoring steps above, resist the temptation to over-accessorize afterward, and you’ll have a dining wall that feels calm, cohesive, and finished.