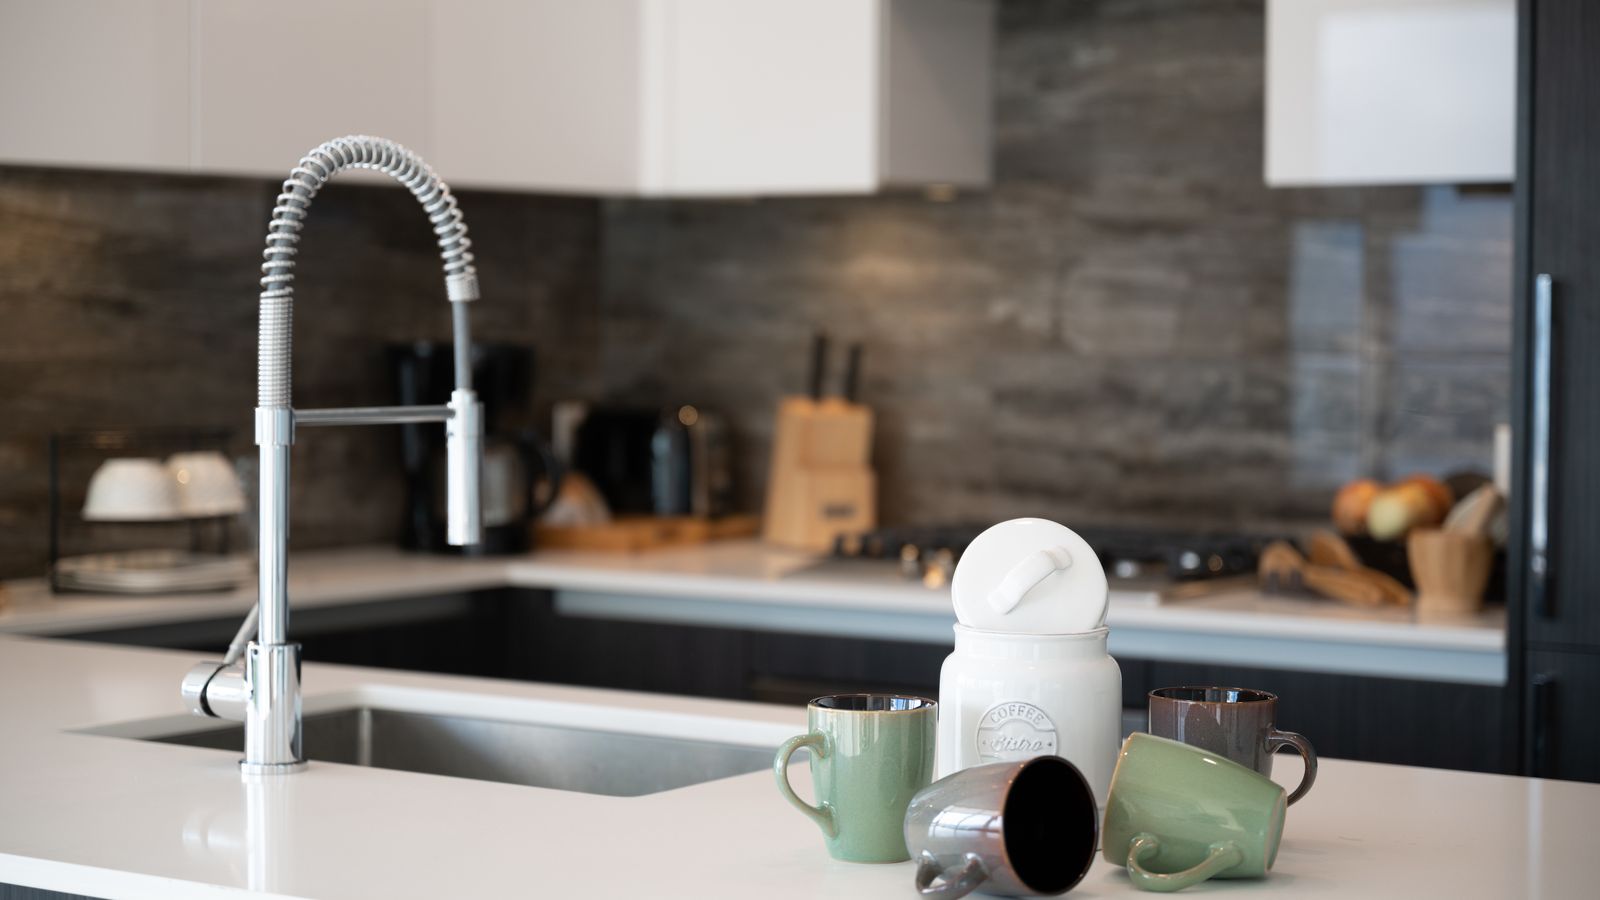
A kitchen canister earns its keep by holding flour, sugar, coffee, rice, and other pantry staples right on your counter – but that constant exposure to oils, humidity, and food residue means it needs more than a quick rinse every so often. Sticky rings around the lid, cloudy glass, and a faint stale smell are all signs it is time for a real deep clean, not just a wipe-down. This guide walks you through exactly how to deep clean a kitchen canister from start to finish, including the tools you need, the safest cleaning methods for glass, ceramic, and stainless steel, and the small habits that keep buildup from coming back so fast.
Why Kitchen Canisters Need Regular Deep Cleaning
Even canisters that only ever hold dry goods build up residue over time. Flour and sugar release fine dust that clings to interior walls with static, oils from nuts, grains, or coffee beans leave a faint film, and any trace of moisture that gets trapped under a lid can encourage mold or musty odors. If you have ever poured out the last cup of rice or flour and noticed a dusty coating stuck to the glass, that is exactly the kind of buildup a simple rinse will not remove. Deep cleaning periodically – not just when a canister looks dirty – keeps food fresher, prevents pantry pests from being drawn to residue, and extends the life of gaskets and seals on airtight lids.
What You’ll Need
- Warm water and a mild dish soap
- A soft bottle brush or long-handled sponge that can reach the bottom of tall canisters
- White vinegar (for mineral deposits, cloudiness, or lingering odors)
- Baking soda (for scrubbing stubborn residue without scratching)
- A microfiber cloth or lint-free towel for drying
- Cotton swabs or a small brush for lids, spouts, and gasket grooves
- A drying rack or clean towel to air-dry parts fully before refilling
Before you start, check whether your canister has any special material considerations. Glass and stainless steel tolerate vinegar and baking soda well, but some painted ceramic or bamboo-lidded canisters can be more sensitive to prolonged soaking, so always check the base for care markings first.
Step-by-Step: How to Deep Clean a Kitchen Canister
- Empty and sort the contents. Transfer any remaining food into a temporary airtight container or bag so it stays fresh while the canister is being cleaned. If the contents look old, stale, or show any sign of pests, it is worth discarding them rather than reusing them.
- Disassemble removable parts. Take off lids, gaskets, pour spouts, or locking clamps if the design allows it. Cleaning each piece separately gets into grooves and seams that trap residue when everything is cleaned as one unit.
- Rinse with warm water first. A quick rinse loosens loose dust and crumbs before you introduce soap, which prevents you from just smearing dry residue around the interior.
- Wash with warm soapy water. Fill the canister about a third full with warm water, add a small squirt of mild dish soap, and use a bottle brush to scrub the interior walls and base in circular motions, paying extra attention to the bottom corners where residue settles.
- Tackle stubborn buildup with baking soda. For sticky rings or caked-on residue that soap alone will not budge, sprinkle a tablespoon of baking soda directly onto the damp surface and scrub gently with the brush. The mild abrasiveness lifts residue without scratching glass or scoring most finishes.
- Soak in a vinegar solution for cloudiness or odor. Mix equal parts warm water and white vinegar and let the canister soak for 15-20 minutes. This step is especially useful for glass canisters that have gone hazy from mineral deposits or for any container that has picked up a musty smell.
- Clean the lid and seal separately. Use a cotton swab or small brush dipped in soapy water to clean along hinge lines, gasket grooves, and pour-spout threads – these tight spaces are where mold and grime most often hide unnoticed.
- Rinse thoroughly. Rinse every part under running water until no soap residue or vinegar smell remains. Leftover soap can affect the taste of dry goods stored afterward, so do not rush this step.
- Air-dry completely before reassembling. Place all parts upside down on a drying rack or towel and let them dry fully – ideally overnight. Sealing any moisture inside a canister is one of the most common causes of mold and clumping once food is added back.
- Reassemble and refill. Once every piece is bone dry, snap gaskets and lids back into place and refill with fresh, dry ingredients.

Special Care for Different Canister Materials
Glass Canisters
Glass is the most forgiving material – it tolerates vinegar soaks, baking soda scrubs, and even a dishwasher-safe rating on many models. Just avoid abrasive metal scouring pads, which can leave fine scratches that make the glass look permanently cloudy over time.
Ceramic and Stoneware Canisters
Hand wash rather than soak ceramic canisters for long periods, since some glazes can craze or discolor with repeated prolonged exposure to acidic solutions like vinegar. A quick 5-10 minute soak is usually enough.
Stainless Steel Canisters
Stainless steel resists staining and odor absorption well, but water spots can show easily, so dry it thoroughly and buff with a soft cloth to keep the finish looking clean and streak-free.
Bamboo or Wood Lids
Never fully submerge wood or bamboo lids. Instead, wipe them down with a barely damp cloth and dry immediately to prevent warping, cracking, or mold growth in the grain.
Common Mistakes to Avoid
- Refilling before parts are fully dry. Even a small amount of trapped moisture can cause flour or sugar to clump and invite mold.
- Using bleach on food-storage containers. Bleach can leave behind residue and odors that are not food-safe; stick to vinegar, baking soda, and mild soap instead.
- Ignoring the lid and seal. Most lingering odors and mold come from gaskets and lid grooves, not the visible interior walls.
- Scrubbing glass with abrasive pads. Steel wool or harsh scouring pads can scratch glass and ceramic, creating micro-grooves where bacteria and residue collect.
- Skipping the rinse step before washing. Washing dry residue directly with soap often just smears it instead of lifting it away.
How Often Should You Deep Clean Your Canisters
For canisters holding everyday staples like flour, sugar, or rice, a deep clean every two to three months keeps buildup from accumulating. Canisters storing oilier items such as coffee beans, nuts, or granola may need attention monthly since oils leave residue faster. Always deep clean immediately after finishing a container of anything that showed early signs of pests, moisture, or spoilage before refilling with new product.
Choosing Canisters That Are Easier to Deep Clean
If you are noticing that certain canisters in your kitchen are consistently harder to clean – narrow necks that a brush cannot reach, tight gasket seals that trap grime, or materials prone to staining – it may be worth upgrading to designs built with easier maintenance in mind. Wide-mouth glass jars with simple hinged lids tend to be the easiest to scrub thoroughly by hand. For a closer look at well-reviewed options with practical, easy-to-clean designs, check out this roundup of Kitchen Canisters.
Frequently Asked Questions
Can I put my kitchen canister in the dishwasher?
Many glass and stainless steel canisters are dishwasher-safe, but always check the manufacturer’s care instructions first, and avoid the dishwasher entirely for wood, bamboo, or hand-painted ceramic lids.
What removes cloudiness from glass canisters?
A vinegar-and-water soak followed by a gentle baking soda scrub is usually enough to clear up mineral haze or residue-related cloudiness on glass.
Why does my canister smell musty even after washing?
Trapped moisture in the lid, gasket, or a corner that was not fully dried is the most common cause. Disassemble every part completely and air-dry for at least several hours before reassembling.
Is it safe to use essential oils or scented cleaners inside food canisters?
It is best to avoid them, since scented cleaners can leave behind residues or odors that transfer to food. Stick to soap, vinegar, and baking soda for anything that will directly touch food.
Final Thoughts
Deep cleaning a kitchen canister only takes about 20-30 minutes from start to finish, but it makes a real difference in how fresh your pantry staples taste and how long your containers last. A regular cleaning routine – rinsing, scrubbing with baking soda, soaking in vinegar when needed, and always drying fully before refilling – keeps buildup, odors, and pests from becoming a bigger problem down the line. If a canister in your kitchen has become impossible to keep clean no matter how often you scrub it, it may simply be time to replace it with a design that is easier to maintain going forward.