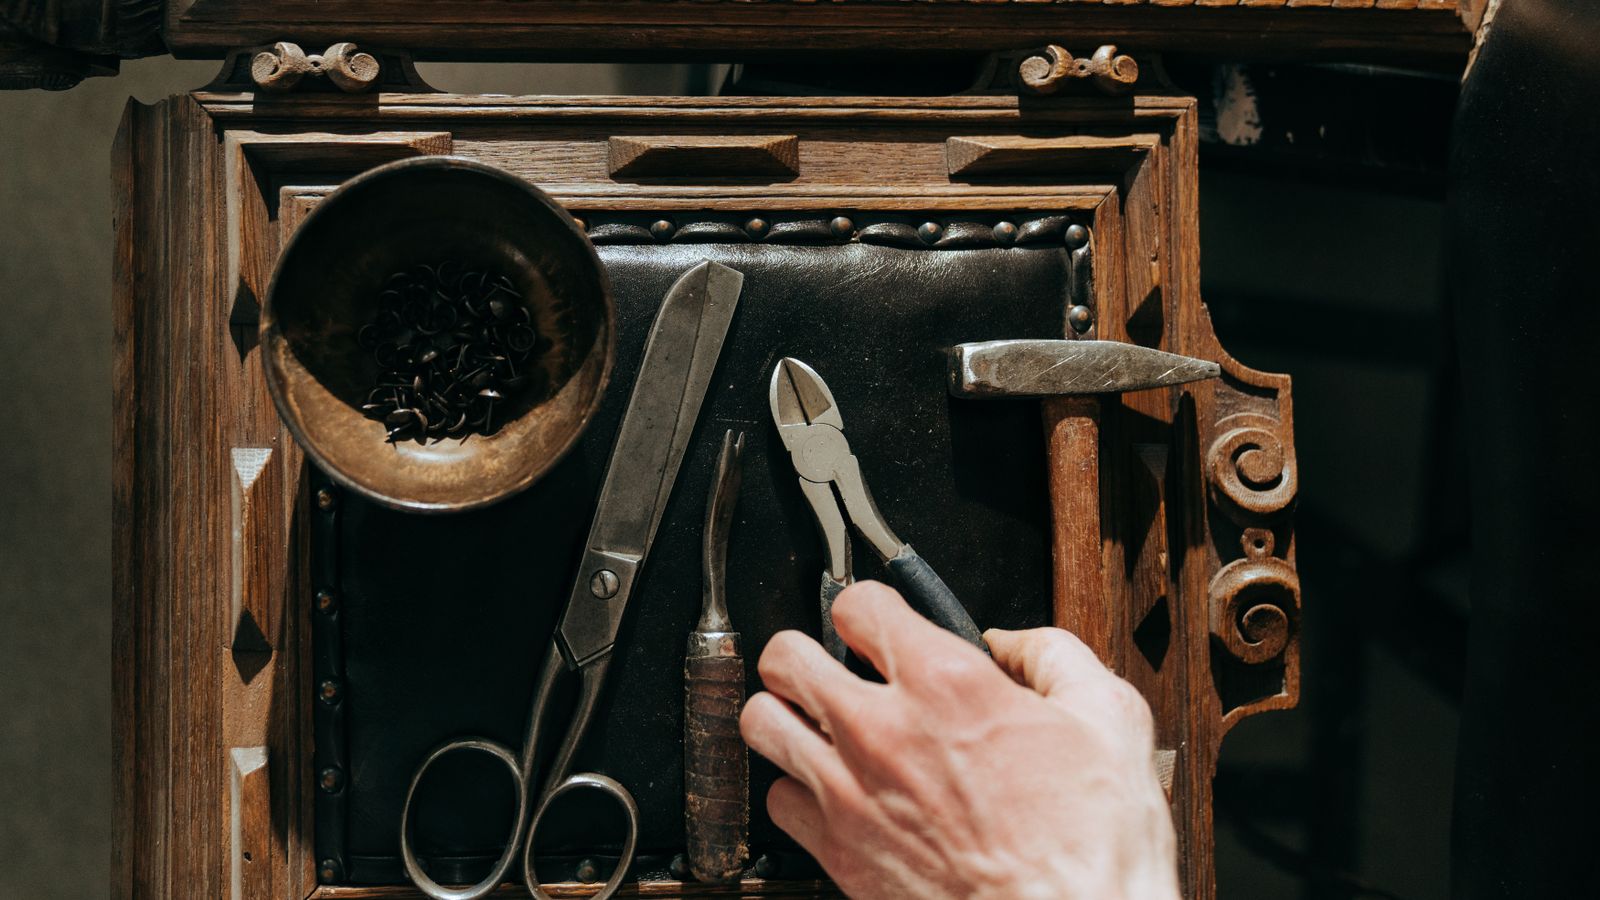
Every household with wood furniture eventually runs into the same three problems: a wobbly leg, dull or scratched finish, and sagging upholstery fabric that needs re-securing. A well-stocked furniture repair kit solves all three, but most starter kits sold in 2026 only include the bare minimum – a small bottle of glue, a screwdriver, and maybe a tack hammer. If you want to handle real repairs instead of just patching things temporarily, it is time to upgrade your kit with three specific tools: a quality furniture leg set, a proper furniture polish, and an upholstery staple gun. This guide walks through exactly what to add, why each tool matters, and how to use them correctly so your furniture lasts years longer.
Why a Basic Repair Kit Isn’t Enough
Most pre-packaged furniture repair kits are designed for cosmetic touch-ups – filling a small scratch or tightening a loose screw. They rarely include replacement hardware, a real polish formulated for different wood finishes, or the tools needed to re-staple loose upholstery fabric. When a chair leg cracks, a tabletop loses its shine, or a sofa cushion starts sagging because the fabric has pulled free from the frame, a basic kit leaves you stuck improvising with whatever is in the junk drawer. Upgrading your kit with dedicated tools means you can handle 90% of common furniture problems without calling a professional or replacing the piece entirely.
Step 1: Add a Quality Furniture Leg Set
Furniture legs take the most physical stress of any component – they support weight, absorb shifting, and are the first thing to crack, split, or wear down at the base. Instead of gluing a broken leg back together over and over, keeping a proper Furniture Leg Sets on hand lets you swap in a solid replacement in minutes.
What to Look For
- Adjustable-height sets so you can match mismatched or worn-down legs.
- Material that matches your furniture’s finish – solid wood, metal, or hairpin-style depending on the piece.
- A mounting plate or threaded insert system that works with standard screws, since drilling new holes into an old frame can weaken it further.
- A weight rating appropriate for the furniture type – dining chairs and sofas need sturdier legs than side tables.
How to Replace a Furniture Leg
- Flip the furniture upside down on a padded surface to avoid scratching the top.
- Remove the damaged leg by unscrewing it or gently prying loose the mounting plate.
- Inspect the socket or mounting area for cracks; sand down any splintered wood.
- Attach the new leg’s mounting plate using the provided screws, checking that it sits flush.
- Screw or twist the replacement leg into place and tighten fully.
- Flip the furniture upright and test for wobble on a flat floor before use.
Step 2: Stock a Proper Furniture Polish
Once the structural issue is fixed, the finish is usually the next thing that needs attention. Cheap all-purpose sprays can leave streaks, build up wax residue, or even damage certain finishes over time. A dedicated furniture polish restores shine, conditions the wood, and helps hide minor surface scratches without stripping the existing finish.
Choosing the Right Polish
- Match the polish to your wood type – some formulas are designed specifically for oiled wood, while others work best on lacquered or varnished surfaces.
- Avoid silicone-heavy polishes if you ever plan to refinish the piece, since silicone residue can interfere with new stain or varnish adhesion.
- Look for polishes with UV protection if the furniture sits near windows, since sunlight fades and dries out wood over time.
- Pick a low-odor, low-VOC formula for indoor use, especially in smaller rooms.
How to Apply Furniture Polish Correctly
- Dust the surface thoroughly first – polishing over dust can create fine scratches.
- Shake the polish well, then apply a small amount to a soft, lint-free cloth rather than spraying directly onto the wood.
- Work in the direction of the wood grain using light, even strokes.
- Let the polish sit for the time recommended on the label, then buff with a clean, dry cloth for a smooth, streak-free finish.
- Reapply every few weeks for high-use pieces, or monthly for furniture that sees light use.
Step 3: Add an Upholstery Staple Gun
Fabric-covered furniture – dining chairs, headboards, ottomans, sofas – relies on staples to hold the upholstery taut against the frame. Over time, staples loosen, rust, or pop out, leaving sagging or bunched fabric. A dedicated best upholstery staple guns pick gives you the ability to re-secure fabric tightly and cleanly, something a standard office stapler or hammer tacker simply cannot do well.
What Makes a Good Upholstery Staple Gun
- Adjustable power or depth settings so you don’t tear delicate fabric or leave staples proud of the surface.
- Comfortable grip and low recoil for repeated use across a large surface like a sofa back.
- Compatibility with narrow-crown staples in a range of lengths, since thicker padding needs longer staples.
- Electric or pneumatic options for larger projects; manual staple guns work fine for small touch-ups.
How to Re-Staple Loose Upholstery
- Pull back the loose section of fabric and remove any old or rusted staples with pliers.
- Pull the fabric taut over the frame, checking that the pattern or grain stays straight.
- Starting from the center of the section and working outward, staple every one to two inches along the frame edge.
- Angle staples slightly to bite into solid wood rather than the edge, which prevents them from pulling loose again.
- Trim any excess fabric and tuck raw edges under before the final row of staples for a clean finish.
Building the Complete Upgraded Kit
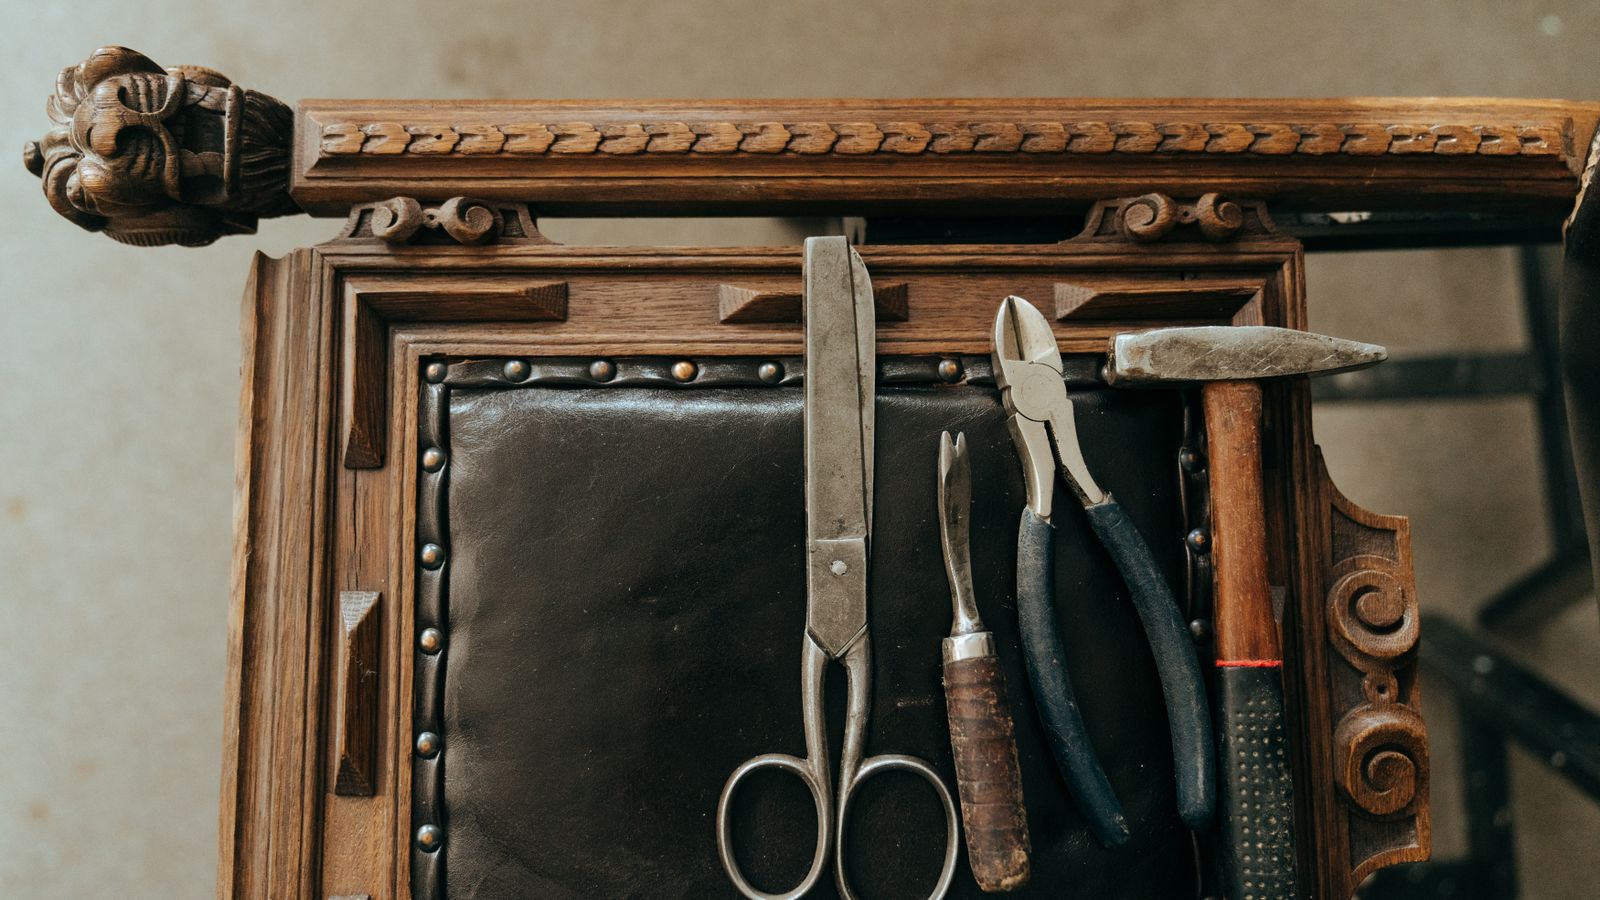
Once you have all three additions, organize them together in a dedicated toolbox or drawer so they are easy to grab when a repair comes up. A practical layout includes the leg set and mounting hardware in one compartment, the polish and cloths in a sealed bag to prevent leaks, and the staple gun with a small box of assorted staple lengths. Keeping everything together means small repairs get fixed right away instead of piling up.
Safety Notes
- Always unplug or engage the safety on an electric staple gun before loading staples or setting it down.
- Wear eye protection when using a staple gun, since staples can occasionally ricochet on hard surfaces.
- Work in a ventilated area when applying furniture polish, particularly aerosol or spray formulas.
- Support furniture on a stable surface when swapping legs to avoid tipping while it’s off-balance.
Common Mistakes to Avoid
- Using mismatched replacement legs that create an uneven stance instead of measuring and adjusting height properly.
- Applying too much polish at once, which leaves a sticky film that attracts dust.
- Overdriving staples so deep they tear the fabric, or too shallow so they don’t hold.
- Skipping the dusting step before polishing, which grinds grit into the finish.
- Ignoring small cracks in a leg socket before installing a new leg, leading to repeat failures.
FAQ
How often should I replace furniture legs instead of repairing them?
If a leg has split more than once in the same spot or the mounting area is too damaged to hold screws securely, replacement is more reliable than another repair attempt.
Can I use the same polish on all my wood furniture?
Not always. Oiled, waxed, and lacquered finishes each respond differently to polish, so check the furniture’s finish type before applying a new product to avoid dulling or streaking.
Do I need an electric staple gun for small upholstery jobs?
No. A manual staple gun is usually enough for small touch-ups like a single loose corner, but electric or pneumatic guns save effort on larger pieces like full sofa backs.
How do I know if my staples are the right length?
The staple should be long enough to pass through the fabric and padding and bite firmly into the wood frame without poking through the other side.
Final Thoughts
Upgrading a basic furniture repair kit with a proper leg set, a real furniture polish, and an upholstery staple gun turns you from someone who patches problems temporarily into someone who can actually fix them. These three additions cover the most common furniture failures – structural wobble, worn finish, and loose upholstery – and together they extend the life of chairs, tables, and sofas by years. Start with whichever tool matches your most pressing repair, then build out the rest of the kit over time.