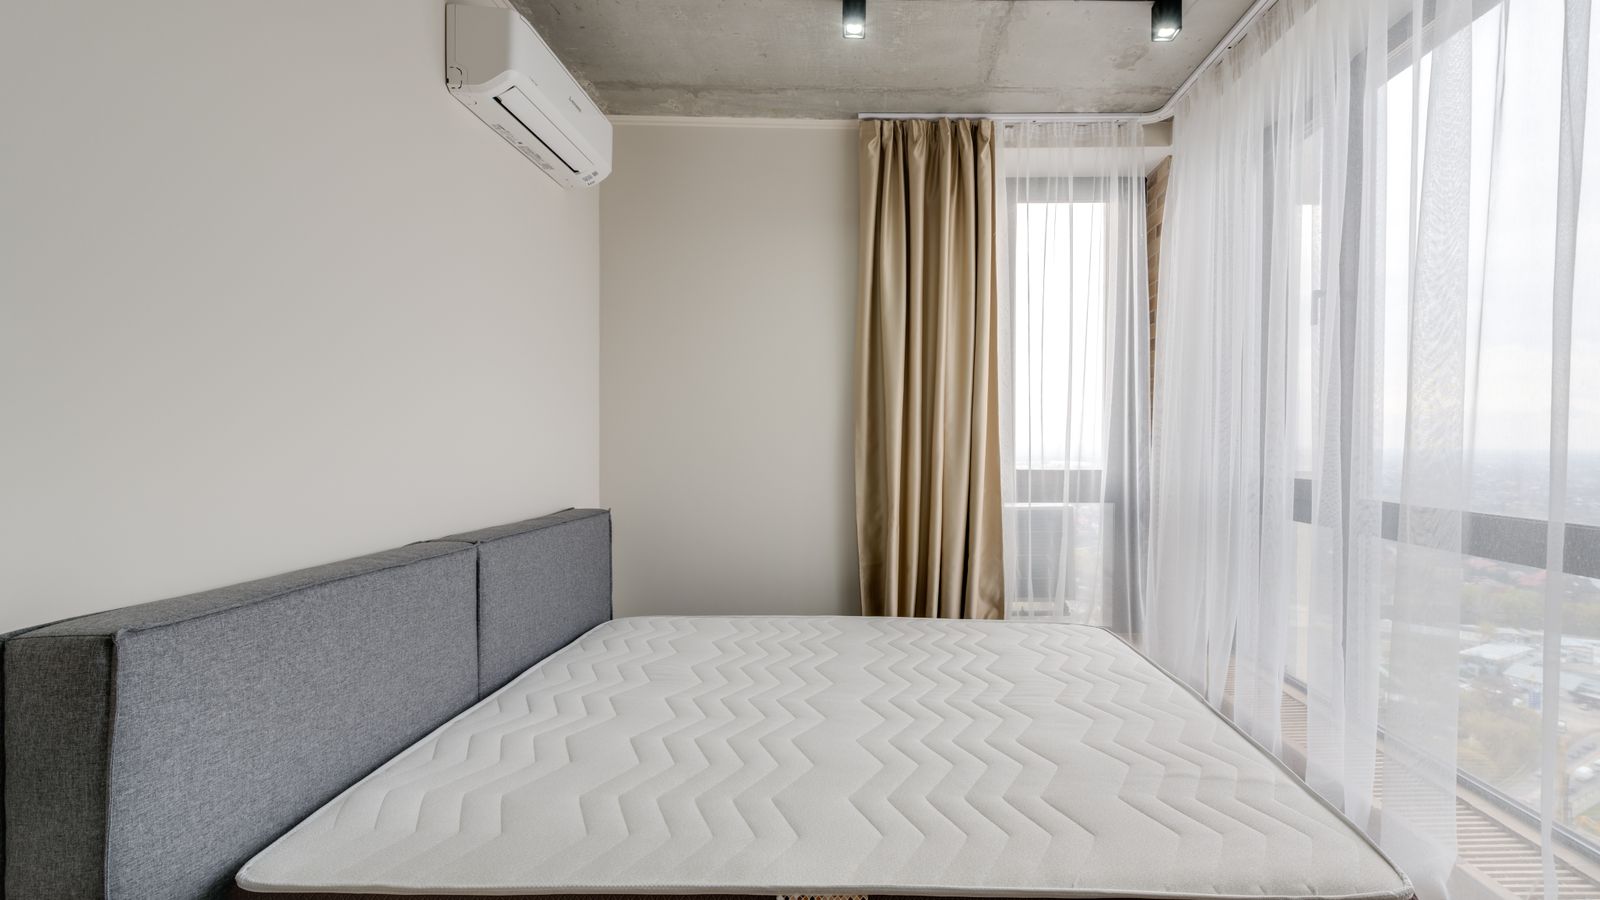
Keeping a mattress fresh, hygienic, and comfortable does not have to mean a complicated weekend chore list. Two simple tools – a good mattress cleaner and a cooling mattress protector – can cut your maintenance routine down to a few easy habits while extending the life of your mattress and improving how you sleep. This guide walks through exactly how to combine these two products into a streamlined care routine, so you spend less time scrubbing stains and more time enjoying a cleaner, cooler bed.
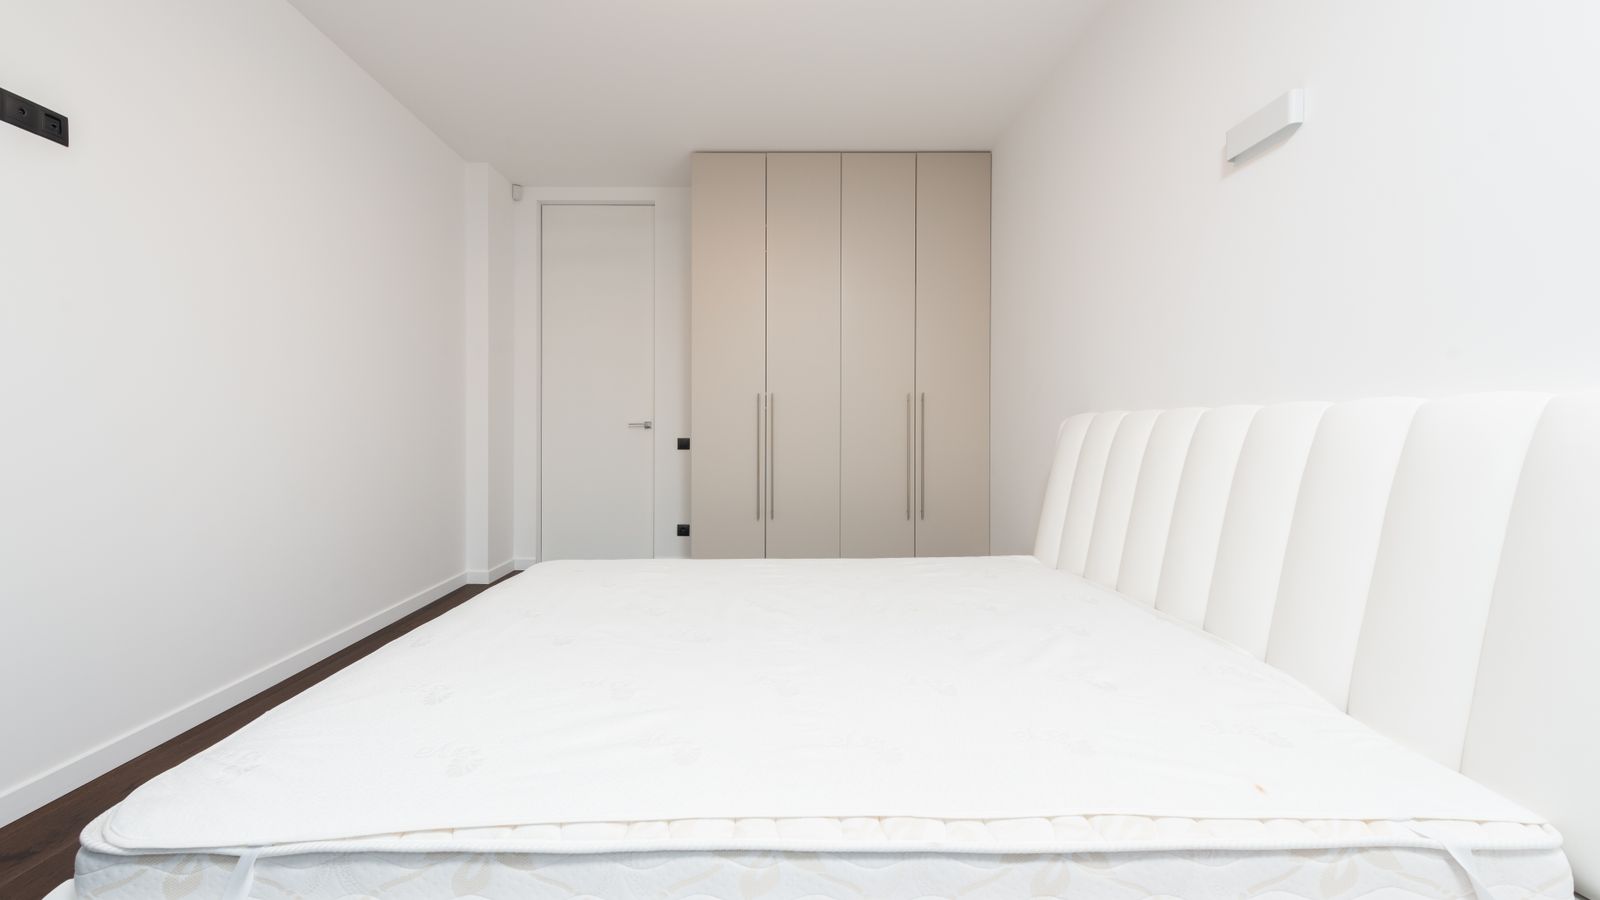
Why Mattress Care Routines Get Complicated
Most people either over-clean their mattress with harsh products and excessive scrubbing, or under-clean it and let dust, sweat, and allergens build up for years. Both extremes cause problems. Over-wetting a mattress with liquid cleaners can lead to mold and mildew inside the foam layers, while ignoring maintenance altogether shortens the mattress’s lifespan and can trigger allergies or unpleasant odors. The fix is not more effort – it is the right combination of tools used consistently and correctly.
A dedicated mattress cleaner handles the stains, odors, and surface bacteria that build up over time, while a cooling mattress protector acts as a preventative barrier that stops most spills, sweat, and skin oils from ever reaching the mattress in the first place. Together, they turn a once-a-year deep clean into a light, five-minute weekly habit.
What You’ll Need: Tools and Materials
- A fabric-safe mattress cleaner spray or foam formula
- A breathable cooling mattress protector sized to fit your mattress
- A vacuum cleaner with an upholstery attachment
- A soft-bristle brush or microfiber cloth
- Baking soda (optional, for odor absorption)
- A well-ventilated room or open window for drying time
If you sleep hot, run night sweats, or share the bed with kids or pets, pairing your mattress cleaner with a mattress encasement in addition to a cooling protector gives you an extra layer of defense against dust mites and moisture.
Step 1: Strip and Air Out the Bed
- Remove all sheets, pillowcases, and your existing mattress protector, and wash them according to their care labels.
- Open a window or turn on a fan to let the mattress air out for at least 20 to 30 minutes. This allows trapped moisture and body heat to escape before you start cleaning.
- Inspect the mattress surface for visible stains, discoloration, or odor hot spots so you know exactly where to focus your cleaner.
Step 2: Vacuum the Entire Surface
- Attach the upholstery tool to your vacuum and go over the entire mattress, including the sides and seams where dust and skin flakes collect.
- Work in slow, overlapping passes rather than quick swipes, since dust mites and debris settle deep into the fabric weave.
- Pay extra attention to the head and foot areas, which tend to accumulate the most dust over time.
Step 3: Apply the Mattress Cleaner
- Shake the mattress cleaner bottle and do a small spot test on an inconspicuous area first to confirm it does not discolor the fabric.
- Spray or foam the cleaner directly onto stains or odor-prone zones, following the product’s instructions for dwell time.
- Gently work the solution into the fabric with a soft brush or microfiber cloth using circular motions – avoid scrubbing hard enough to push liquid deep into the foam.
- Blot excess moisture with a clean, dry towel rather than wiping, which can spread the stain further.
Step 4: Deodorize and Dry Completely
- Once the surface is clean, sprinkle a light, even layer of baking soda over the mattress to absorb lingering odors and residual moisture.
- Let it sit for at least an hour, or longer if the room is humid.
- Vacuum the baking soda off thoroughly, checking that no residue remains in the seams.
- Confirm the mattress is completely dry to the touch before covering it – a damp mattress trapped under a protector is the fastest way to grow mildew.

Step 5: Fit the Cooling Mattress Protector
- Unfold the cooling mattress protector and identify the corner elastic pockets or zipper opening, depending on the style you chose.
- Starting at one corner, pull the fabric snugly over the mattress edge, then work diagonally to the opposite corner so the fit stays even and wrinkle-free.
- Smooth out the surface by hand to eliminate air pockets, since a taut protector allows the cooling fibers to make full contact with your body for better temperature regulation.
- If your protector has a zippered encasement design, close it fully to seal against dust mites and allergens on all six sides.
Cooling protectors typically use moisture-wicking weaves or phase-change materials that pull heat away from the body, so once it is properly fitted, you should notice a real difference in temperature within the first few nights of sleep.
Building a Simple Weekly and Monthly Routine
The goal of pairing these two products is to reduce your workload, not add to it. Here is a routine that keeps the mattress protected without becoming a chore:
- Weekly: Wash the mattress protector’s removable cover (if applicable) along with your regular bedding.
- Monthly: Vacuum the mattress surface through the protector and spot-treat any new stains with the mattress cleaner before they set in.
- Every 3 to 6 months: Remove the protector entirely, deep clean the bare mattress following steps 1 through 4 above, rotate the mattress if the manufacturer recommends it, and refit a freshly washed protector.
Common Mistakes to Avoid
- Skipping the spot test. Some fabric cleaners can discolor certain mattress covers, especially quilted or knit surfaces.
- Over-saturating the mattress. Too much liquid soaks into the foam or coils, where it can take days to dry and invite mold growth.
- Covering a damp mattress. Always confirm the surface is bone dry before putting the protector back on.
- Buying a protector that is not breathable. A vinyl or plastic-backed protector traps heat and defeats the purpose of a cooling design – look for knit or moisture-wicking fabrics instead.
- Forgetting the sides and seams. Most odor and dust buildup happens along the edges, not just the top sleeping surface.
Signs It’s Time to Replace Your Protector
Even a high-quality cooling mattress protector wears out eventually. Watch for a few clear indicators that it needs replacing: the fabric feels stiff or less stretchy after repeated washes, the cooling sensation seems to have faded, visible pilling or thinning appears on the surface, or you notice new stains bleeding through to the mattress despite the barrier. Most protectors hold up well for one to three years with regular washing, though this varies by material and how often the bed is used.
Frequently Asked Questions
How often should I clean my mattress if I use a protector?
A full deep clean every three to six months is usually enough when a quality protector is in place, since it is intercepting most sweat, oils, and spills before they reach the mattress itself.
Can I use a regular household cleaner instead of a mattress cleaner?
It is best to avoid it. General-purpose cleaners often contain harsher solvents that can break down foam, degrade fire-retardant barriers, or leave a strong chemical smell. A cleaner formulated specifically for mattresses is designed to be effective while staying gentle on the materials.
Will a cooling mattress protector make an old mattress feel new again?
It will not change the support or firmness of an aging mattress, but it can noticeably improve comfort by regulating temperature and adding a fresh, clean barrier over a surface that has absorbed years of use.
Do I still need a mattress cleaner if I always use a protector?
Yes. Even the best protector will not stop dust, moisture, and body oils from working into its own surface over time, and periodically cleaning both the protector and the mattress underneath keeps the whole sleep system fresh.
Is it safe to machine wash a cooling mattress protector?
Most cooling protectors are machine washable, but always check the care label first. Use cold or warm water on a gentle cycle and avoid high heat when drying, since excess heat can damage the cooling fibers or elastic edges.
Final Thoughts
Simplifying your mattress care routine really comes down to prevention plus light, consistent maintenance. A cooling mattress protector stops most damage and buildup before it happens, while a good mattress cleaner handles the occasional stain or refresh without turning into a major project. Set up this two-product system once, follow the simple weekly and monthly habits above, and you will spend far less time deep cleaning while enjoying a cooler, fresher bed night after night.