If your countertops are buried under gadgets you use twice a year, it might be time to downsize your kitchen appliance lineup. Moving to a smaller home, simplifying a busy kitchen, or just reclaiming counter space are all good reasons to pare down – but the goal isn’t to strip your kitchen bare. It’s to keep the appliances that actually earn their spot and let go of the ones that don’t. This guide walks you through a practical, step-by-step process for trimming your appliance collection while preserving everything your kitchen needs to function well.
Why Downsizing Makes Sense
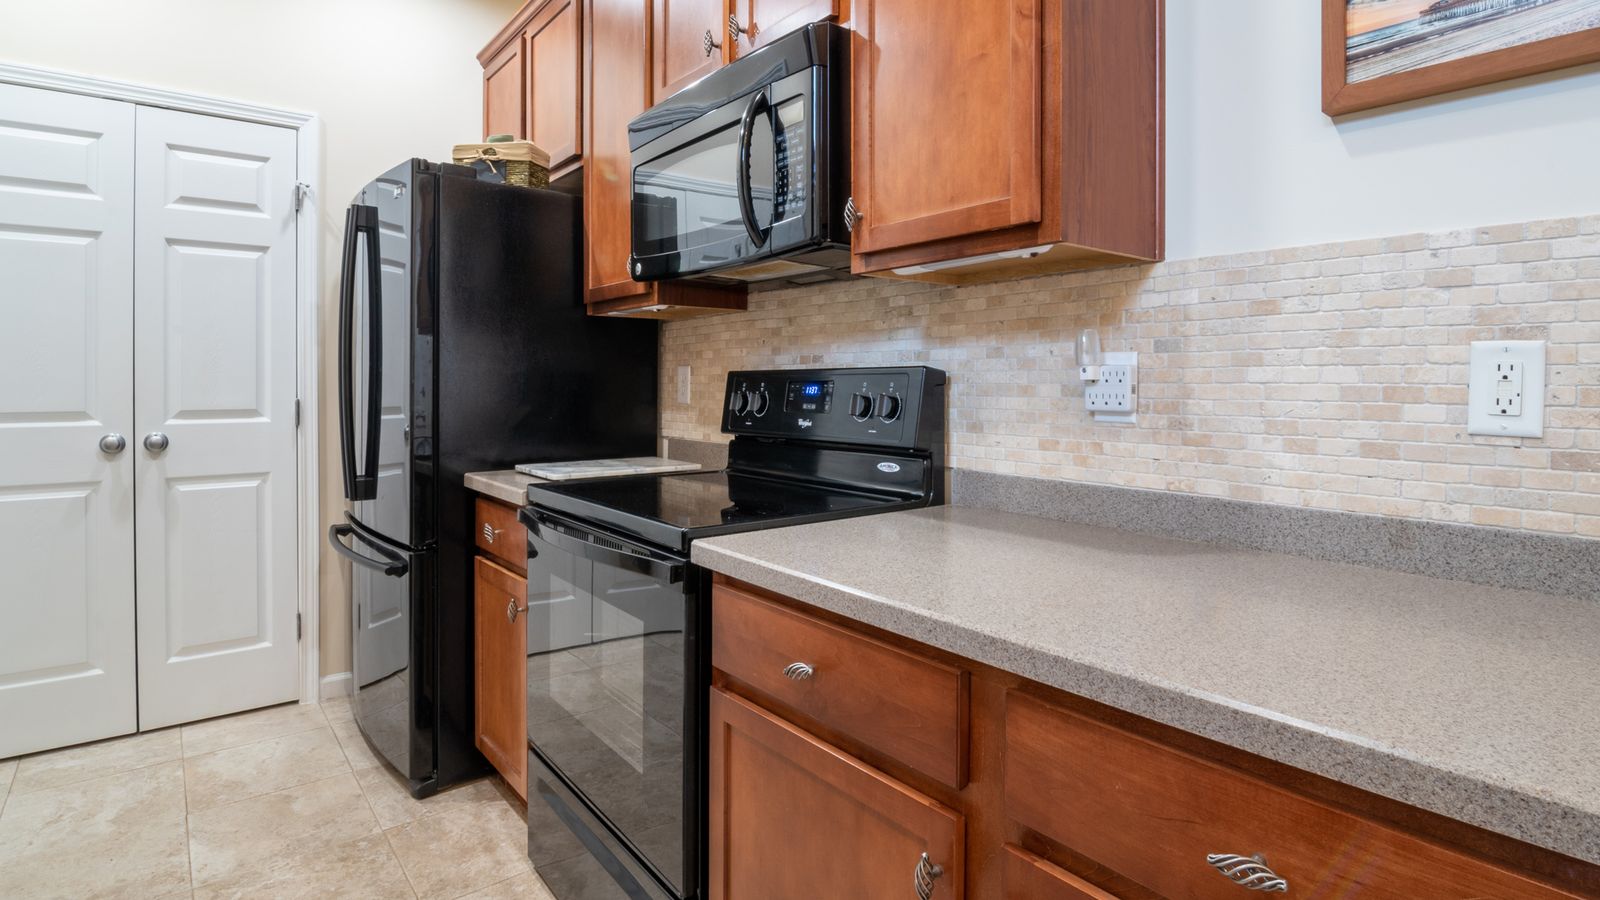
A crowded kitchen counter isn’t just visually cluttered – it actively slows you down. Every appliance you have to move to reach another one adds friction to cooking. Smaller kitchens, apartments, RVs, and even larger homes with too many single-purpose gadgets all benefit from a leaner lineup. Downsizing also makes cleaning easier, reduces the temptation to buy redundant gear, and can free up an entire cabinet or drawer for something more useful.
The key is distinguishing between appliances that provide unique function versus those that simply duplicate what another tool already does. A blender and a food processor might feel redundant, but they actually serve different purposes. A single-use egg cooker and a pot of boiling water, on the other hand, do the exact same job.
Step 1: Audit Every Appliance You Own
Before deciding what stays, you need a full inventory. Pull every appliance out of cabinets, off shelves, and out of that one drawer nobody wants to open. Line them up on the counter or table so you can see everything at once.
- List each appliance and where it’s currently stored.
- Note the last time you actually used it (be honest – “someday” doesn’t count).
- Group similar appliances together (e.g., all the small blending/chopping tools in one pile).
This visual audit is often the most eye-opening part of the process. Most people discover they own two or three appliances that do essentially the same job.
Step 2: Separate Daily Use From Occasional Use
Sort your appliances into three categories: used weekly, used occasionally (a few times a month or seasonally), and rarely or never used. The “weekly” group is almost always safe to keep. The “occasional” group deserves a closer look – some items, like a slow cooker or waffle iron, are worth keeping even if they’re not daily drivers because they’d be a hassle to replace or borrow. The “rarely used” group is where most of your downsizing opportunity lives.
Be realistic about seasonal appliances too. An ice cream maker used once every summer might still be worth the storage space if it gets real use during that window, but a bread machine that’s been in a box for three years probably isn’t.
Step 3: Identify True Duplicates
Duplicates are the easiest cuts to justify. Look for appliances that overlap almost entirely in function:
- A stand mixer and a hand mixer, when you rarely need the extra power of the stand mixer.
- A dedicated rice cooker when your instant pot or multicooker already handles rice well.
- A panini press when your grill pan or oven does the same job with a little more effort.
- A single-serve coffee maker alongside a full drip machine, when one household member could easily use the other.
When two appliances genuinely overlap, keep the one that’s more versatile, easier to clean, or better suited to your household size, and let the other go.
Step 4: Consolidate Around Multi-Function Appliances
One of the most effective downsizing strategies is replacing several single-task gadgets with one appliance that handles multiple jobs well. A multicooker can replace a rice cooker, slow cooker, and steamer. A high-powered blender can often replace a food processor for many tasks. An air fryer with a toast function can sometimes stand in for a dedicated toaster oven.
This doesn’t mean buying more gear – it means being strategic when something eventually needs replacing. If your toaster breaks, consider whether a multi-function oven already covers that job before buying a new single-purpose unit.
Step 5: Consider Your Refrigeration Setup
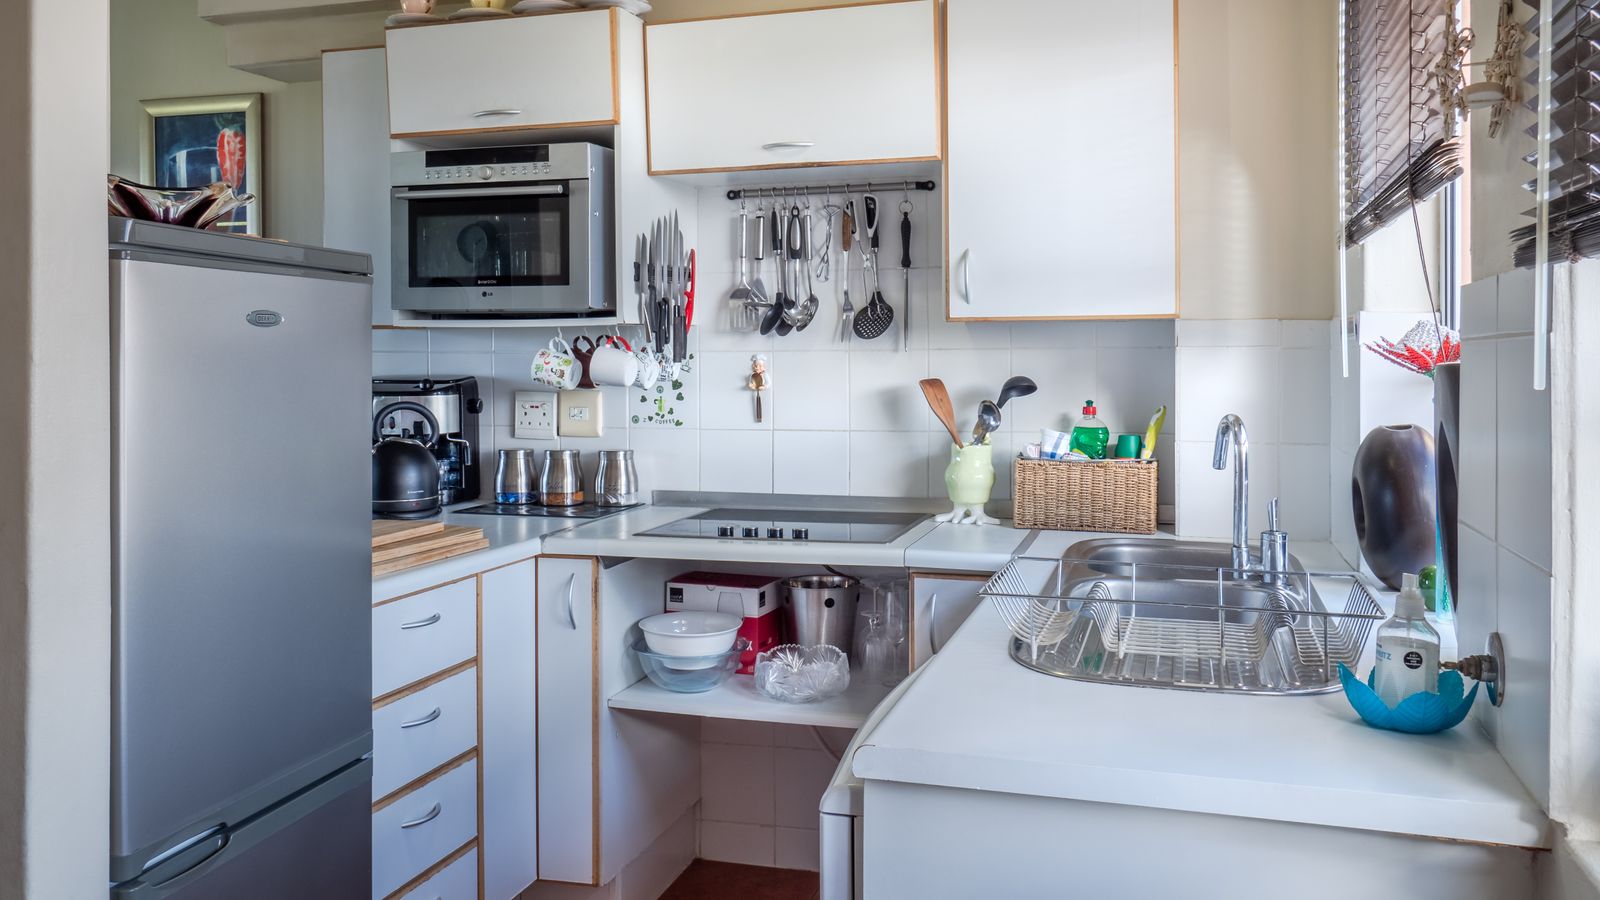
Downsizing isn’t limited to countertop gadgets – your refrigeration setup matters too. If you’re working with a smaller kitchen or a secondary space like a garage or home office, a compact unit from our guide to mini fridges can cut down on redundant storage without sacrificing convenience. On the flip side, if you’re consolidating multiple smaller fridges into one main unit, a well-organized option from our roundup of french door refrigerators can give you enough capacity to eliminate a secondary appliance altogether.
For kitchens where cabinet-depth alignment matters as much as storage capacity, browsing our picks for the best counter depth refrigerators can help you choose a single, well-fitted unit that removes the need for extra cold storage elsewhere in the house.
Step 6: Decide What to Do With Each Cut Item
Once you’ve identified what’s leaving your lineup, decide on the right exit path for each item:
- Donate working appliances to local charities, shelters, or community kitchens.
- Sell higher-value items through local marketplaces or resale apps.
- Gift appliances to friends or family members who could use them.
- Recycle broken or outdated appliances through an e-waste program rather than the trash.
Try to remove items from your home within a week of deciding to part with them. Appliances left “to deal with later” have a way of quietly migrating back into rotation.
Step 7: Redesign Your Storage Around What Remains
With a leaner lineup, take the opportunity to reorganize. Give your most-used appliances prime counter real estate, and store occasional-use items in accessible but out-of-the-way spots like a lower cabinet or pantry shelf. Appliance garages, pull-out shelves, and vertical organizers can help keep the remaining items tidy without cluttering your workspace.
This is also a good moment to standardize storage – grouping cords, chargers, and small attachments in labeled bins so nothing gets lost or forgotten in the back of a cabinet.
Common Mistakes to Avoid
- Cutting too fast: Don’t purge everything in one afternoon based on gut feeling alone. Use the audit and usage-tracking steps first.
- Ignoring household needs: An appliance you never use might be essential to another family member. Check before you donate.
- Replacing too soon: Avoid buying a “better” multi-function appliance before confirming it actually replaces the ones you plan to remove.
- Forgetting seasonal items: Don’t judge a holiday-specific appliance by how often it’s used in an average month.
Safety and Practical Notes
When storing appliances you’re keeping but using less often, make sure cords are coiled and secured to avoid tripping hazards or damage, and that heating appliances are fully cooled and clean before boxing them up for storage. If you’re passing along an appliance to someone else, do a quick safety check first – frayed cords or cracked housings should be recycled, not gifted or sold.
FAQ
How many appliances should a downsized kitchen have?
There’s no universal number – it depends on your cooking habits and household size. The right count is whatever covers your actual weekly and occasional cooking needs without duplication.
Should I downsize appliances or cookware first?
Appliances are usually easier to start with since their function is more obviously defined. Cookware often benefits from a similar audit afterward.
What if I regret getting rid of something?
If you sold or donated an item you later miss, most compact or multi-function replacements are inexpensive and widely available, so replacing a genuinely needed tool is rarely a major setback.
Is it worth replacing several appliances with one multi-function unit?
Often yes, especially in smaller kitchens, but only replace items as they wear out or when the multi-function unit clearly covers the same tasks well.
Final Thoughts
Downsizing your kitchen appliance lineup isn’t about deprivation – it’s about intentionality. By auditing what you own, identifying true duplicates, leaning on multi-function tools, and thoughtfully reworking your refrigeration setup, you can trim your collection down to what genuinely serves your cooking style. The result is a kitchen that feels more spacious, functions more efficiently, and still has everything you need close at hand.