Swapping a freestanding range for a built-in wall oven is one of the biggest layout decisions you’ll make in a kitchen remodel. Unlike a range, a wall oven lives inside custom cabinetry, sits at whatever height is most comfortable for you, and pairs with a separate cooktop elsewhere in the kitchen. Getting the choice right the first time matters, because resizing a cabinet cutout after installation is expensive and disruptive. This guide walks you through the practical decisions – size, fuel type, single vs. double configuration, controls, and how the oven fits into your broader appliance lineup – so you can shop with confidence instead of guessing.
Step 1: Measure Your Cabinet Cutout Before You Shop
Wall ovens are sold by nominal width – typically 24, 27, or 30 inches – but the actual cutout dimensions vary slightly by brand. Before you fall in love with a model online, pull the tape measure and record the exact width, height, and depth of the cabinet opening you’re working with, plus any minimum clearance the manufacturer specifies around the unit for ventilation.
- Measure the cutout width at three points (top, middle, bottom) since older cabinetry can be slightly out of square.
- Measure the depth from the front face of the cabinet to the back wall, accounting for any electrical box or gas line that protrudes.
- Check the height needed for a single oven versus a stacked double-oven configuration – doubles typically need a taller cutout of 50-53 inches.
- Note your existing electrical setup: most electric wall ovens need a dedicated 240V circuit, while gas models need a gas line and a standard outlet for electronic ignition and controls.
If you’re replacing an existing wall oven, matching the new unit’s cutout specs to the old one saves you from cabinetry rework entirely. If this is a new installation, work with your cabinet installer or contractor to build the opening to the new oven’s exact spec sheet rather than eyeballing it.
Step 2: Decide Between Gas and Electric
Most wall ovens on the market are electric, and for good reason: electric ovens heat more evenly, hold a more consistent temperature, and support convection fans without the moisture issues gas combustion can introduce. Gas wall ovens exist but are far less common and pricier to source, largely because running a gas line up a wall cavity is more involved than routing it to a floor-level range.
If your kitchen is already plumbed for gas at the cooktop, it’s usually simpler and more affordable to keep the wall oven electric and route gas only to the cooktop. This split setup – gas cooktop, electric wall oven – is the most common configuration in modern kitchens and gives you the responsiveness of a gas burner with the baking precision of electric heat.
Step 3: Single vs. Double Wall Oven
This is largely a household-size and cooking-habit question rather than a purely aesthetic one.
Choose a Single Wall Oven If:
- You cook for one to four people most nights and rarely need two dishes at different temperatures simultaneously.
- Cabinet space is tight and you’d rather dedicate the extra vertical inches to storage or a warming drawer.
- Budget is a primary constraint – a single oven costs meaningfully less than a double, both in unit price and installation.
Choose a Double Wall Oven If:
- You regularly host, bake, or cook multi-dish meals that need different temperatures at once.
- You want a dedicated smaller oven for quick reheats or toaster-oven-style tasks without heating the full cavity.
- Your household includes multiple cooks who need independent oven access during meal prep.
Keep in mind a double wall oven adds real cost and cabinetry depth requirements, so weigh how often you’d actually use the second cavity before committing the space to it.
Step 4: Match Capacity to How You Actually Cook
Interior capacity varies noticeably between 24-inch and 30-inch models, and even among ovens with the same nominal width. If you regularly roast a full turkey, bake multiple sheet pans, or use large stoneware, prioritize a 30-inch oven with a wide, unobstructed interior. If your cooking is mostly weeknight-sized – casseroles, a single sheet pan, small roasts – a 24-inch or 27-inch model likely gives you plenty of room without eating extra cabinet real estate.
Also check rack configuration. Ovens with more available rack positions give you flexibility for multi-rack baking, while a fixed or limited rack layout can make it awkward to fit taller cookware like a stockpot or a tall roasting rack.
Step 5: Prioritize the Features That Match Your Cooking Style
Wall ovens range from basic bake-and-broil models to feature-loaded units with steam-assist, air-fry settings, and smart connectivity. Rather than chasing every feature on the spec sheet, map the options to how you actually cook:
- True convection: A dedicated convection fan and heating element (as opposed to a fan bolted onto a standard oven) gives more even baking and faster roasting – worth prioritizing if you bake often.
- Steam-assist or steam-bake: Adds moisture during baking for better bread crust and rise; a nice-to-have for serious home bakers, unnecessary for most.
- Self-cleaning cycles: Pyrolytic (high-heat) cleaning is more thorough than steam cleaning but produces more heat and odor during the cycle – factor this into your kitchen ventilation.
- Smart connectivity: App-based preheat and remote monitoring is genuinely convenient for some households and irrelevant for others – don’t pay a premium for it if you won’t use it.
- Air fry mode: Uses the convection fan at higher speed with a dedicated setting; handy if it replaces a separate countertop appliance you’d otherwise need space for.
Step 6: Choose Controls That Fit Your Household
Wall ovens typically come with either a touch panel, physical knobs, or a hybrid of both. Touch panels look sleek and often unlock more precise programming (delayed start, probe temperatures, custom cycles), but they can be less intuitive for guests or older household members. Physical knobs and buttons are more forgiving for quick, no-fuss use but may limit the depth of programmable features. If your household includes people who aren’t tech-savvy, lean toward simpler controls with clear labeling rather than the most feature-dense touchscreen available.
Step 7: Plan the Installation Height for Comfort
One of the biggest advantages of a wall oven over a range is that you control the mounting height. Position the oven cavity so the interior rack sits roughly at or slightly below elbow height – this dramatically reduces bending and lifting when pulling out hot, heavy dishes. A common approach is placing a single wall oven with its base around 30-36 inches off the floor, though this should be adjusted to the primary cook’s height and any accessibility needs in the household.
Step 8: Coordinate the Oven With Your Broader Appliance Lineup
A wall oven rarely stands alone – it’s paired with a cooktop, and often sits near a microwave and other kitchen appliances. A few coordination points to nail down before you order:
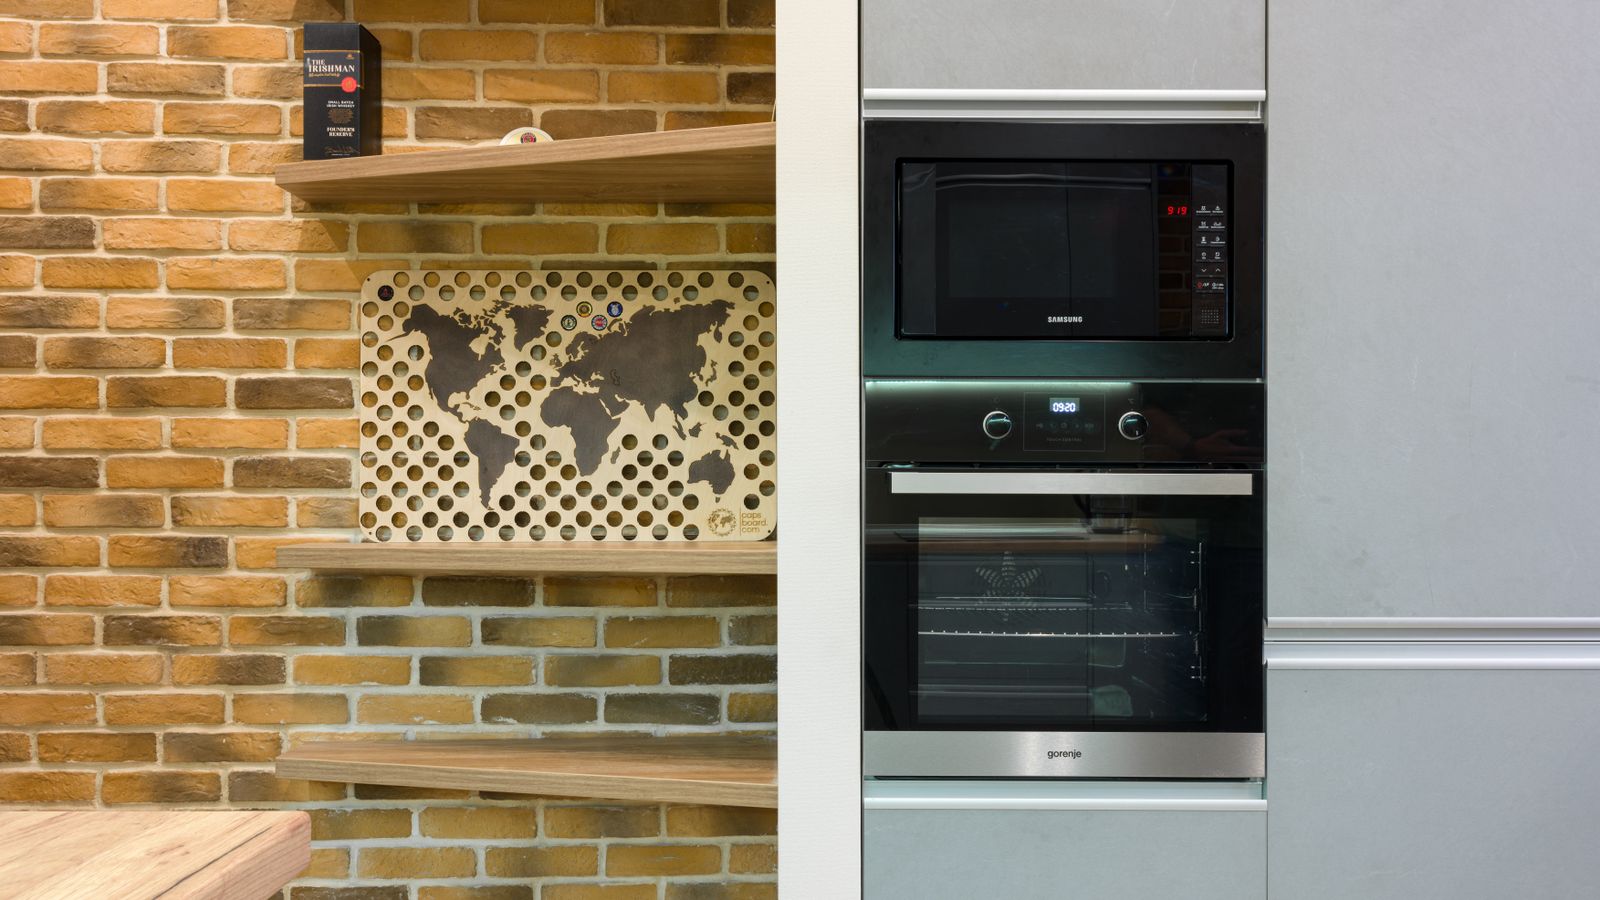
- Finish matching: Stick to one finish family (stainless, black stainless, matte black, panel-ready) across the oven, cooktop, and microwave so the lineup reads as a cohesive set rather than mismatched pieces.
- Brand consistency: Matching brand and design language across the oven and cooktop often means matching control styles and knob placement, which some households find easier to use.
- Microwave pairing: Many kitchens stack a best microwaves pick above or beside the wall oven – check that both units’ trim kits are compatible if you want a flush, built-in look.
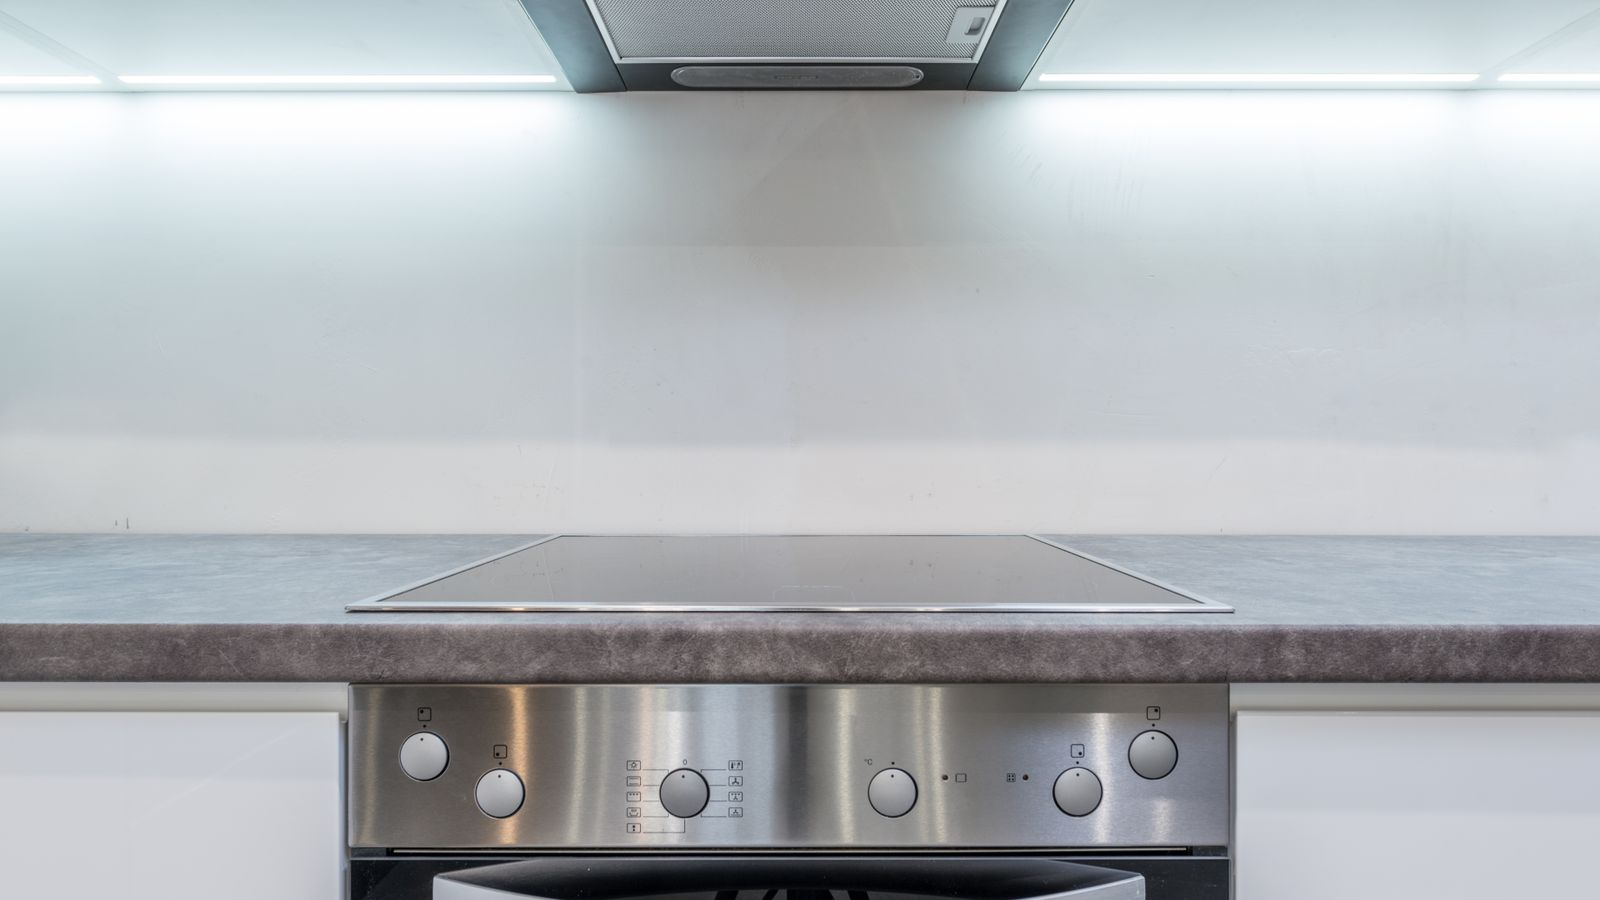
- Cooktop placement: Since the wall oven no longer anchors your stovetop, you have flexibility to place the cooktop on an island or a separate wall – just confirm ventilation routing before finalizing the layout.
If you’re outfitting the rest of the kitchen at the same time, it’s worth browsing complete Wall Ovens roundups to compare finish and control options side by side, and even checking ice makers if you’re planning a full appliance refresh with a beverage or entertaining station nearby.
Common Mistakes to Avoid
- Skipping the exact spec sheet: Assuming “30-inch” means identical dimensions across brands leads to cutout mismatches. Always pull the specific model’s installation guide.
- Underestimating clearance needs: Wall ovens need airflow clearance around the unit; tight built-ins without proper venting can trigger overheating shutoffs.
- Choosing a double oven you won’t use: A second cavity that sits empty most nights is wasted cabinet depth you could have used for storage.
- Ignoring electrical capacity: Older homes may need a panel upgrade to support a new 240V circuit – confirm this with an electrician before ordering.
- Mounting too high or too low: A poorly planned height makes everyday use uncomfortable – this is a one-time decision worth getting right.
Frequently Asked Questions
Can I install a wall oven where a range used to be?
Not directly – a wall oven requires a dedicated cabinet cutout at a specific height and a separate cooktop elsewhere, unlike a range which combines both in one floor-level unit. Converting from a range to a wall oven setup usually means redesigning that section of cabinetry.
Do I need a professional to install a wall oven?
Yes, in almost all cases. Electric wall ovens need a dedicated 240V circuit and gas models need a certified gas line connection, both of which should be handled by a licensed electrician or installer for safety and code compliance.
What size wall oven is best for a small kitchen?
A 24-inch single wall oven is usually the best fit for smaller kitchens, offering enough interior capacity for everyday cooking without demanding a large cabinet footprint.
Is a double wall oven worth the extra cost?
It depends on how often you cook multiple dishes at different temperatures. Frequent hosts and bakers tend to get real daily value from a double oven, while smaller households often find a single oven with a large capacity more practical.
Final Thoughts
Choosing the right wall oven comes down to matching the unit to your cabinet space, your household’s cooking habits, and the rest of your appliance lineup – not chasing every feature on the spec sheet. Start with accurate measurements, decide on single vs. double based on how you actually cook, and coordinate finishes with your cooktop and microwave so the kitchen reads as one intentional design. Take the time to compare options before you buy, and the wall oven you choose today will serve your kitchen comfortably for years to come.