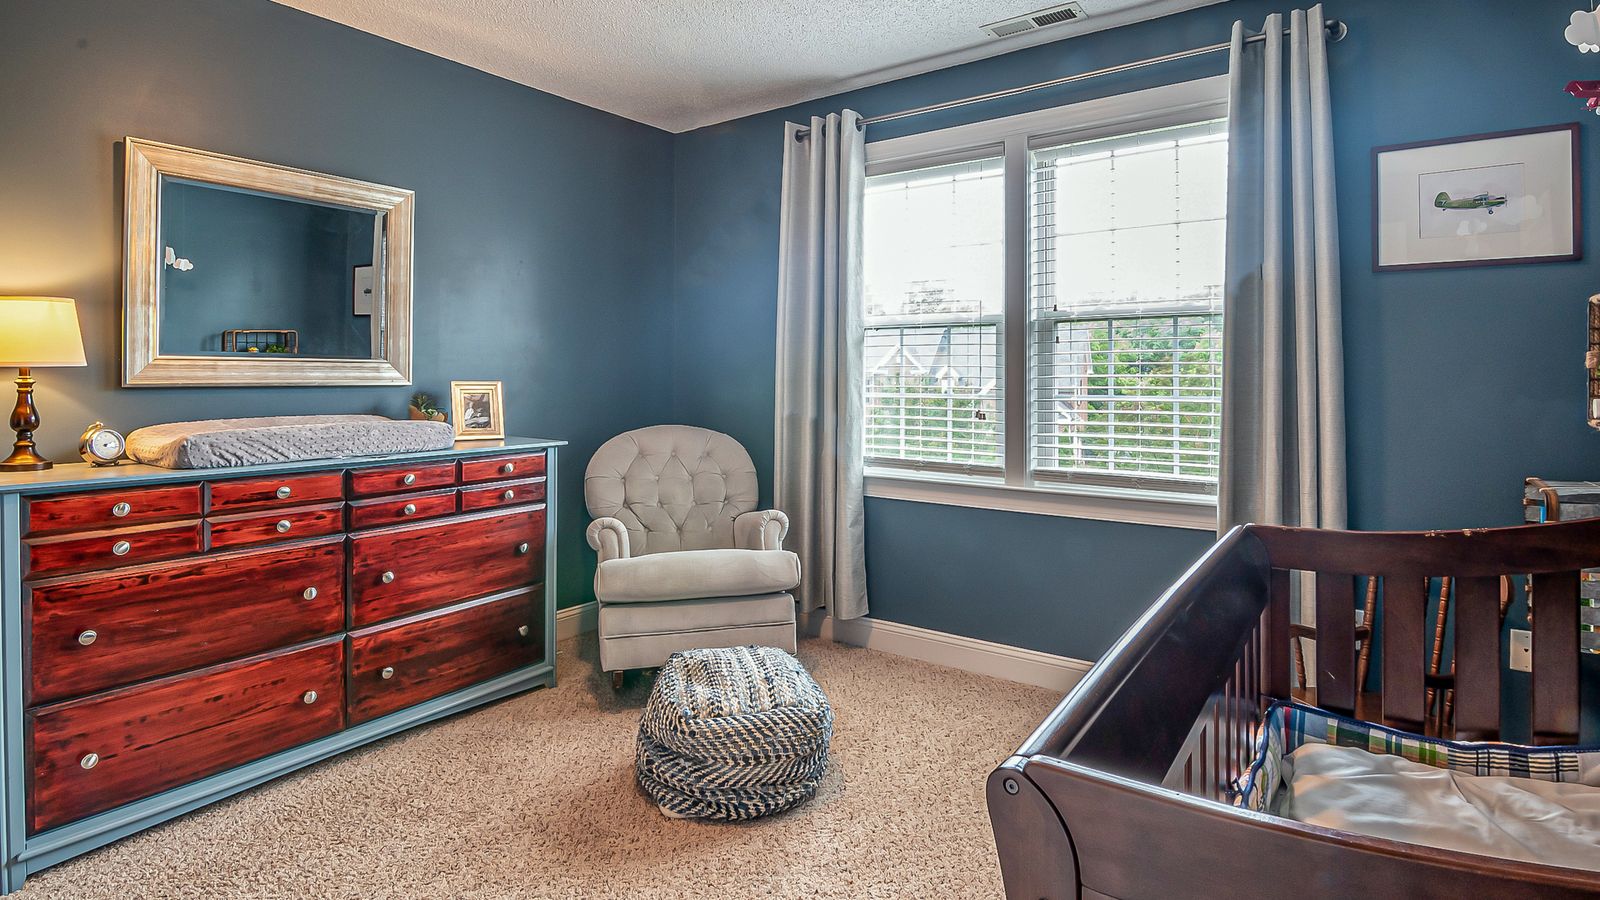
A nursery dresser gets more daily contact than almost any other piece of furniture in your home. It holds folded onesies, changing supplies, and everything else you reach for at 3 a.m., which means it also collects dust, spit-up, lotion smudges, and sticky fingerprints faster than you’d expect. A deep clean isn’t just about appearances – it keeps the surfaces your baby touches free of grime and allergens while protecting the wood or laminate finish from long-term damage. This guide walks you through a full, room-by-room approach to deep cleaning a nursery dresser, from gathering supplies to tackling every drawer, corner, and hardware detail.
Why Deep Cleaning a Nursery Dresser Matters
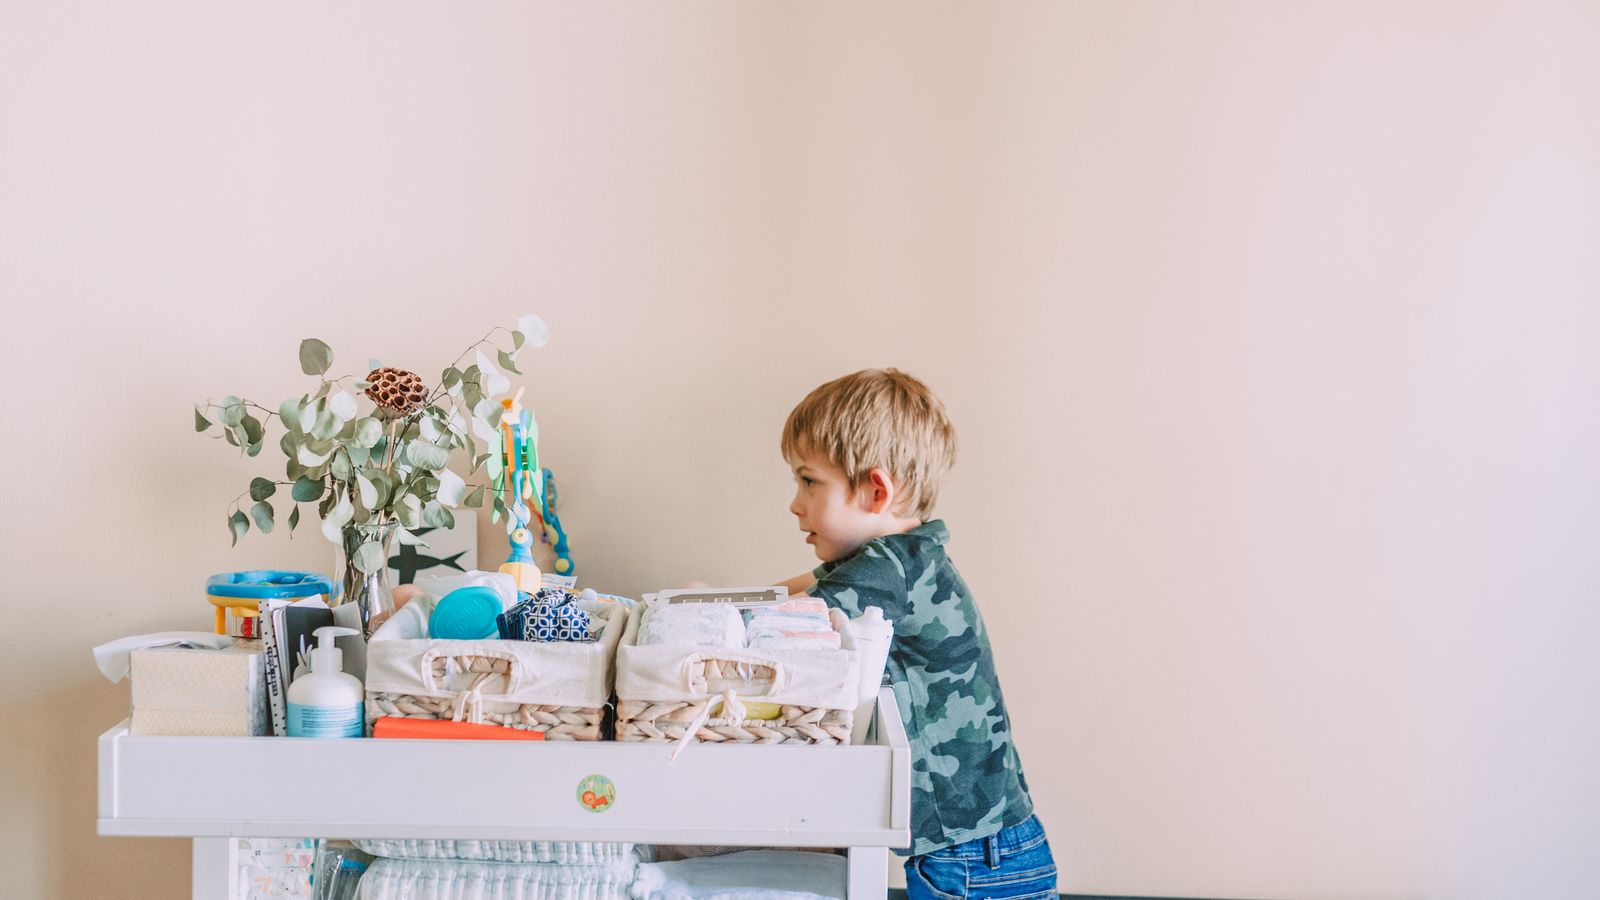
Unlike a dresser in a guest room, a nursery dresser often doubles as a changing station, a storage hub for wipes and diapers, and a display shelf for baby monitors or nightlights. That combination of frequent handling and proximity to a baby’s face and hands means dust, bacteria, and allergens build up quickly in seams, drawer tracks, and around hardware. A thorough deep clean – done every few months, with light wipe-downs in between – helps maintain a healthier sleep environment and extends the life of the furniture’s finish.
Gather Your Supplies Before You Start
Having everything on hand before you begin keeps the process efficient and prevents you from leaving drawers half-emptied while you search for a rag. You’ll want a mix of gentle cleaners and basic tools:
- Microfiber cloths (at least four, so you can separate dusting cloths from wet-cleaning cloths)
- A mild, fragrance-free soap or a baby-safe all-purpose cleaner
- Distilled water in a spray bottle
- A soft-bristle brush or old toothbrush for hardware and corners
- A vacuum with a brush attachment or a handheld vacuum
- Wood conditioner or furniture polish (only if the dresser has a wood finish)
- Cotton swabs for tight seams and hinge areas
- A laundry basket or bin to temporarily hold contents while drawers are cleaned
Avoid harsh solvents, bleach-based sprays, or anything with strong fragrance – these can leave residue on surfaces the baby will touch and may react poorly with certain finishes, especially painted or laminate pieces like those found among Dressers for Nurseries.
Step 1: Empty Every Drawer Completely
Start by removing everything from each drawer and placing items in labeled bins or bags so they go back in the same spot. This is also a good moment to sort through clothing that no longer fits or supplies that are expired, so the dresser stays functional rather than overstuffed.
- Pull each drawer fully open and lift it out if the design allows (most modern dressers have drawers that detach from their glides).
- Set drawers aside on a flat surface, like a bed or table, rather than the floor, to avoid re-collecting dust.
- Group contents by category – clothing, linens, diapering supplies – so reorganizing afterward is faster.
Step 2: Vacuum and Dust the Interior
Empty drawers reveal just how much lint, dust, and stray debris accumulates inside a dresser over time. Use the brush attachment on a vacuum to clear corners, tracks, and seams before wiping anything down – this prevents you from smearing dust into damp streaks later.
- Vacuum the inside of each drawer, focusing on corners and along the back edge where lint gathers.
- Vacuum the dresser’s frame interior, including drawer glides or tracks, where dust bunnies commonly hide.
- Use a dry microfiber cloth to dust any remaining loose debris from shelves or dividers.
Step 3: Wipe Down All Surfaces
Once loose debris is cleared, move to wet cleaning. Dampen a microfiber cloth with your diluted soap solution or baby-safe cleaner – avoid soaking the cloth, since excess moisture can seep into wood joints or laminate seams and cause warping over time.
- Wipe the top surface of the dresser first, since this typically has the most exposure to dust, spills, and changing-table use.
- Wipe down the interior of each drawer, paying attention to corners where crumbs or lint accumulate.
- Clean the exterior sides and front panels, working in the direction of the wood grain if applicable.
- Follow every wet wipe-down with a dry microfiber cloth to remove residual moisture immediately.
If the dresser has a textured or distressed finish, a soft-bristle brush can help lift grime from grooves that a flat cloth might miss.
Step 4: Clean Hardware and Hinges
Knobs, pulls, and drawer glides take constant contact and often get overlooked during routine dusting. Sticky residue, lotion, and fingerprints tend to build up fastest here, especially on hardware near a changing pad.
- Use a soft-bristle brush or toothbrush dipped in your cleaning solution to scrub around the base of each knob or pull.
- Wipe hinges and drawer glide mechanisms with a barely damp cloth, then dry thoroughly to prevent rust on metal parts.
- Check that each knob or pull is still tightly secured, tightening any loose screws with a screwdriver while you’re at it.
Step 5: Address Stains and Sticky Spots
Nursery dressers often develop small stains from lotion, formula spills, or marker mishaps. Spot-treat these before they set further into the finish.
- For sticky residue, apply a small amount of diluted dish soap directly to the spot and gently rub with a soft cloth.
- For stubborn marks on painted surfaces, a paste of baking soda and water can lift stains without scratching – test on an inconspicuous area first.
- For wood finishes, avoid abrasive scrubbing; instead, let a damp cloth sit on the stain for a minute before wiping to loosen it gradually.
Step 6: Condition or Polish the Finish
Once the dresser is clean and completely dry, a light conditioning pass helps protect the finish and keeps wood grain from drying out. This step is optional for laminate or painted pieces but recommended for solid wood dressers.
- Apply a small amount of furniture polish or wood conditioner to a clean microfiber cloth – never directly onto the dresser.
- Rub it into the surface in long, even strokes following the wood grain.
- Buff with a dry cloth until the surface feels smooth and free of any product residue.
If your nursery furniture includes a matching set, such as a wide-format storage piece from our media dressers roundup repurposed for baby gear, the same conditioning routine applies to keep finishes consistent across pieces.
Step 7: Reorganize Drawers as You Refill Them
With everything clean and dry, this is the ideal time to reorganize rather than simply putting items back where they were. Use drawer dividers or small bins to separate onesies, socks, and swaddles, which makes future cleanings faster since you’ll spend less time digging through disorganized piles.
- Line the bottom of each drawer with a washable liner if desired, for easier cleanup between deep cleans.
- Group similar items together and consider labeling drawers for caregivers who may not be as familiar with your system.
- If storage space feels tight even after decluttering, dressers with taller drawer walls, like the options in our best dressers with deep drawers guide, can hold more bulky items like blankets without overflowing.
Safety Notes While Cleaning
- Always unplug any nearby baby monitors or nightlights before wiping down surfaces to avoid moisture contact with electrical components.
- Keep cleaning solutions and cotton swabs out of reach if your baby or toddler is in the room while you work.
- Never use ammonia-based or bleach-based cleaners near a changing surface – residue can transfer to a baby’s skin.
- Ensure the dresser is fully dry before placing folded clothing back inside to prevent mildew odors in enclosed drawers.
Common Mistakes to Avoid
- Oversaturating cloths: Too much liquid can seep into seams and cause warping, especially on engineered wood or laminate dressers.
- Skipping the drying step: Moving straight from wet wipe-down to reconditioning without drying can trap moisture under polish.
- Ignoring hardware: Knobs and pulls collect the most bacteria from daily hand contact, yet they’re the most commonly skipped detail.
- Using harsh chemicals: Strong solvents can strip finishes and leave fumes that linger in a small nursery space.
- Forgetting the top surface: If the dresser doubles as a changing station, it needs more frequent spot-cleaning than the drawers themselves.
How Often Should You Deep Clean?
A full deep clean every two to three months is generally sufficient for most nurseries, with quick wipe-downs of the top surface and handles happening weekly. If your baby is in the newborn stage with frequent diaper changes and spit-up nearby, you may want to shorten that interval to once a month until routines settle.
Frequently Asked Questions
Can I use disinfecting wipes on a nursery dresser?
Most fragrance-free disinfecting wipes are safe for exterior surfaces, but always check the label against your dresser’s specific finish, and avoid using them directly on drawer interiors where clothing sits.
What if my dresser has a musty smell after cleaning?
A lingering odor usually means moisture got trapped before drying fully. Leave drawers open for a few hours in a well-ventilated room, and consider placing a baking soda dish inside overnight to absorb any remaining smell.
Is it safe to clean a dresser used as a changing table with baby-safe wipes only?
Baby wipes can handle light daily cleanup, but they’re not a substitute for a deeper monthly clean with proper cleaner and drying time, since wipes alone won’t remove built-up grime in seams and hardware.
Should I remove drawers completely or clean them in place?
Removing drawers makes it far easier to reach corners and back panels thoroughly, and most nursery dresser drawers are designed to lift out easily without tools.
Final Thoughts
Deep cleaning a nursery dresser doesn’t need to be a marathon task if you break it into clear steps – empty, vacuum, wipe, treat hardware, condition, and reorganize. Doing this every couple of months keeps the space healthier for your baby and preserves the furniture’s finish for years of use. If you’re still shopping for the right piece to anchor your nursery, browsing options built specifically for this purpose is a smart place to start.