If your furniture repair kit has grown into an overflowing toolbox you can barely lift, you are not alone. Most people accumulate tools one project at a time, and after a few years of chair-tightening, drawer-fixing, and scratch-touching, the kit becomes bulky, disorganized, and hard to carry from room to room. The good news is that a smaller kit does not mean a weaker one. With a bit of planning, you can downsize your furniture repair kit to a compact, grab-and-go set while keeping every function you actually use.
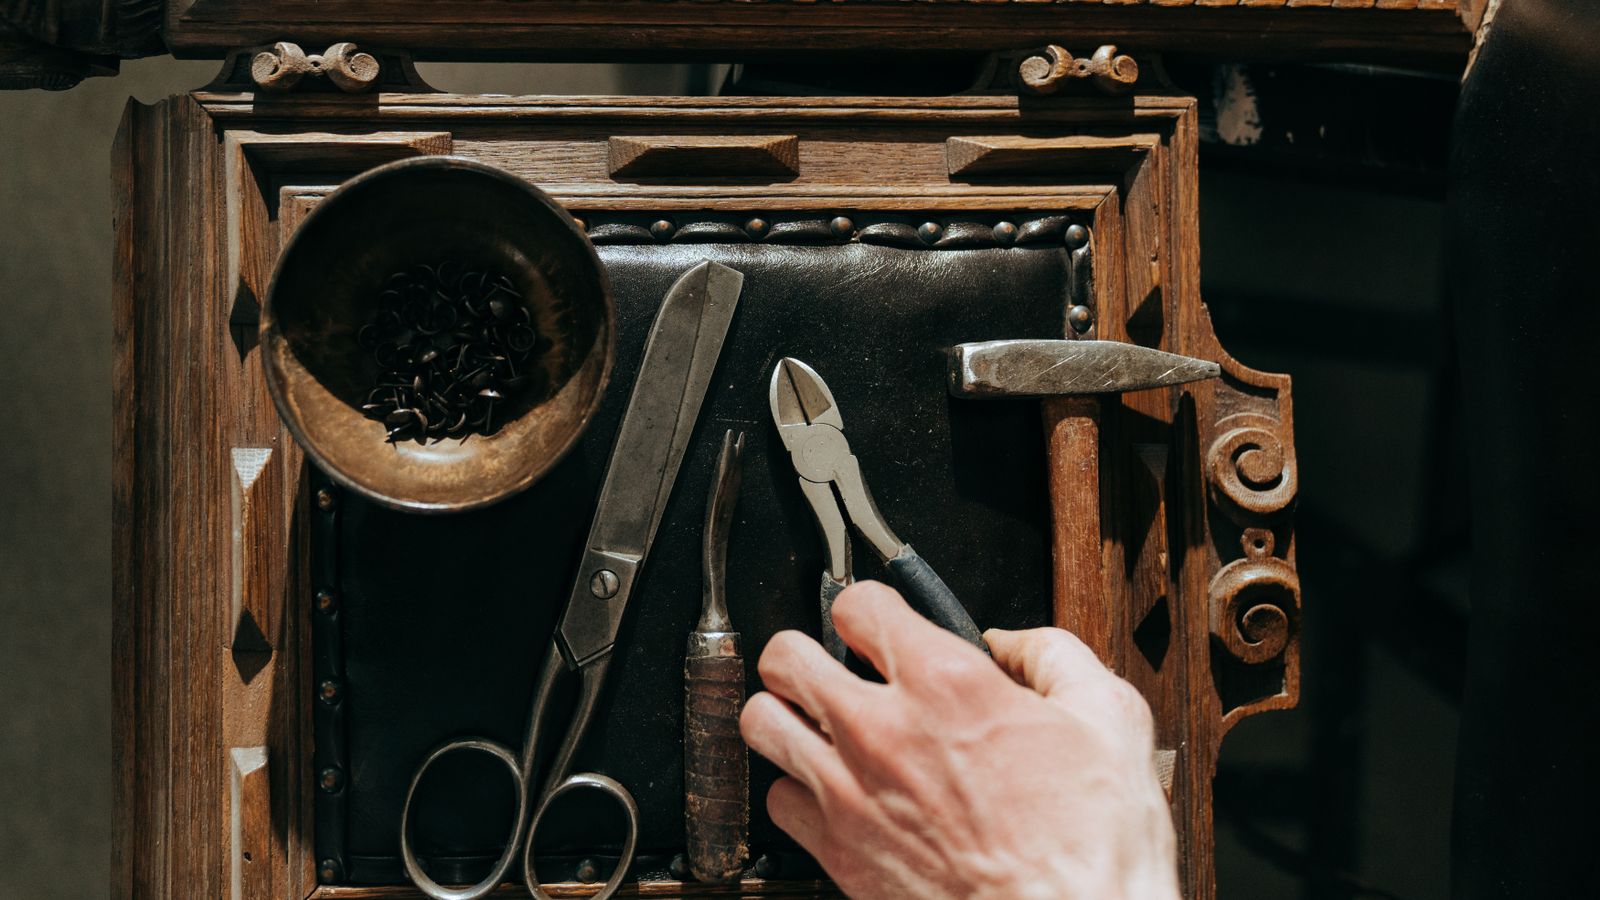
This guide walks you through the process step by step: auditing what you own, identifying true multi-purpose tools, choosing the right compact case, and building a kit that covers 90% of common furniture repairs in a fraction of the space. Whether you are downsizing for a move, simplifying your garage, or just tired of digging through a cluttered bin, this approach will help you trim the fat without cutting the muscle.
Why Downsizing Makes Sense
A bloated repair kit is not just inconvenient to store – it actually slows you down. When you have three types of screwdrivers, four half-used glue bottles, and a dozen loose screws rattling around, finding the one thing you need becomes its own project. A downsized kit forces you to think in terms of function rather than quantity: what does this tool actually do, and do I have something else that already does it? The result is a kit that is faster to use, easier to carry, and simpler to keep organized long-term.
Downsizing is also practical for people who move frequently, live in smaller homes, or store their tools in a closet rather than a garage. A compact kit that fits in one small case is far more likely to get used consistently than a sprawling collection spread across multiple boxes.
Step 1: Audit Your Current Kit
Before you can downsize anything, you need to see exactly what you have. Empty your entire furniture repair kit onto a table or tarp – every screwdriver, every clamp, every half-empty tube of wood filler. This step alone is often eye-opening; many people discover they own three of the same tool or products that expired years ago.
- Sort everything into categories: fastening tools, adhesives, finishing supplies, measuring tools, and miscellaneous hardware.
- Check adhesives and fillers for expiration or hardening – wood glue, epoxy, and putty all degrade over time and should be discarded if dried out or separated.
- Set aside anything you have not used in the past year. This is usually the first thing to cut.
- Group duplicate tools together so you can compare which version is more versatile.
Take a photo of the full spread before you start removing items. It is a useful reference if you second-guess a decision later, and it gives you a baseline to compare against once your downsized kit is complete.
Step 2: Identify True Multi-Purpose Tools
The core principle of downsizing without losing function is favoring tools that do several jobs well over specialized tools that do one job perfectly. A multi-bit screwdriver with interchangeable heads, for example, can replace an entire drawer of individual flathead and Phillips screwdrivers in different sizes. A single adjustable wrench can often stand in for a small set of fixed wrenches used only occasionally.
Look for these categories of consolidation opportunities:
- Fastening: one multi-bit screwdriver or a compact ratcheting driver instead of six separate screwdrivers.
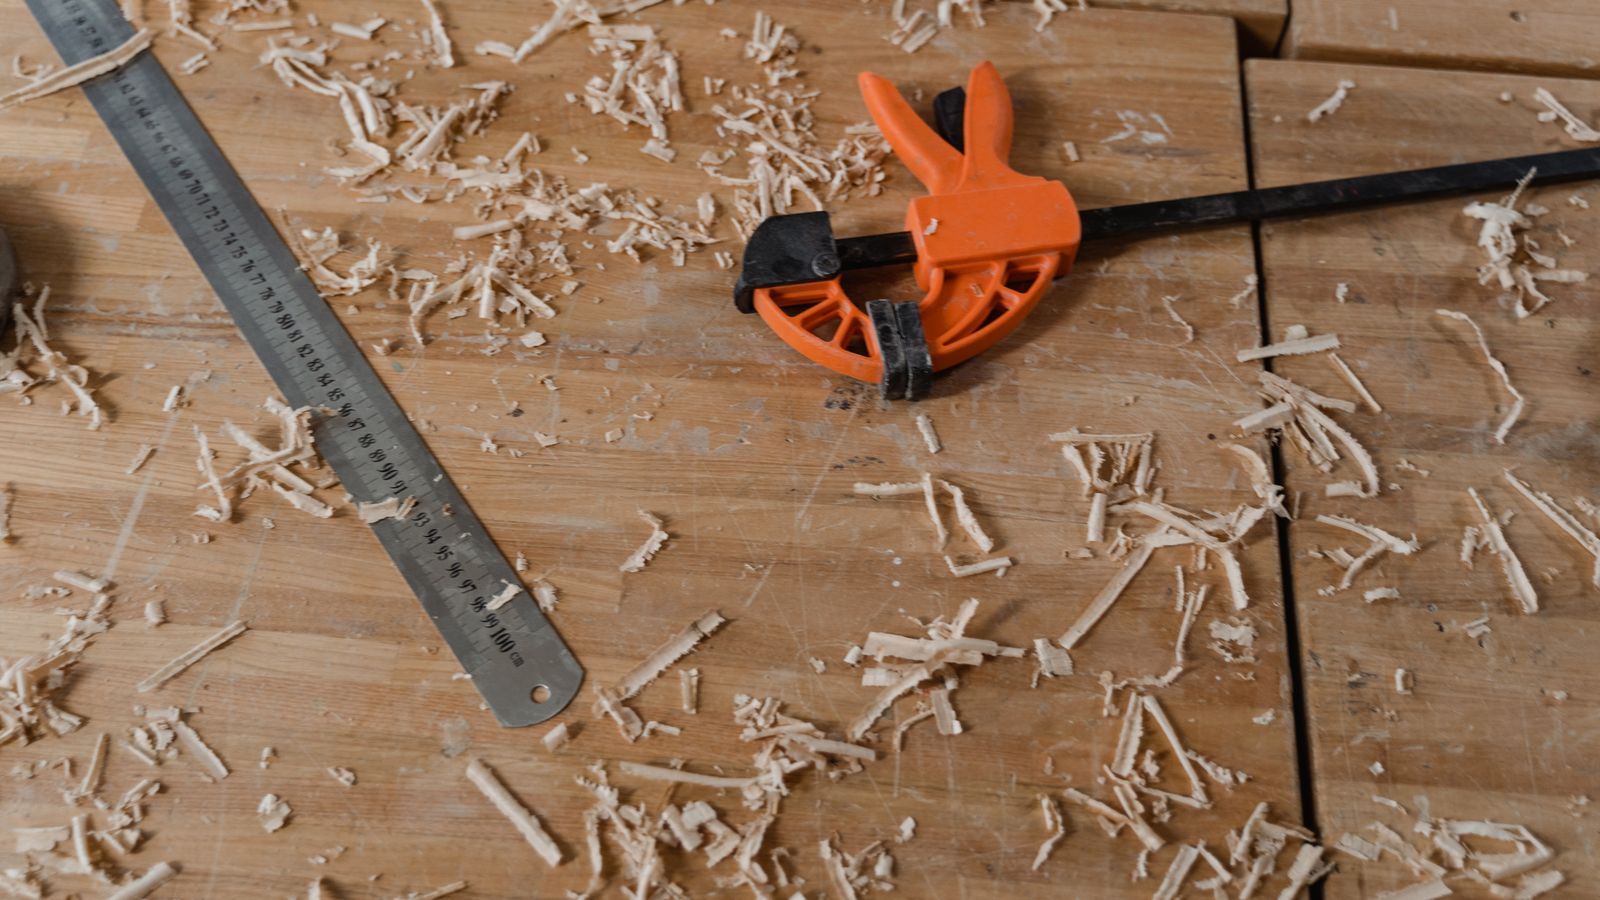
- Clamping: two or three sizes of spring clamps instead of a large bar clamp collection, unless you regularly work on big pieces.
- Adhesives: one strong wood glue and one general-purpose epoxy instead of five specialty glues that mostly overlap in use.
- Finishing: a small set of touch-up markers and a universal wood filler instead of matching every stain shade you have ever owned.
- Hardware: an assorted screw and dowel kit instead of dozens of loose, unlabeled fasteners.
The goal is not to own fewer tools for the sake of it, but to make sure each tool earns its space by covering multiple repair scenarios.
Step 3: Cut the Redundant and the Rarely Used
Once you have identified your multi-purpose core, go back through your sorted piles and be honest about what stays. A good rule of thumb: if you have not reached for a tool in the last 12 months and it does not serve a unique, essential purpose, it does not belong in your downsized kit. This includes specialty jigs for one-off projects, oversized clamps you used once for a large table repair, and any tool you own two of “just in case.”
Items that are commonly safe to cut or relocate to separate storage:
- Large power tools that live better on a shelf than in a portable kit.
- Extra sandpaper grits beyond the two or three you actually use most.
- Old touch-up markers that have dried out or no longer match your furniture finishes.
- Specialty upholstery tools if you rarely do fabric repairs.
If you are unsure about a tool, put it in a separate “maybe” box rather than throwing it out immediately. Revisit that box in three to six months – if it has not been opened, you have your answer.
Step 4: Build the Core Compact Kit
With your audit complete, assemble the essentials into a focused, functional set. A well-built compact furniture repair kit typically includes:
- One multi-bit screwdriver or compact driver set.
- A small assortment of clamps in two or three common sizes.
- Wood glue and a general-purpose epoxy.
- Wood filler and a few color-matched touch-up markers.
- A mixed pack of screws, dowels, and furniture-grade fasteners.
- Fine-grit sandpaper or a sanding block.
- Furniture pads to protect legs and surfaces during and after repairs – a small stock is always worth keeping on hand, and you can compare styles in this guide to furniture pads.
- A small level and a retractable tape measure.
This list covers the vast majority of common furniture issues: loose joints, wobbly legs, scuffed surfaces, stripped screws, and minor structural repairs. Anything beyond this core should be added only if you have a recurring, specific need.
Step 5: Choose the Right Storage Case
The container you choose plays a big role in whether your downsized kit actually stays downsized. A compact case with defined compartments forces discipline – if there is no room for a fifth screwdriver, you simply will not add one. Look for a case with:
- Small, labeled compartments for screws, dowels, and other loose hardware.
- A separate section or sleeve for adhesives so they cannot leak onto tools.
- A secure latch and a carry handle, since a big part of the value in downsizing is portability.
- Enough rigidity to protect glue bottles and finishing markers from getting crushed.
Avoid oversized cases “just in case you need the extra room” – that extra room is exactly what invites clutter back in over time.
Step 6: Handle Larger Repair Needs Separately
Downsizing your everyday kit does not mean you have to abandon larger, occasional-use tools altogether. Instead, store them separately from your compact kit. For example, if you occasionally move heavy furniture for repairs or refinishing, it makes more sense to keep best furniture dollies in a garage or utility area rather than cramming them into your everyday repair case. The same logic applies to bulkier moving and protection supplies – if you periodically need to transport a mattress during a repair or move, Mattress Moving Bags are worth keeping on a shelf nearby rather than inside your compact kit.
This “core kit plus occasional-use overflow” system is the key to downsizing without losing function: your everyday tools stay light and portable, while specialized or bulky items remain accessible when you actually need them.
Common Mistakes to Avoid
- Cutting adhesives too aggressively. Glue and filler are cheap to replace but frustrating to be without mid-repair. Keep at least one strong wood glue and one filler on hand at all times.
- Downsizing based on looks, not use. A tool that looks impressive but has only been used once is still dead weight. Judge by frequency of use, not appearance.
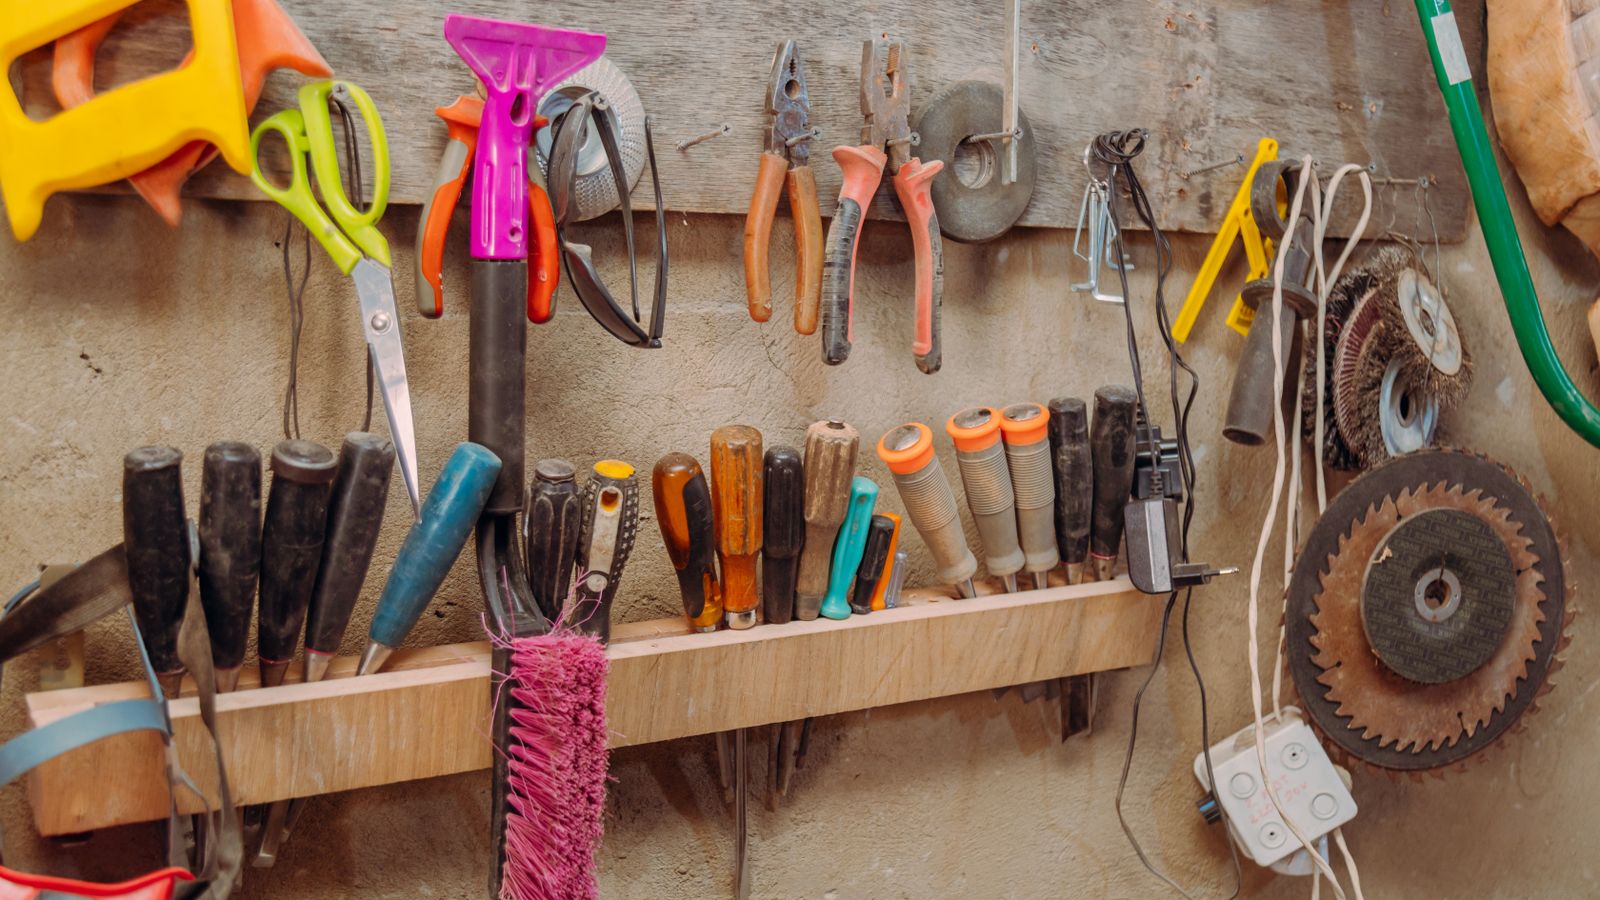
- Throwing away instead of relocating. Larger or specialty tools do not need to be discarded – moving them to secondary storage keeps your core kit light without losing capability entirely.
- Skipping labels. A compact kit without labeled compartments quickly turns back into a jumbled mess, defeating the purpose of downsizing.
- Forgetting protective supplies. Furniture pads and similar protective items are small and easy to overlook, but they prevent future scratches and repairs, saving you work down the line.
Maintaining Your Downsized Kit
Downsizing is not a one-time task – kits tend to creep back toward clutter over time unless you keep a light maintenance habit. Every few months, do a quick five-minute check: remove anything you added that has not been used, confirm adhesives have not dried out, and restock consumables like sandpaper or fasteners. This small habit keeps your compact kit functional indefinitely instead of slowly becoming the overstuffed toolbox you started with.
Frequently Asked Questions
Will a smaller kit really cover most furniture repairs?
Yes. Most household furniture issues – loose screws, wobbly joints, minor scratches, and small structural fixes – only require a handful of core tools. A focused kit built around multi-purpose tools covers the overwhelming majority of everyday repairs.
What should I do with the tools I remove?
Relocate specialty or rarely used tools to a secondary storage area rather than discarding them outright, unless they are broken or expired. This keeps your core kit light while still giving you access to occasional-use items when needed.
How often should I re-evaluate my kit?
A quick review every three to six months is enough to catch clutter creep before it becomes a problem. Use this time to check adhesive freshness and remove anything added that has gone unused.
Is it worth buying new compact tools instead of keeping old bulky ones?
Often, yes. A single well-made multi-bit driver or compact clamp set can replace several older, bulkier tools, and the space savings usually outweigh the modest cost of an upgrade.
Final Thoughts
Downsizing your furniture repair kit is really about intentionality: keeping the tools that earn their place and letting go of the ones that do not. By auditing what you own, favoring multi-purpose tools, and separating everyday essentials from occasional-use items, you end up with a kit that is lighter, easier to store, and just as capable as the sprawling collection it replaced. Once your compact kit is built, protect it with good habits – a labeled case, periodic reviews, and a few smart accessories like furniture pads – and it will serve you reliably for years without ever creeping back into clutter.