If you’ve been shoving clothes onto a single sagging rod and stacking sweaters into precarious towers on the shelf above, it’s time for an upgrade. A well-planned closet doesn’t just look better – it actually holds more, keeps everything visible, and saves you the daily frustration of digging through piles to find a matching sock. The good news is that upgrading your closet and storage system doesn’t require a full renovation. With the right combination of a closet system, a closet organizer, and a few storage cubes, you can transform a chaotic space into one that works for you in a single weekend.
This guide walks you through the entire process: assessing what you have, choosing the right components, and installing everything step by step, so you end up with a closet that actually fits how you live.
Step 1: Assess Your Current Closet and Needs
Before you buy anything, spend ten minutes taking stock of what’s currently in your closet and how you actually use it. Pull everything out if you can – clothes, shoes, bags, seasonal items – and sort into three piles: keep, donate, and toss. Most people find they’re storing far more than they wear regularly, and a smaller wardrobe is much easier to organize well.
While you’re at it, measure the closet’s width, depth, and height, and note where the door swing or any obstructions (light fixtures, vents, outlets) are located. Jot down how much of your wardrobe is hanging versus folded, how many pairs of shoes you own, and whether you need space for bulkier items like coats, linens, or luggage. These numbers will guide every decision you make next.
Step 2: Decide Between a Closet System, a Closet Organizer, or Both
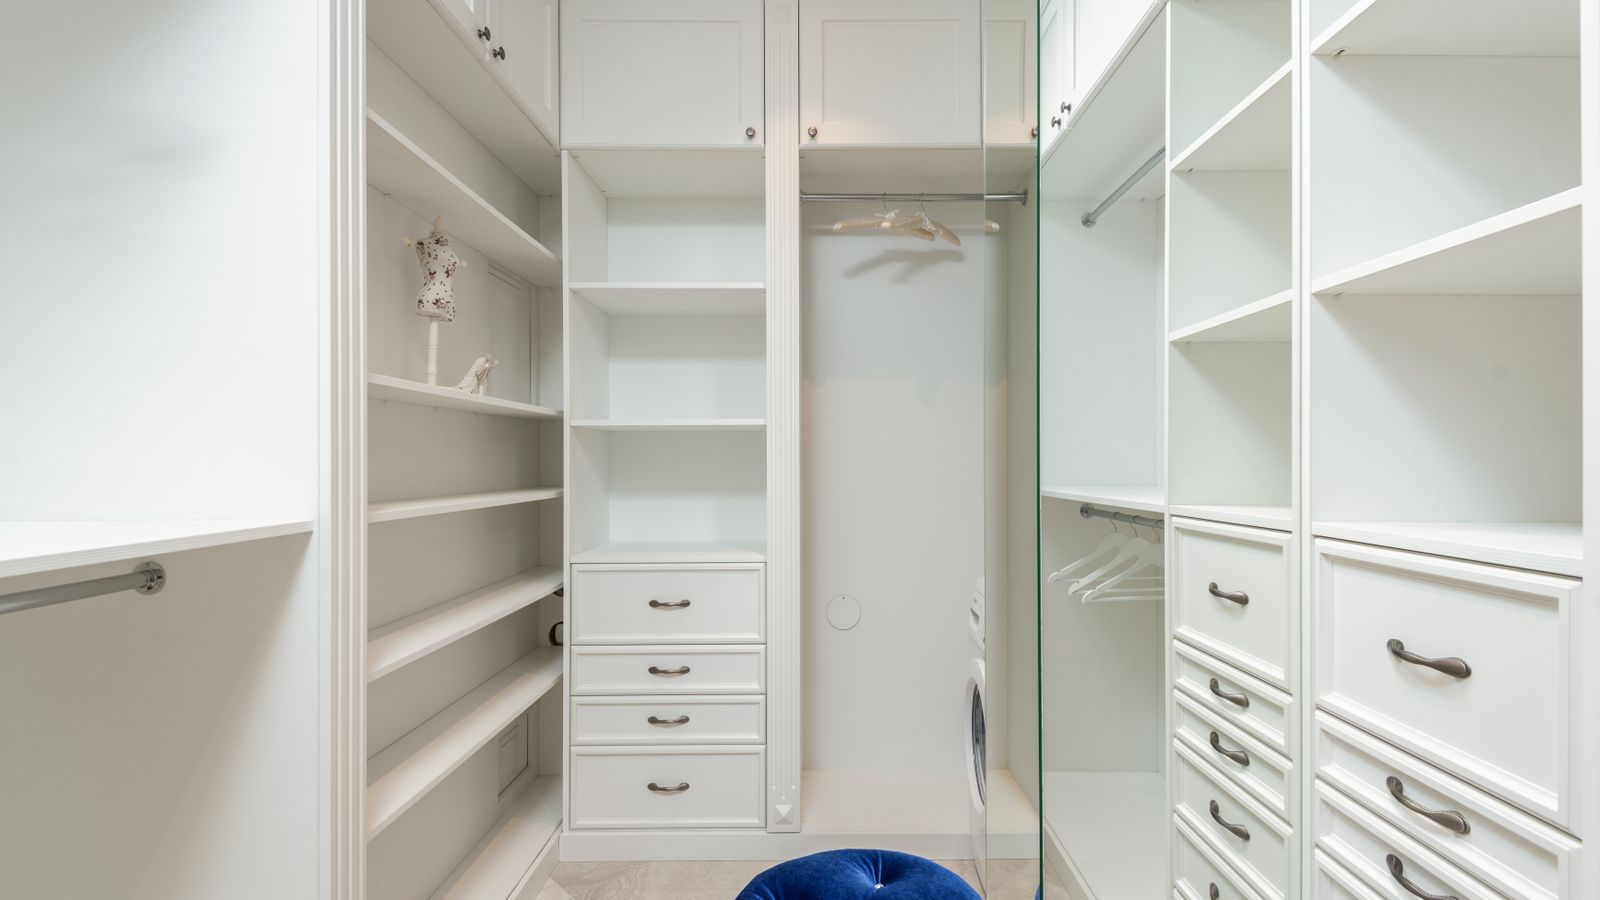
“Closet system” and “closet organizer” get used interchangeably, but there’s a useful distinction. A closet system typically refers to a modular, often wall-mounted or track-based setup – think adjustable shelves, multiple hanging rods at different heights, and drawer units that can be reconfigured as your needs change. A closet organizer is usually a simpler, freestanding or hanging unit designed to slot into an existing closet without major installation.
If you have an empty or mostly empty closet and want a long-term, tailored solution, a full closet system is worth the investment – browse our roundup of Closet Systems to compare modular shelving, rod placement, and materials before you commit. If your closet already has a working rod and shelf and you just need to add structure, a set of closet organizers is the faster, less invasive route.
Step 3: Choose the Right Storage Cubes for Loose Items
No matter which route you take for the main structure, storage cubes are the unsung heroes of closet organization. These modular fabric or wire bins slide onto shelving or stack in corners, corralling everything from folded sweaters and scarves to accessories, workout gear, and off-season shoes. Because they’re uniform in size, they make even a mismatched pile of belongings look tidy at a glance.
When picking cubes, consider ventilation (fabric cubes are great for clothing, but shoes benefit from more breathable wire or vented plastic), whether you want a lid for dust protection, and if you need cubes with labels or clear windows for quick identification. Take a look at our picks for the best storage cubes to find sizes that match your shelving.
Step 4: Gather Your Tools and Materials
Once you’ve selected your components, gather what you’ll need for installation:
- A stud finder (essential for wall-mounted systems)
- A drill/driver with the correct bits for your hardware
- A level (a laser level makes multi-shelf installs much faster)
- A tape measure and pencil
- Wall anchors appropriate for your wall type (drywall vs. plaster vs. concrete)
- Safety glasses, especially when drilling into masonry
Most closet systems come with their own mounting hardware, but it’s worth having a backup set of anchors on hand in case your walls are older or softer than expected.
Step 5: Install the Closet System or Organizer
- Mark your reference line. Measure up from the floor to determine the height of your top shelf or rail, and mark a level line across the back wall using your level.
- Locate the studs. Run your stud finder along the marked line and note stud positions with a pencil. Whenever possible, anchor into studs rather than relying solely on drywall anchors, especially for heavier loaded shelving.
- Mount the top rail or track. Following the manufacturer’s instructions, attach the main rail or bracket track first – this becomes the backbone that the rest of the system hangs from.
- Attach vertical supports. Clip or screw the vertical panels or standards into place, checking with your level after each one to keep everything square.
- Add shelves and rods. Install shelves and hanging rods at heights that match your wardrobe breakdown from Step 1 – shorter rods for shirts and folded pants, taller sections for dresses and coats.
- Install drawers or baskets last. These are usually the heaviest components, so save them for after the frame is fully secured and tested.
- Give everything a weight test. Before loading the closet fully, hang a few heavy items and check that nothing shifts or sags over the first day.
Step 6: Load and Organize with Storage Cubes
With the frame in place, start loading. Hang clothes by category and color so items are easy to spot, and reserve your storage cubes for anything that doesn’t hang well – sweaters, workout clothes, off-season items, and accessories. Place frequently used cubes at eye level or on lower shelves, and push rarely used ones (holiday decorations, out-of-season coats) up top or toward the back.
Label each cube if your system doesn’t have clear windows, and consider grouping similar categories together – all bags in one cube, all scarves in another. This small step makes a massive difference in how quickly you can find things later.

Safety Notes
Wall-mounted closet systems carry real weight once loaded with clothes, shoes, and bins, so don’t skip the stud-finding step. Overloading a section that’s only anchored into drywall can cause it to pull free and fall. If you’re installing into an older home with plaster or unusual wall construction, consider consulting the system manufacturer’s weight guidelines, and when in doubt, add extra anchor points rather than fewer.
Common Mistakes to Avoid
- Skipping the purge. Installing a new system around clutter you don’t actually need just relocates the problem.
- Guessing at measurements. Always measure twice, especially rod height and shelf spacing, before drilling.
- Ignoring stud placement. Anchors alone often aren’t strong enough for a fully loaded closet system.
- Buying storage cubes before measuring shelves. Mismatched cube sizes waste space and look messy.
- Forgetting vertical space. Many closets waste the top foot or two of height that could hold seasonal storage cubes.
FAQ
How long does a closet upgrade typically take?
A basic closet organizer can often be installed in an afternoon, while a full modular closet system usually takes a full day, including planning, mounting, and loading.
Do I need to hire a professional?
Most closet organizers and modular systems are designed for DIY installation with basic tools. If your walls are unusual (concrete, plaster, or load-bearing considerations) or you’re planning a complex custom build-out, a professional installer can save time and ensure everything is properly secured.
How do I decide how many storage cubes I need?
Count your categories of loose items – sweaters, accessories, shoes, seasonal gear – and plan for one cube per category as a starting point, then adjust based on your shelf dimensions.
Can I mix a closet system with an organizer kit?
Yes. Many people install a modular closet system for the main hanging and shelving structure, then add a smaller closet organizer or extra cubes in a corner for shoes or accessories.
Final Thoughts
Upgrading your closet doesn’t have to mean a full remodel. By assessing your needs, choosing between a closet system and a simpler organizer, and rounding things out with the right storage cubes, you can turn a cluttered space into one that’s genuinely functional in a weekend. Take the time to measure carefully and anchor into studs, and your new setup should serve you well for years to come.