A morning coffee routine and a steady supply of fresh ice both depend on more than just owning the right appliances – they depend on where those appliances live in your kitchen. When a single serve coffee maker and an ice maker are placed thoughtfully, you get a smoother workflow, less counter clutter, and appliances that actually last longer because they are not fighting for outlets, ventilation, or splash zones. When they are placed carelessly, you end up with tangled cords, water stains near electronics, and a countertop that feels smaller every week. This guide walks through how to organize your kitchen appliance lineup so your coffee maker and ice maker each get the space, power, and airflow they need to perform well for years.
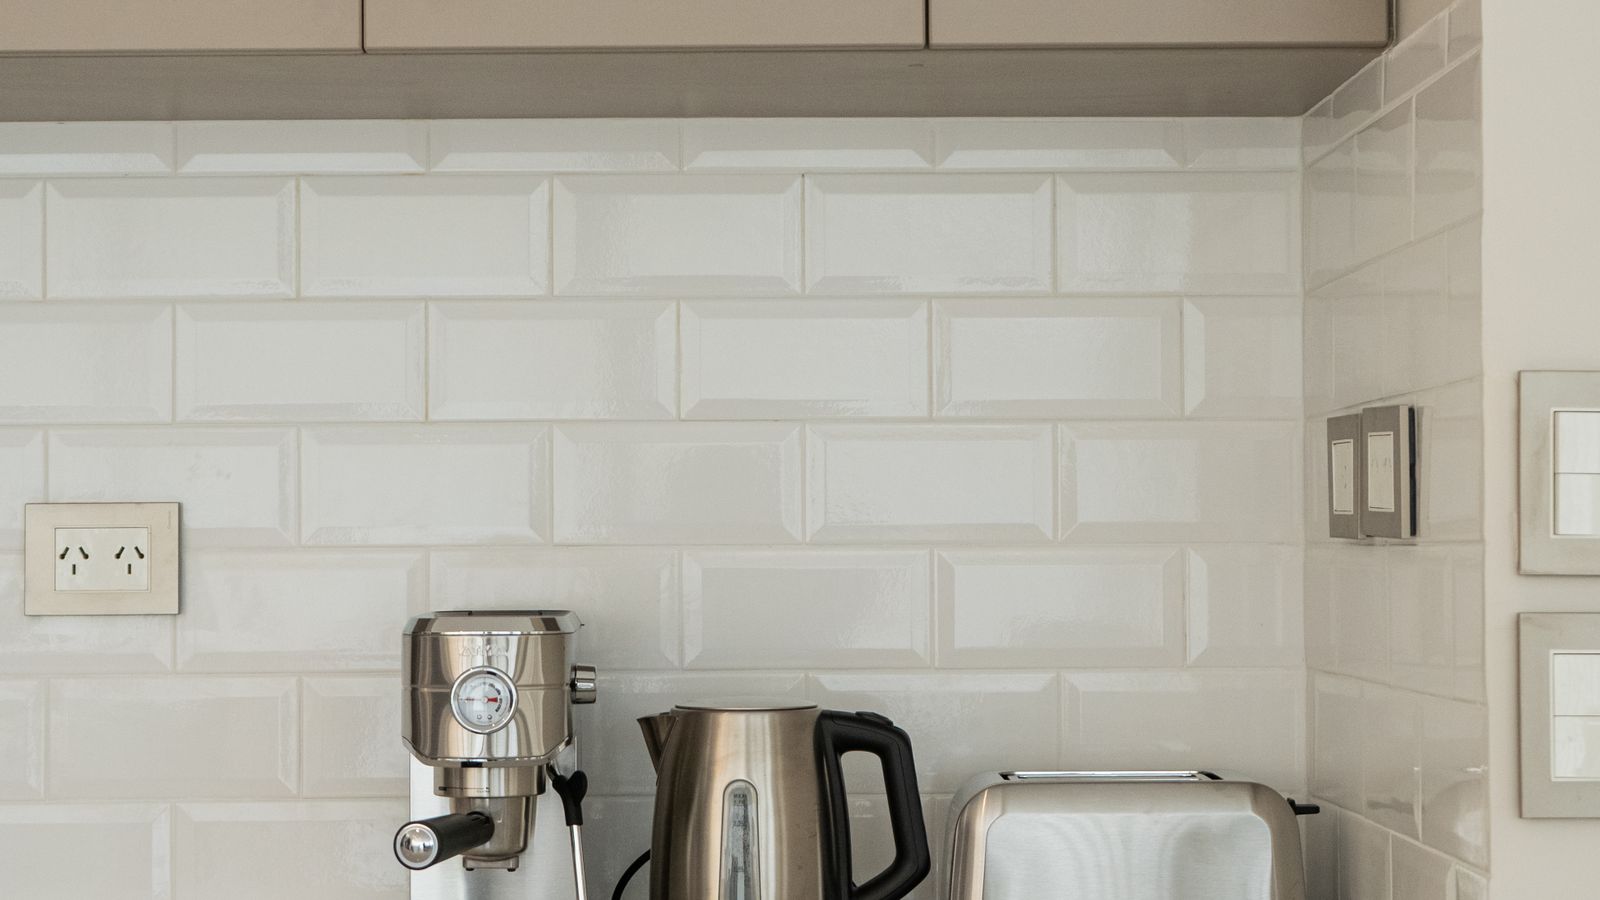
Why Appliance Placement Matters More Than You Think
Most people choose an appliance’s spot based on whatever counter space happens to be open, then never revisit that decision. Over time, this creates awkward workflows: you might reach across a hot ice maker vent to grab a coffee pod, or you might trip a breaker because a coffee maker and an ice maker share the same outlet during peak use. Beyond convenience, placement affects appliance lifespan. Ice makers release warm exhaust air and need clearance to breathe; coffee makers release steam and need to stay away from anything sensitive to moisture. Getting the layout right the first time saves you from rearranging your entire kitchen counter later.
Step 1: Map Your Available Counter and Cabinet Space
Before moving a single appliance, take stock of what you actually have to work with. Walk your kitchen and note every stretch of counter, every nearby outlet, and every cabinet that could realistically house a small appliance. Measure the width, depth, and height of each candidate spot, since a portable ice maker in particular needs more depth than most people expect once you account for the lid opening upward and the back panel needing airflow clearance.
- List every outlet in the kitchen and mark which ones are GFCI-protected (required near sinks and most counter zones by code).
- Measure clear counter runs of at least 12-16 inches in width for each appliance you plan to place.
- Note which areas get direct sunlight or sit near a stove, since heat exposure shortens the life of both appliances.
- Check cabinet height clearance if you plan to tuck an appliance under upper cabinets – most ice makers need at least 4-6 inches above the lid to open fully.
Step 2: Decide on a Zone-Based Layout
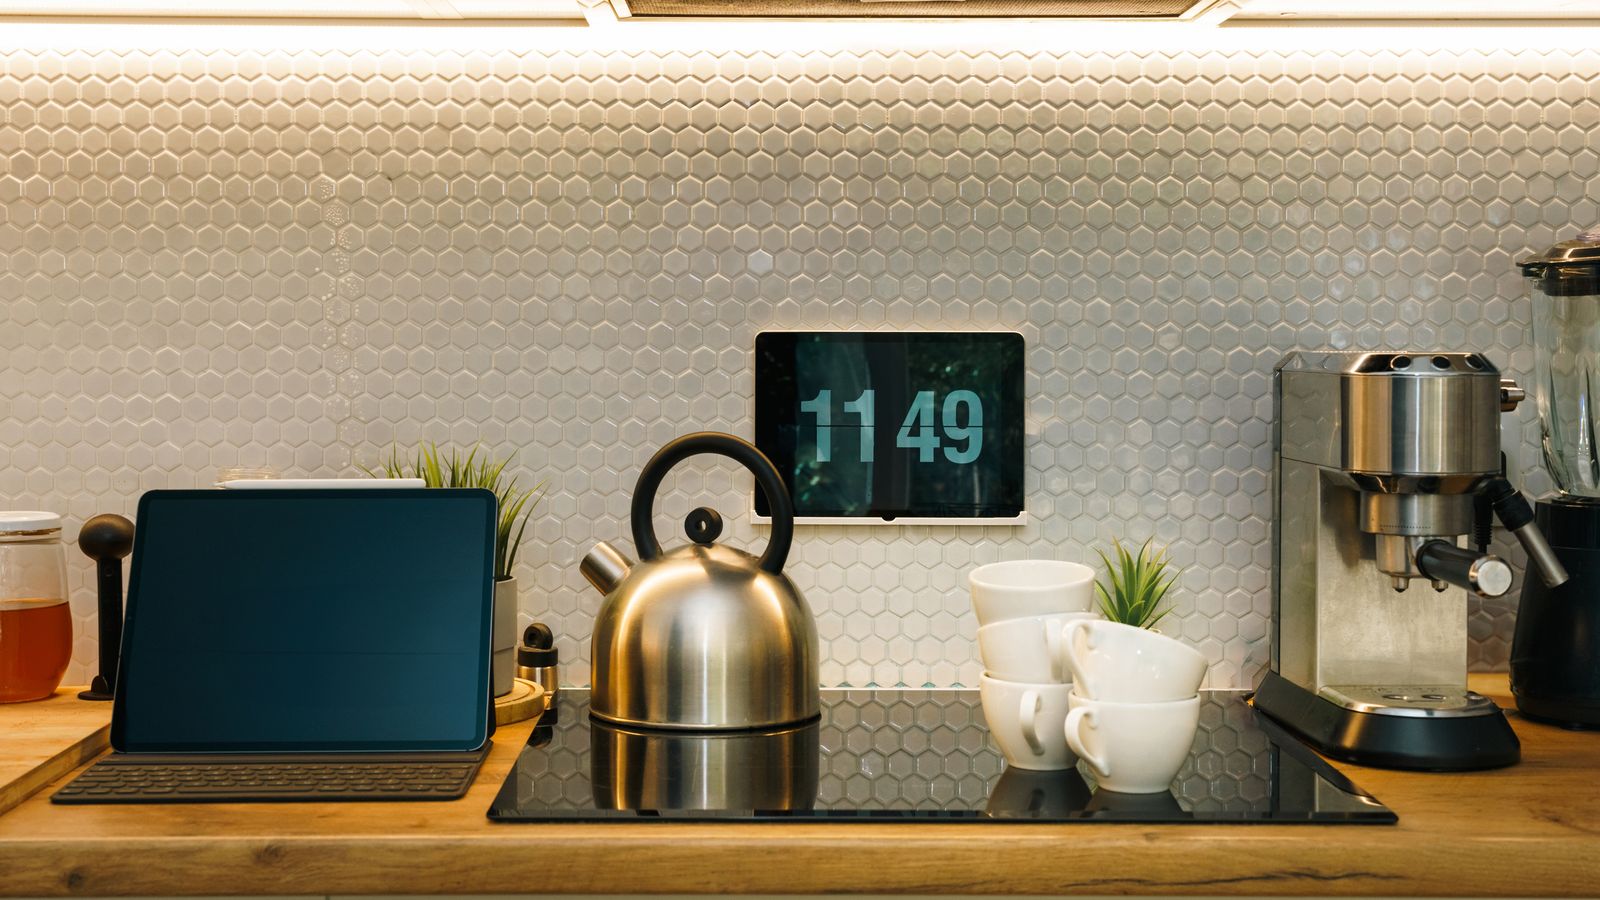
Rather than scattering appliances wherever they fit, group your kitchen into functional zones. A “beverage zone” near the coffee maker keeps mugs, filters, creamer, and pods within arm’s reach. A “cold zone” near the ice maker keeps a scoop, bin liners, and glassware close by. Zoning reduces the number of steps you take during a busy morning and keeps unrelated clutter from creeping into each appliance’s footprint.
- Beverage zone: single serve coffee maker, mug rack or open shelf, small tray for spare pods.
- Cold zone: ice maker, scoop hook or small drawer, insulated bin for storing overflow ice.
- Shared prep zone: keep this clear – it is where you actually pour drinks, mix them, or set down a tray.
If your kitchen is small, these zones can sit side by side on the same stretch of counter as long as each appliance keeps its own clearance and outlet. If you’re still deciding which model fits your space and habits, our roundup of Single Serve Coffee Makers breaks down footprint and reservoir size differences worth considering before you commit to a spot.
Step 3: Give Each Appliance Its Own Power and Airflow
This is the step people skip most often, and it’s the one that causes the most long-term problems. A coffee maker draws a noticeable current when heating water, and an ice maker’s compressor cycles on and off throughout the day. Running both from the same outlet, especially through a shared power strip, invites tripped breakers and premature wear on both units.
- Plug the coffee maker and ice maker into separate outlets whenever possible, not a shared strip.
- Leave at least 2-3 inches of open air behind and beside the ice maker so the compressor can vent heat properly.
- Keep the coffee maker’s steam vent and drip tray away from any surface that cannot handle occasional moisture, including the top of the ice maker itself.
- Avoid placing either appliance directly beneath a cabinet vent, microwave exhaust, or range hood, where trapped heat can build up.
Step 4: Route Water Lines and Drip Trays Sensibly
If your ice maker uses a direct water line rather than a manual fill reservoir, plan its position near a water source or be prepared to route tubing along the back of the cabinets. For manual-fill models, choose a spot close to the sink so refilling doesn’t mean carrying a full reservoir across the kitchen. Coffee makers benefit from the same logic – a nearby sink shortens the walk for rinsing carafes or filling water tanks. Always place a small tray or mat under both appliances to catch incidental drips, which protects your countertop finish over time.
Step 5: Build in Storage for Consumables
An organized appliance lineup isn’t just about the machines themselves – it includes everything that keeps them running. Dedicate a drawer or shelf near the coffee maker for pods, filters, and descaling solution. Near the ice maker, keep a scoop, spare ice bags, and cleaning brush in a small bin so you’re not hunting through unrelated cabinets every time you need them. This kind of dedicated storage is what actually keeps a kitchen appliance lineup feeling organized week after week, rather than just tidy on the day you set it up.
Step 6: Plan for Cleaning Access
Both appliances need regular maintenance to keep performing well, and their placement should make that maintenance easy rather than something you dread. Leave enough clearance in front of the coffee maker to pull out the water reservoir and drip tray without shifting other items. For the ice maker, make sure the lid can open fully and that you can access the drain plug or basket without pulling the unit out from a tight cabinet gap every time. If cleaning access is awkward, people tend to skip maintenance, which shortens appliance life significantly.
Common Mistakes to Avoid
- Overloading one outlet or power strip: splitting power draw between two circuits protects both appliances and your breaker.
- Placing the ice maker in an enclosed cabinet: restricted airflow causes the compressor to overheat and work harder than it should.
- Ignoring drip paths: water from either appliance running toward the other’s electrical components can cause real damage.
- Skipping measurements before buying: a model that looks compact online can still be too deep for your intended spot.
- Forgetting future needs: if you’re also weighing a larger fridge upgrade, check clearance against options like our best counter depth refrigerators guide so your appliance zones don’t compete for the same wall space later.
Maintaining the Layout Over Time
Once your zones are set, do a quick seasonal check: confirm outlets aren’t overloaded as you add other small appliances, wipe down drip trays and vents, and make sure nothing has crept into the ice maker’s airflow clearance. If you ever swap in a different model, revisit the same placement questions – footprint, power, water access, and cleaning clearance – rather than assuming the old spot will automatically fit the new unit. For more on keeping the ice-making side of your kitchen dependable long term, our guide to ice makers covers features worth prioritizing if you’re due for an upgrade.
Frequently Asked Questions
Can a coffee maker and ice maker share the same outlet?
It’s best to avoid this. Both appliances can draw meaningful current during active cycles, and sharing an outlet or power strip increases the risk of tripped breakers and added wear on each unit.
How much clearance does a portable ice maker actually need?
Most portable models need a few inches of open space on the sides and back for airflow, plus enough overhead room for the lid to open fully. Check your specific model’s manual for exact clearance numbers.
Should the coffee maker go near the sink?
It helps. Proximity to a sink makes refilling the water reservoir and rinsing the carafe or pod holder much more convenient, especially for daily use.
What’s the best way to hide cords in a small kitchen?
Use an adhesive cord channel or clip along the backsplash edge, and keep each appliance’s cord routed to its own nearby outlet rather than crossing paths with other cords.
Is it okay to stack an ice maker on top of a cabinet near heat sources?
No – keep both appliances away from stoves, ovens, and direct sunlight, since consistent heat exposure shortens compressor and electronic component life.
Final Thoughts
Organizing a kitchen appliance lineup around a single serve coffee maker and an ice maker isn’t about finding empty counter space and calling it done – it’s about giving each appliance the power, airflow, water access, and cleaning clearance it needs to keep working well. Once you’ve mapped your space, zoned your counter, and built in a little dedicated storage for consumables, your morning coffee and cold-drink routines both get noticeably smoother. Take the time to set the layout up right once, and you’ll spend a lot less time rearranging things later.