Taking down a bed frame for a move, a room refresh, or seasonal storage often means the headboard bracket ends up tossed in a random box, and by the time you need it again, a bolt is missing or the metal has picked up rust. Storing a headboard bracket properly only takes a few extra minutes, but it saves you from scrambling to find replacement hardware or discovering a warped bracket that no longer lines up with your bed frame. This guide walks through the exact steps to clean, organize, label, and store your headboard bracket so it is ready to reinstall whenever you need it.
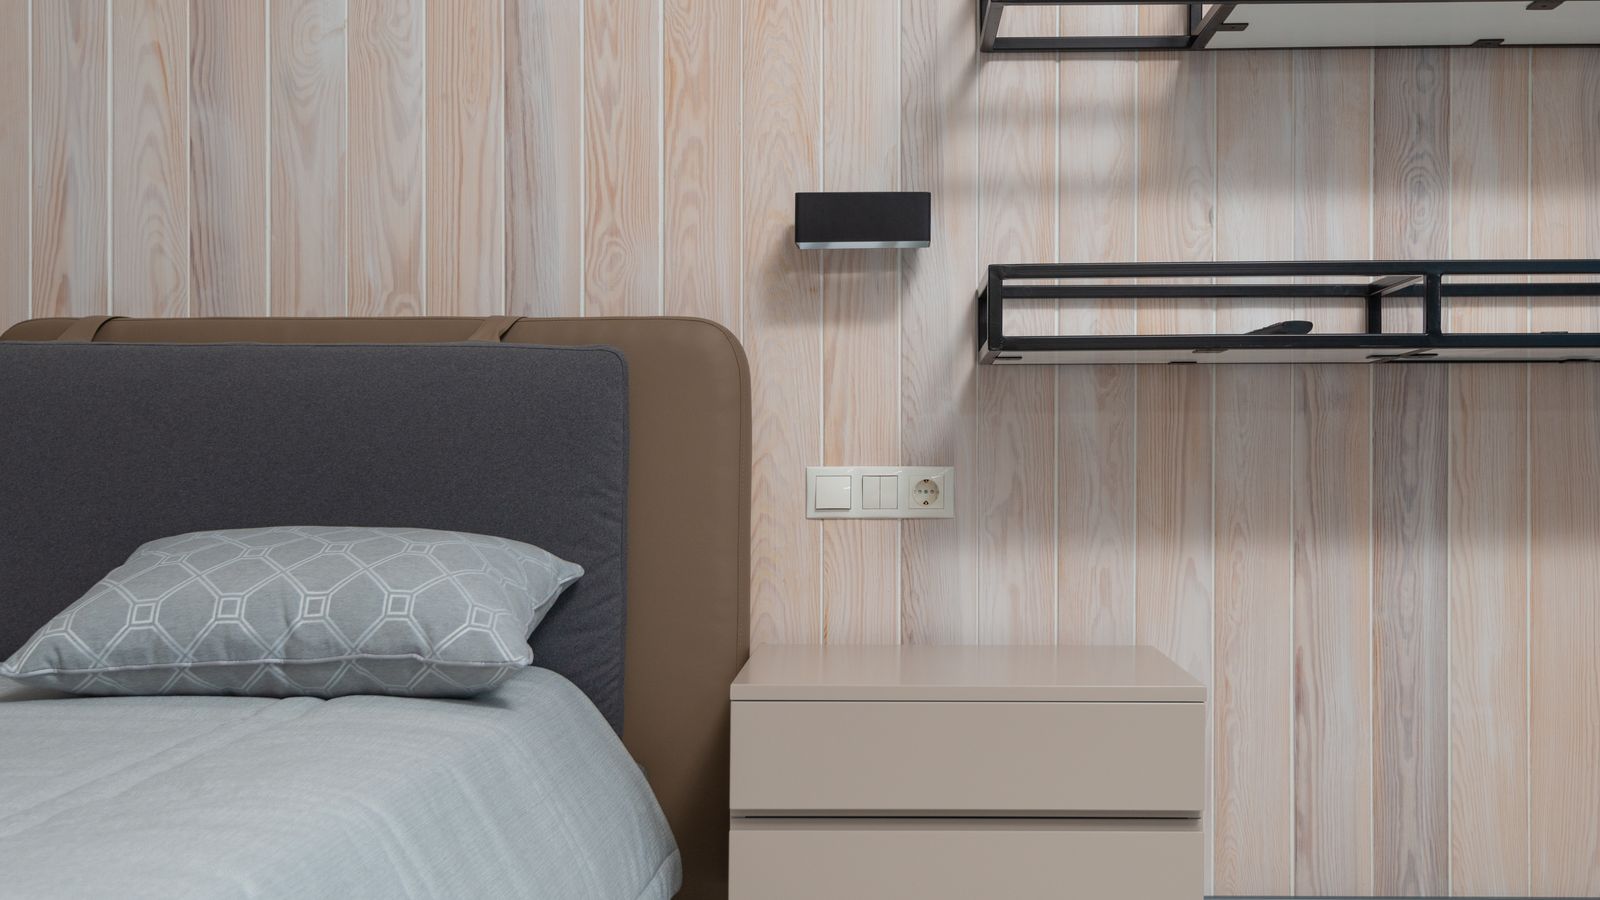
Whether you’re switching out an old frame, upgrading to one of the best wooden headboards, or simply packing up a guest room, the process below applies to almost any bracket style, from L-brackets and hook plates to universal headboard connector kits.
Why Proper Storage Matters
Headboard brackets are small, but they are precision hardware. Most brackets are designed to match a specific hole spacing or bolt pattern on your bed frame, and losing even one screw can mean an incomplete set that no longer secures the headboard safely. Bare metal brackets are also prone to surface rust if stored in a damp garage, basement, or shed, and rust buildup can make it hard to align bolts later or can weaken the metal over time. Beyond hardware loss, disorganized storage is the number one reason people end up buying a whole replacement bracket kit instead of simply reusing the one they already own.
What You’ll Need Before You Start
- A soft cloth and mild all-purpose cleaner
- A small zip-top bag or container for screws, bolts, and washers
- Painter’s tape or a permanent marker for labeling
- A light coat of rust-inhibiting oil or silicone spray (optional, for metal brackets)
- A flat storage box, bin, or garment bag large enough to lay the bracket flat
- Your phone camera, to document the assembly before disassembly
Step 1: Photograph the Setup Before You Remove It
Before you touch a single bolt, take two or three clear photos of the bracket while it’s still attached to the headboard and bed frame. Capture the angle, the bolt pattern, and how the bracket hooks or slots into the frame. This step feels unnecessary in the moment, but months later, when you’re trying to remember which way the bracket faces or which holes line up, these photos will save you real time.
Step 2: Remove the Bracket Carefully
- Support the headboard so it doesn’t shift or fall while you loosen the hardware.
- Use the correct size wrench, screwdriver, or Allen key to remove each bolt, working slowly so you don’t strip the threads.
- Set the bracket aside once it’s fully detached, and keep it separate from other hardware you may be removing at the same time (such as those for bunk bed rails if you’re disassembling a full bed system).
- Wipe down the bracket immediately with a dry cloth to remove dust, grease, or bedding fibers.
Step 3: Clean and Inspect the Bracket
Use a soft cloth dampened with mild cleaner to wipe away grime, then dry the bracket completely before storing it. A damp bracket sealed inside a plastic bag is one of the fastest ways to encourage rust. While you’re cleaning, inspect the metal for any bent edges, stripped screw holes, or cracked welds. Catching a problem now means you can plan for a repair or a new bracket before you need to reinstall the headboard, rather than discovering the issue mid-assembly.

Step 4: Group and Label Every Piece of Hardware
Place all the bolts, screws, washers, and nuts that belong to the bracket into one small zip-top bag or a labeled container. Tape the bag directly to the bracket, or write the bed model and bracket location (for example, “Master bedroom frame – left side bracket”) on painter’s tape stuck to the metal itself. If you own a smart or adjustable frame with a specific mounting bracket, keeping the hardware matched to the correct bracket is especially important, since brackets for headboard brackets designed for different frame styles are rarely interchangeable.
Step 5: Protect the Metal from Rust
If your bracket is bare or painted metal and you’re storing it somewhere with humidity swings, such as a garage, attic, or shed, apply a very light coat of rust-inhibiting oil or silicone spray with a cloth. You only need a thin film, just enough to create a barrier against moisture. Avoid spraying oil directly onto the bracket, as excess product can drip onto storage boxes or attract dust. Skip this step if the bracket is stored in a climate-controlled closet or bedroom, where humidity is less of a concern.
Step 6: Choose the Right Storage Container
Lay the bracket flat inside a rigid plastic bin or a sturdy flat box rather than stacking heavy items on top of it, which can bend the metal or crack a plastic bracket. If you’re storing multiple brackets from different beds, use separate bags or dividers within the bin so hardware sets don’t mix. A garment bag or under-bed storage container works well for flat brackets, while bulkier hook-style brackets may need a small dedicated box.
Step 7: Store in a Stable Environment
Pick a storage spot that stays reasonably dry and out of direct sunlight. Basements and garages are common choices, but if yours tends to flood or get humid in summer, opt for a closet shelf or under-bed space instead. Avoid stacking heavy boxes directly on top of the bracket container, and keep it off the floor if there’s any risk of water exposure.

Common Mistakes to Avoid
- Mixing hardware sets: Tossing several brackets’ screws into one bag makes reassembly a guessing game.
- Skipping the cleaning step: Dust and moisture trapped against metal accelerates rust even in dry storage.
- Forgetting to label: A bracket without a label is easy to mistake for spare hardware and accidentally discard.
- Storing under heavy weight: Stacked boxes can bend thin metal brackets or crack plastic ones.
- Ignoring photos: Without a reference photo, reassembly can take much longer than it needs to.
How Long Can a Bracket Sit in Storage?
A properly cleaned, labeled, and protected bracket can sit in storage indefinitely without issue, as long as the environment stays reasonably dry. Check on stored hardware once or twice a year, especially if it’s in a garage or shed, to make sure no rust or moisture has crept in. If you do spot light surface rust, a quick wipe with a rust remover pad and a fresh coat of protective oil will usually restore the bracket to usable condition.
FAQ
Can I store a headboard bracket still attached to the headboard?
Yes, if you have the space. Leaving the bracket attached avoids the risk of losing hardware, but it does take up more storage room and isn’t practical for flat, stackable storage.
Do plastic brackets need the same rust protection as metal ones?
No, plastic brackets don’t rust, but they can become brittle in extreme cold or crack under weight, so keep them in a temperature-stable space and avoid stacking heavy items on top.
What if I lost the original screws?
Take the bracket to a hardware store to match the thread size and length, or check with the bed frame manufacturer for a replacement hardware kit before assuming you need an entirely new bracket.
Is it okay to store brackets in a plastic bag long-term?
A breathable container is better for long-term storage. Sealed plastic bags can trap residual moisture against metal, which increases the chance of rust over months of storage.
Final Thoughts
Storing a headboard bracket the right way comes down to a few simple habits: clean it, keep the hardware together, label it clearly, and protect it from moisture and heavy weight. Following these steps means that whenever you’re ready to reassemble your bed, whether that’s next month or next year, the bracket will be in the same working condition you left it in, with every bolt exactly where it belongs.