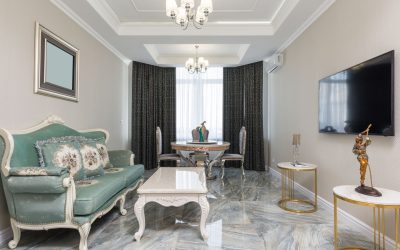
A cluttered closet corner rarely happens by accident. It usually starts with a dresser that doesn’t quite fit the space, shoes piled by the door, and no real plan for where everything belongs. Setting up a proper closet and storage system doesn’t require a full remodel; it just requires the right combination of pieces working together. A mirrored dresser handles folded clothing and doubles as a dressing station, while a shoe cabinet and shoe rack keep footwear organized instead of scattered across the floor. This guide walks through exactly how to plan, measure, and assemble a storage system that actually works for daily life.
Step 1: Assess Your Space and Set a Layout Plan
Before buying anything, walk into the room with a tape measure and notepad. Measure the wall length available for a dresser, the depth of the closet entryway where a shoe cabinet might sit, and the ceiling height if you’re considering a taller storage tower. Note where natural light falls, since a mirrored dresser works best near a window or overhead fixture rather than in a dark corner where reflections are wasted.
Sketch a rough floor plan, even a simple one on paper. Mark the door swing, closet opening, and any outlets. This step prevents the common mistake of buying a dresser that blocks a doorway or a shoe rack that leaves no room to actually open a shoe cabinet’s doors.
Step 2: Choose the Right Mirrored Dresser
The mirrored dresser is typically the anchor piece of the system since it handles the bulk of folded clothing, undergarments, and accessories while also serving as a vanity-style surface. When selecting one, prioritize drawer count and depth over style alone. A six-drawer dresser roughly 60 inches wide gives enough separation to organize by category (shirts, pants, layers) instead of piling everything into two or three oversized drawers.
Check that the mirror is securely mounted or anti-tip rated, especially in homes with kids or pets. Also confirm drawer glide quality; metal ball-bearing glides last far longer than plastic runners and make daily use smoother. For a closer look at well-reviewed options across sizes and finishes, browse this roundup of Mirrored Dressers before committing to a specific model.
Step 3: Position the Dresser for Function, Not Just Looks
Once you’ve chosen a dresser, place it against the longest uninterrupted wall near the closet, ideally within a few steps of where you get dressed. Leave at least 36 inches of clearance in front of the drawers so they can open fully without hitting a bed frame or chair. If the room is tight, an angled placement in a corner can free up floor space while still keeping the mirror usable.
Step 4: Decide Between a Shoe Cabinet and a Shoe Rack
Shoes are the piece most people underplan for, and that’s usually where closet systems fall apart within a few weeks. A shoe cabinet is an enclosed piece with doors or flip-down panels that hides footwear from view and keeps dust off, making it a strong choice for entryways or shared spaces. A shoe rack, by contrast, is open shelving that prioritizes quick access and visibility, which works well inside a walk-in closet where aesthetics matter less than speed.
Many households actually benefit from using both: a shoe cabinet near the front door for daily rotation shoes, and a shoe rack inside the closet for the rest of the collection. If you’re weighing enclosed versus open storage, this guide to shoe cabinets and this list of best shoe racks both cover capacity and material differences worth comparing side by side.
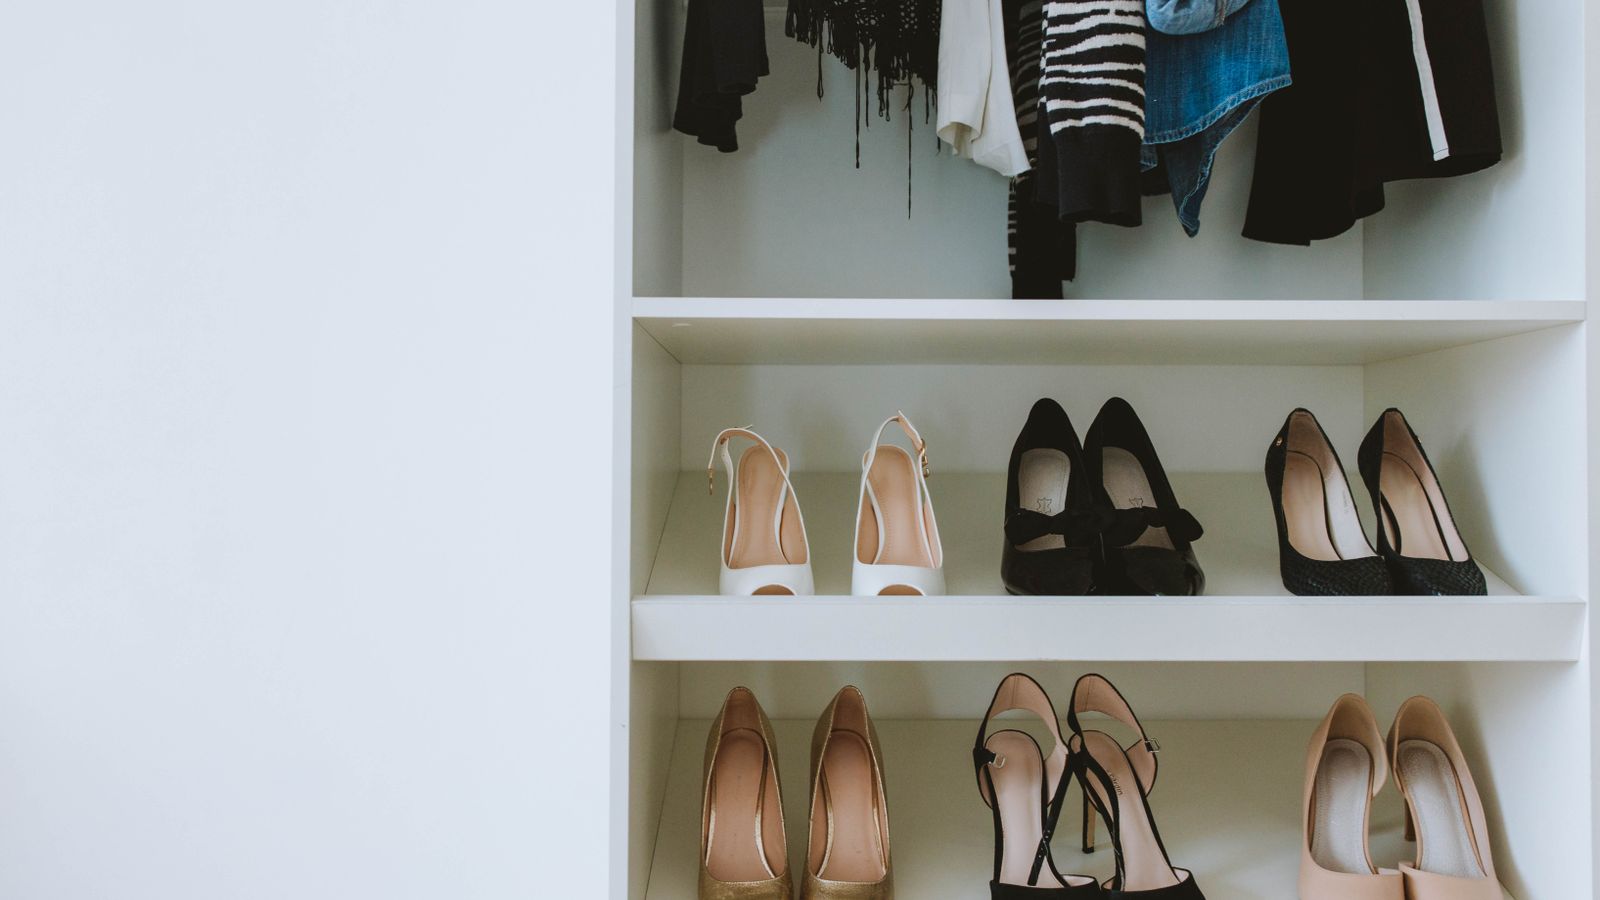
Step 5: Measure Your Shoe Collection Before Buying
Count your shoes by category, sneakers, boots, sandals, dress shoes, and note how many pairs of each. Boots and tall footwear need deeper, taller compartments than a standard rack shelf offers, so if boots make up a chunk of your collection, look for a cabinet or rack with at least one adjustable or extra-tall tier. This prevents the frustrating scenario of a beautiful new shoe cabinet that simply can’t fit half your shoes.
Step 6: Assemble and Place the Shoe Storage
Follow these steps to get the shoe storage piece properly set up once it arrives:
- Unpack all hardware and panels, and lay them out in the order shown in the instructions before starting assembly.
- Attach the base or feet first for stability, then build upward so the frame stays square throughout.
- Secure any doors or flip-down panels last, checking that hinges align and close flush.
- If the unit is tall or narrow, anchor it to the wall with the included anti-tip bracket, particularly near an entryway with foot traffic.
- Position the finished piece near the door you use most, since shoe storage only works if it’s placed where shoes naturally come off.
- Load shoes by frequency of use, placing daily pairs at eye level or on the most accessible shelf, and seasonal pairs toward the bottom or back.
Step 7: Assemble the Dresser and Load Drawers Strategically
Assemble the dresser on a soft surface like a rug or moving blanket to avoid scratching drawer fronts. Two people make this step significantly easier, especially when attaching the mirror bracket, which is often heavier than it looks. Once built, load drawers by category rather than by garment type alone: keep frequently worn items in the top one or two drawers and rotate seasonal clothing to the bottom.
Use small dividers or shallow bins inside drawers for socks, belts, and accessories so they don’t shift into a jumbled pile every time the drawer opens.
Step 8: Add Finishing Touches for a Cohesive System
With the dresser and shoe storage in place, tie the setup together with small details: a slim tray on top of the dresser for jewelry or keys, a low bench or stool near the shoe rack for putting shoes on, and consistent lighting so the mirror is genuinely usable in the evening. These small additions turn separate furniture pieces into a system that feels intentional.
Safety Notes
Always anchor tall or top-heavy furniture, including mirrored dressers, to wall studs using the provided anti-tip hardware. Avoid overloading shoe racks past their stated weight limit, since sagging shelves are a common cause of collapse over time. Keep mirror surfaces away from direct impact zones, such as behind a swinging door, to prevent cracking.
Common Mistakes to Avoid
- Buying a dresser or shoe cabinet based on style alone without measuring the actual footprint of the space.
- Placing shoe storage far from the entry door, which almost guarantees shoes end up on the floor anyway.
- Skipping wall anchoring on tall, narrow pieces near high-traffic areas.
- Overfilling drawers or shelves past their intended capacity, which strains hardware and glides.
- Ignoring boot height when choosing shelf spacing on a shoe rack.
FAQ
How much space do I need for a mirrored dresser and shoe storage together?
Plan for roughly 6 to 8 feet of combined wall space for a standard dresser plus a mid-size shoe cabinet or rack, though compact apartment layouts can work with narrower footprints by choosing slimmer models.
Should shoe storage go inside the closet or by the front door?
Both locations work, and many households use one of each: a shoe cabinet by the entry for daily rotation and a rack inside the closet for the full collection.
How many pairs of shoes fit on a typical shoe rack?
Most freestanding racks accommodate somewhere between 8 and 20 pairs depending on tier count and shelf depth, so match the model to your actual shoe count rather than guessing.
Do I need professional help to assemble these pieces?
Most mirrored dressers and shoe cabinets are designed for DIY assembly with basic tools, though having a second person for the mirror attachment step makes the process safer and faster.
Final Thoughts
A functional closet and storage system comes down to matching the right pieces to your actual habits, not just filling empty wall space. Start with an honest inventory of your clothing and shoe collection, choose a mirrored dresser sized to your drawer needs, and pair it with either a shoe cabinet, a shoe rack, or both depending on your entryway layout. With thoughtful placement and a few finishing touches, the setup will stay organized far longer than a rushed, mismatched arrangement ever could.