Moving into a smaller home, converting a guest room, or simply reclaiming square footage from an oversized nursery is a common challenge for growing families. The good news is that a smaller nursery or kids room doesn’t have to mean fewer features or a cramped, chaotic space. With the right planning, multi-purpose furniture, and a ruthless approach to what actually gets used, you can downsize the footprint while keeping sleep, storage, play, and safety fully intact. This guide walks you through the exact process, step by step, so you end up with a room that feels calm and functional instead of squeezed.

What You’ll Need Before You Start
Before moving a single piece of furniture, gather the tools and materials that make the downsizing process smoother and less stressful:
- Painter’s tape or a laser measure for mapping the new floor plan
- A tape measure and notepad (or a room-planning app) to record furniture dimensions
- Storage bins, labeled boxes, or vacuum-seal bags for clothing and seasonal items
- A donation box and a “maybe” box for items you’re unsure about
- Wall anchors and a stud finder if you plan to add wall-mounted storage
- Furniture sliders or a dolly to move heavier pieces safely
Step 1: Audit What’s Actually Being Used
Start by walking through the current nursery or kids room and honestly assessing every item. Ask whether each piece has been used in the last month, whether it serves a single purpose or several, and whether it could be replaced by something smaller. Bulky changing tables that only hold a pad, oversized toy chests that are half empty, and decorative furniture that doesn’t earn its floor space are the first candidates for removal. Keep a running list of what stays, what goes, and what gets replaced with a more compact alternative.
Step 2: Choose Multi-Function Furniture First
The single biggest lever in downsizing without losing function is furniture that does more than one job. A crib that converts to a toddler bed, a dresser that doubles as a changing station, or a bench with hidden storage underneath can each replace two or three separate pieces. Look for cribs, daybeds, and storage units designed specifically for smaller footprints rather than simply pushing full-size furniture into a tighter layout. When shopping for the sleep setup itself, comfort still matters even in a compact room, so pairing a smaller crib with one of the best crib mattress pads keeps the sleep surface supportive without adding bulk.
Step 3: Rethink Vertical Space
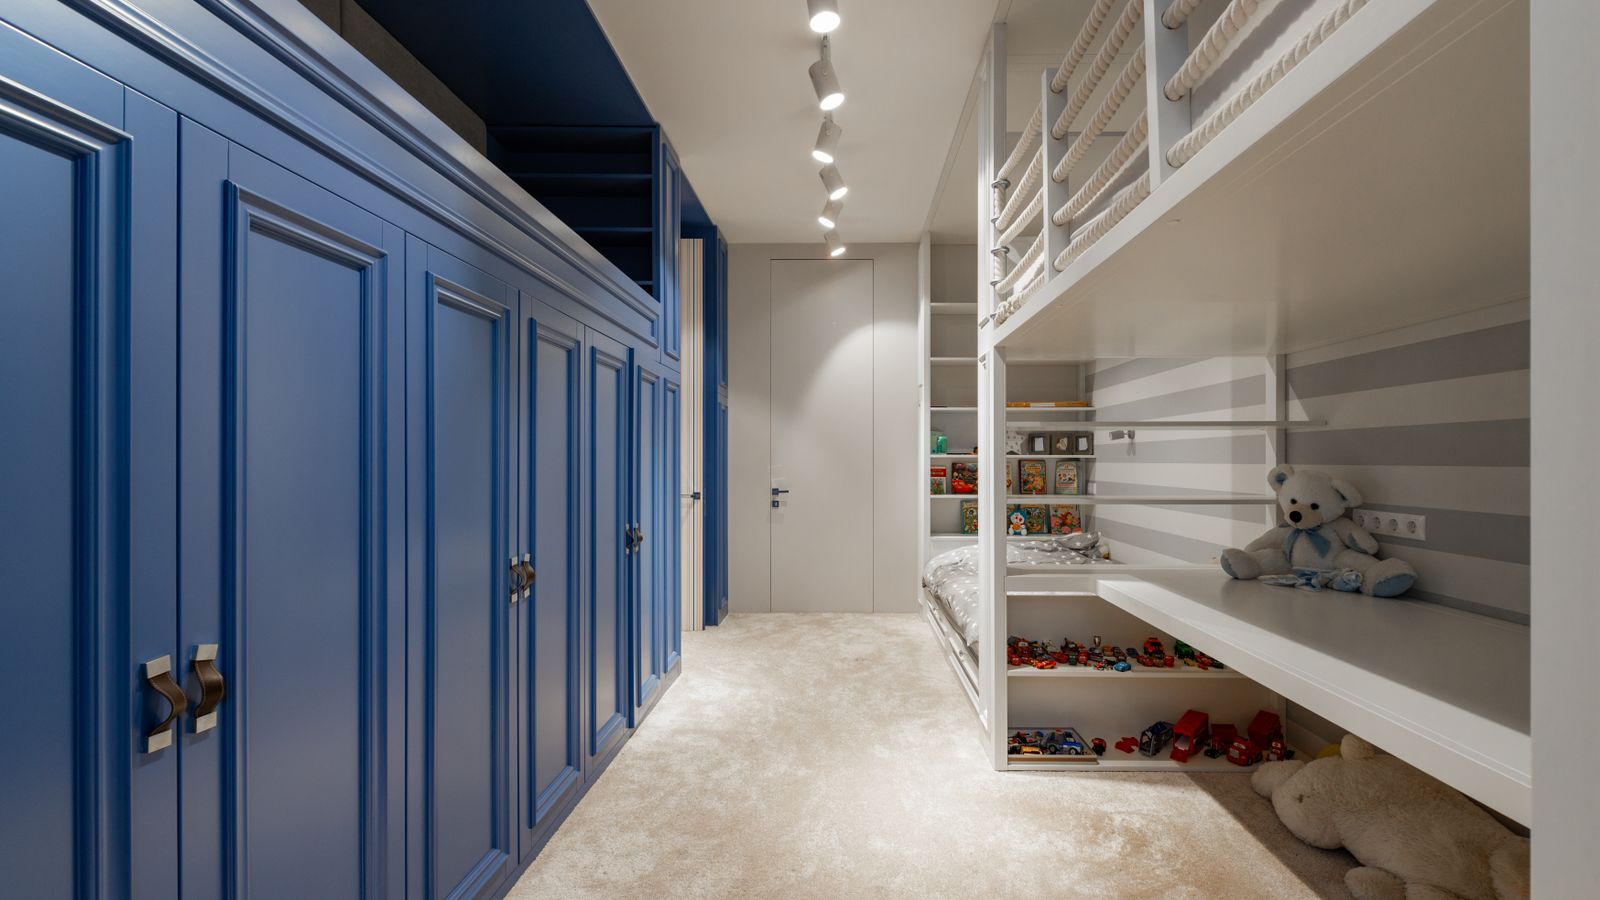
When floor space shrinks, walls become your best asset. Floating shelves, wall-mounted bookrails, and over-the-door organizers move storage up and off the floor, freeing room for play and movement below. Pegboards are especially useful in kids’ rooms because they can hold everything from stuffed animals to art supplies while staying flexible as needs change. Just be sure every wall-mounted piece is properly anchored into studs, since safety can’t be sacrificed for space savings.
Step 4: Simplify the Closet System
Closets in smaller rooms often get overlooked, but a smarter closet layout can absorb a surprising amount of what used to live out in the open. Add a second, lower hanging rod sized for kids’ clothing, install stackable bins for shoes and accessories, and use slim, uniform hangers to maximize hanging density. Rotating out-of-season clothing into labeled under-bed bins keeps the closet lean without giving up storage capacity elsewhere in the room.
Step 5: Right-Size the Play and Learning Zone
Play areas tend to expand to fill whatever space is available, so intentionally right-sizing this zone is key. A small activity table with built-in storage, a floor cushion instead of a full armchair, and a rotating toy system (where only a portion of toys is out at any time) all help a play corner feel generous even in a modest footprint. If the room needs a dedicated seat for reading or snack time, a compact option from a lineup of toddler chairs takes up far less room than a traditional kids’ armchair while still giving your child a comfortable spot to sit.
Step 6: Address Safety in a Smaller Layout
Tighter room layouts change the safety calculus. Furniture placed closer together means more climbing temptation, and doorways or stairwells near the nursery need extra attention once a toddler starts moving independently. Anchor all furniture to the wall, keep cords and blinds pulls out of reach, and if the room sits near a staircase or an open kitchen area, installing one of the baby gates adds a critical layer of protection that a smaller floor plan can otherwise make easy to overlook.
Step 7: Edit the Decor and Keepsakes
Decorative items and sentimental keepsakes are often the easiest category to overlook when downsizing, but they can quietly eat up valuable surface and shelf space. Photograph sentimental items you don’t need to display and store the physical piece in a labeled memory box elsewhere in the home. Keep decor to a few meaningful, wall-mounted pieces rather than freestanding decorative furniture, which frees up floor area for the things the room actually needs to function.
Common Mistakes to Avoid
- Buying storage before decluttering. Adding more bins and organizers to a room that hasn’t been edited just hides the clutter problem instead of solving it.
- Choosing furniture based on price alone. A cheaper piece that isn’t multi-functional often costs more in wasted square footage.
- Ignoring growth. Kids change quickly, so furniture that only works for the current age often needs replacing sooner than expected.
- Skipping anchoring. Smaller rooms mean furniture sits closer to the child; unanchored pieces become more dangerous, not less.
- Over-committing to a theme. Elaborate themed decor can be beautiful but often adds bulky, single-purpose pieces that don’t earn their space.
Maintaining the Smaller Space Over Time
Downsizing isn’t a one-time project. Revisit the room every few months, especially around growth spurts or seasonal clothing changes, and repeat the audit process from Step 1. A quick 15-minute check-in each season keeps clutter from creeping back in and ensures the multi-function furniture you chose is still earning its place. Involving older kids in this process also teaches them to make similar decisions about their own belongings as they grow.
Frequently Asked Questions
How small can a functional nursery realistically be?
Many nurseries function well in 70 to 90 square feet as long as the crib, a compact storage dresser, and a small seating area are the priority pieces. The key is choosing furniture sized for the room rather than forcing full-size pieces into a tight layout.
Should I get rid of the changing table to save space?
Not necessarily. A dresser-top changing pad often replaces a standalone changing table entirely, giving you the same function in a fraction of the footprint.
How do I downsize without losing sentimental items?
Store sentimental pieces in a labeled box elsewhere in the home, such as a closet or attic, rather than keeping them in the child’s active living space. Photographing items before storing them also helps if space is extremely tight.
What’s the best first step when a room feels overwhelming to downsize?
Start with the audit in Step 1. Removing unused items first almost always reveals that the room needs less new furniture than you initially thought.
Final Thoughts
Downsizing a nursery or kids room comes down to intention: keep what’s used, choose furniture that multitasks, and push storage upward and inward rather than outward. Following these steps in order – audit, multi-function furniture, vertical storage, closet system, play zone, safety, and decor editing – ensures nothing essential gets lost in the process. The result is a smaller room that still supports sleep, play, storage, and safety just as well as a larger one, without the clutter that often comes with too much space in the first place.