A cluttered dresser or an overstuffed closet can make even a spacious bedroom feel chaotic. The good news is that upgrading your bedroom storage setup doesn’t require a full renovation. With a few thoughtful additions – dresser drawer liners, a well-chosen dresser for a nursery, and vacuum storage bags for out-of-season items – you can reclaim space, protect your belongings, and make daily routines noticeably smoother. This guide walks you through exactly how to plan and execute a bedroom storage upgrade, step by step.

Why Upgrade Your Bedroom Storage Setup Now
Bedroom storage tends to accumulate problems slowly: a drawer liner that’s peeling, a dresser that no longer fits a growing family’s needs, or a closet shelf stuffed with bulky sweaters that never get worn in summer. None of these issues are dramatic on their own, but together they eat away at the usability of a room. Addressing them as a coordinated project – rather than one frustrated fix at a time – saves money and effort in the long run, and it gives you a chance to actually plan the layout instead of reacting to whatever’s broken.
This project is especially worth tackling if you’re setting up a nursery, downsizing a bedroom, or simply tired of digging through drawers to find things. The three upgrades covered here work well together: liners protect and freshen every drawer, a properly sized dresser gives you a stable storage anchor, and vacuum bags handle the overflow that doesn’t need daily access.
Tools and Materials You’ll Need
- Tape measure (for drawer interiors and dresser placement)
- Scissors or a utility knife for trimming liners
- Mild cleaning spray and a microfiber cloth
- Dresser drawer liners (roll or pre-cut sheets)
- A dresser sized appropriately for the room (nursery-specific if applicable)
- Vacuum storage bags and a vacuum cleaner with a hose attachment
- Optional: drawer dividers, anti-tip furniture straps, baby-safe corner guards
Step 1: Assess Your Current Storage and Set a Plan
Before buying anything, take stock of what you actually have. Empty each drawer and closet shelf, and sort items into three piles: keep-in-drawer, keep-but-rarely-used, and donate/discard. This single step often reveals that you don’t need more storage – you need better organized storage. Measure your existing dresser drawers (depth, width, height) and note any awkward gaps, warped bottoms, or lingering odors that a liner could solve.
If you’re furnishing a nursery, this is also the moment to think about long-term flexibility. A dresser that doubles as a changing station now may need to transition into a regular clothing dresser in a few years, so prioritize sturdy construction and a classic silhouette over trend-driven finishes.
Step 2: Choose and Install Dresser Drawer Liners
Drawer liners do more than look nice – they protect wood or laminate surfaces from scuffs, absorb minor spills, and can add a light, pleasant scent to your clothing. When shopping, look for liners that are moisture-resistant, easy to wipe clean, and cut (or cuttable) to fit standard drawer depths.
- Remove all contents from the drawer and wipe the interior clean with a damp cloth; let it dry fully.
- Measure the drawer’s interior length and width, adding a small margin if you prefer the liner to sit flush against the edges.
- Cut the liner to size using sharp scissors for a clean edge.
- Lay the liner flat, pressing out air bubbles or wrinkles as you go.
- If the liner is adhesive-backed, peel the backing slowly from one corner to avoid trapping air pockets.
- Return folded clothing or accessories to the drawer, ideally using drawer dividers to keep items from shifting and wrinkling the liner over time.
Repeat this process drawer by drawer rather than removing everything from the dresser at once – it keeps the room from turning into a pile of clothes on the bed and makes the job feel far more manageable. If you’re shopping for liner options and want a curated comparison of materials and finishes, this roundup of Dresser Drawer Liners is a useful starting point.
Step 3: Select the Right Dresser for a Nursery (or Any Bedroom)
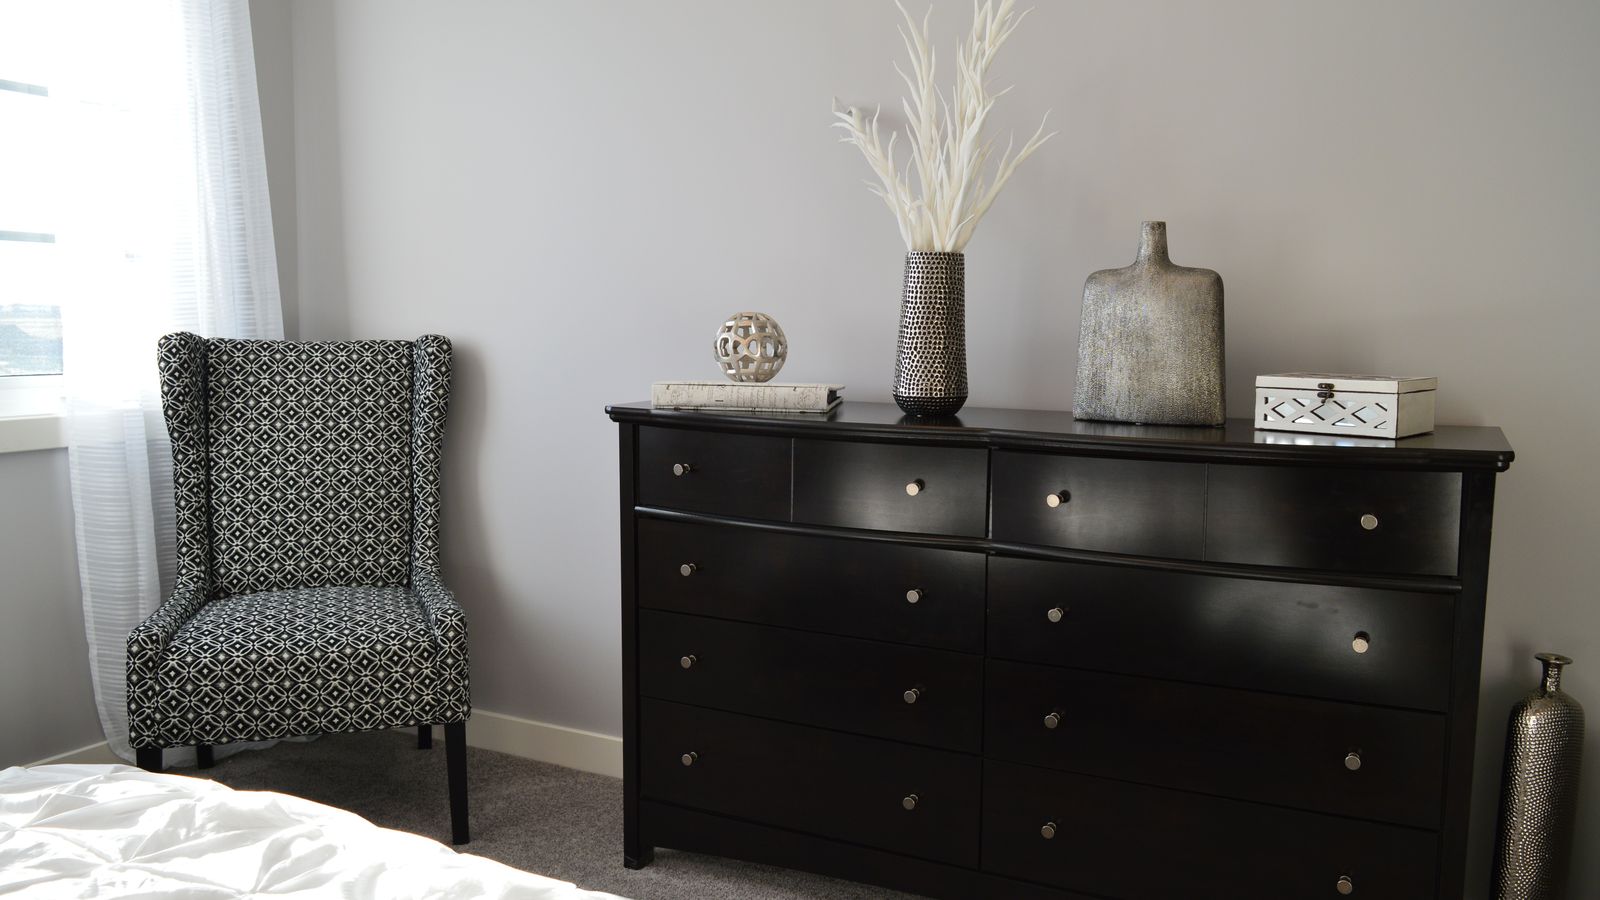
If your storage upgrade includes replacing or adding a dresser – particularly for a nursery – a few factors matter more than aesthetics alone. Stability is non-negotiable: nursery dressers should be rated for anti-tip anchoring and have a low center of gravity. Drawer glides should operate smoothly with one hand, since you’ll often be holding a baby while reaching for clothing.
Consider these criteria when comparing options:
- Size and drawer count: match the dresser’s footprint to your room and the volume of clothing you’re storing (infant clothing is small but numerous).
- Changing-table compatibility: some dressers are designed with a flat, reinforced top or an add-on changing topper.
- Material and finish: solid wood tends to outlast particleboard, and non-toxic, low-VOC finishes matter in a nursery.
- Drawer smoothness: test glides in person if possible, or check reviews for complaints about sticking or misalignment.
- Anti-tip hardware included: a dresser that ships with a wall-anchoring kit saves you an extra purchase and signals the manufacturer takes safety seriously.
For a deeper side-by-side comparison of styles, sizes, and safety features, browse this list of dressers for nurseries before making a final decision.
Step 4: Anchor and Position the Dresser Safely
- Choose a wall location with a stud you can anchor into – avoid relying on drywall anchors alone for heavy furniture.
- Attach the included anti-tip strap or bracket to the back of the dresser, then secure it to the wall stud following the manufacturer’s instructions.
- Leave enough clearance in front of the dresser for drawers to fully extend without hitting a crib, wall, or door.
- Test each drawer glide after installation to confirm nothing binds against the wall or baseboard.
This step is easy to skip when you’re eager to finish the room, but it’s the single most important safety measure in a nursery storage setup, and it takes only a few extra minutes.
Step 5: Use Vacuum Storage Bags for Seasonal Overflow
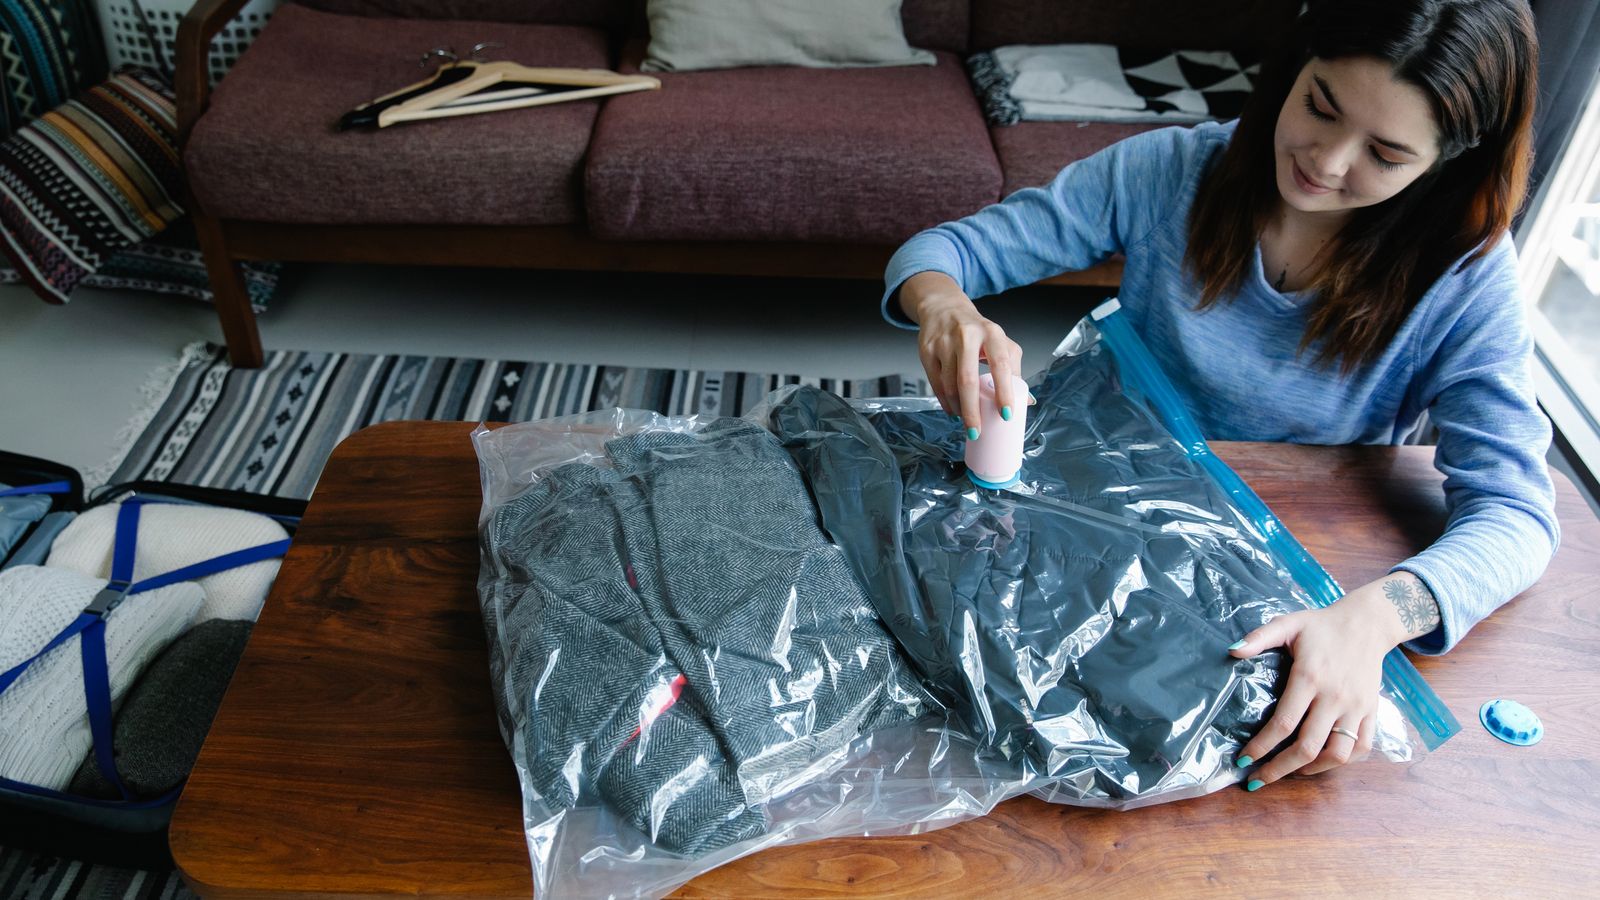
Once your drawers are lined and your dresser is anchored, you’ll likely still have bulky items that don’t belong in daily rotation – winter coats, extra bedding, out-of-season baby clothes sized ahead for growth. Vacuum storage bags compress these items dramatically, freeing up closet shelves or under-bed space.
- Sort items by season or category so each bag holds a logical grouping.
- Fold clothing or bedding flat and layer it evenly inside the bag to avoid uneven compression.
- Seal the bag’s zip-top closure completely before vacuuming.
- Attach the vacuum hose to the bag’s valve and run the vacuum until the bag is fully compressed; some bags include a one-way valve that prevents air from re-entering.
- Label each bag with its contents and date, then store flat under the bed or on a closet shelf.
Vacuum bags work especially well for storing sentimental or seasonal nursery items – like newborn-sized clothing being saved for a sibling – without letting them take up prime drawer space. For a comparison of durable, leak-proof options, check out these best vacuum storage bags.
Common Mistakes to Avoid
- Skipping the anti-tip anchor: even a “sturdy-looking” dresser can tip if a child climbs on an open drawer.
- Over-cutting drawer liners: liners that don’t lie flat bunch up and create lumps under clothing.
- Vacuum-sealing delicate fabrics too tightly: some materials, like down or wool, can lose loft if compressed for extended periods – check care labels first.
- Buying a dresser before measuring the room: a dresser that looks reasonably sized online can overwhelm a small nursery once drawers are opened.
- Forgetting drawer dividers: without them, liners get pushed around and items become disorganized again within weeks.
Maintaining Your Upgraded Storage Setup
Once everything is in place, a little routine maintenance keeps the system working. Wipe drawer liners every few months, especially in a nursery where spills happen often. Check vacuum bag seals periodically, since a slow air leak will let the contents expand back over time. Re-anchor furniture if you ever move the dresser to a different wall, and reassess your seasonal storage bags at the start of each season so items rotate in and out rather than sitting forgotten.
Frequently Asked Questions
Do I need drawer liners in every dresser drawer?
Not strictly, but liners are most valuable in drawers holding delicate fabrics, in a nursery where spills and messes are common, or in older dressers with rough or unfinished wood interiors.
How do I know if a nursery dresser is safe?
Look for anti-tip hardware included or recommended by the manufacturer, a low center of gravity, and smooth-closing drawer glides. Always anchor it to a wall stud regardless of the dresser’s stated stability.
Can vacuum storage bags damage clothing?
Most sturdy fabrics handle vacuum compression well, but very delicate or down-filled items can lose shape over long storage periods. Rotate stored items periodically and avoid leaving anything vacuum-sealed for more than a season or two.
How often should I replace dresser drawer liners?
Replace liners when they show visible wear, staining, or peeling – typically every one to two years with regular use, sooner in high-traffic nursery drawers.
Final Thoughts
Upgrading your bedroom storage setup doesn’t have to happen all at once, but tackling drawer liners, a properly chosen dresser, and vacuum storage bags together gives you a system that actually works long-term rather than a patchwork of quick fixes. Start with an honest assessment of your space, invest in a dresser that’s genuinely built for its purpose, and use liners and vacuum bags to keep everything protected and accessible. The result is a bedroom – or nursery – that stays organized well beyond the initial cleanup.